Hello Friends!
This post is sponsored by Cricut. All opinions are mine own.
Today we are going to begin making a quilt…sounds daunting right? It doesn’t have to be. Cricut and Riley Blake teamed up and they make it so easy! The fabric selections are beautiful and there are so many patterns it’s kind of hard to decide. I’d like to make all of them. Especially after doing this first one. It was faster, easier and turned out better than I imagined. Now, even beginners can create beautiful quilts!
Let’s Begin…
MATERIALS
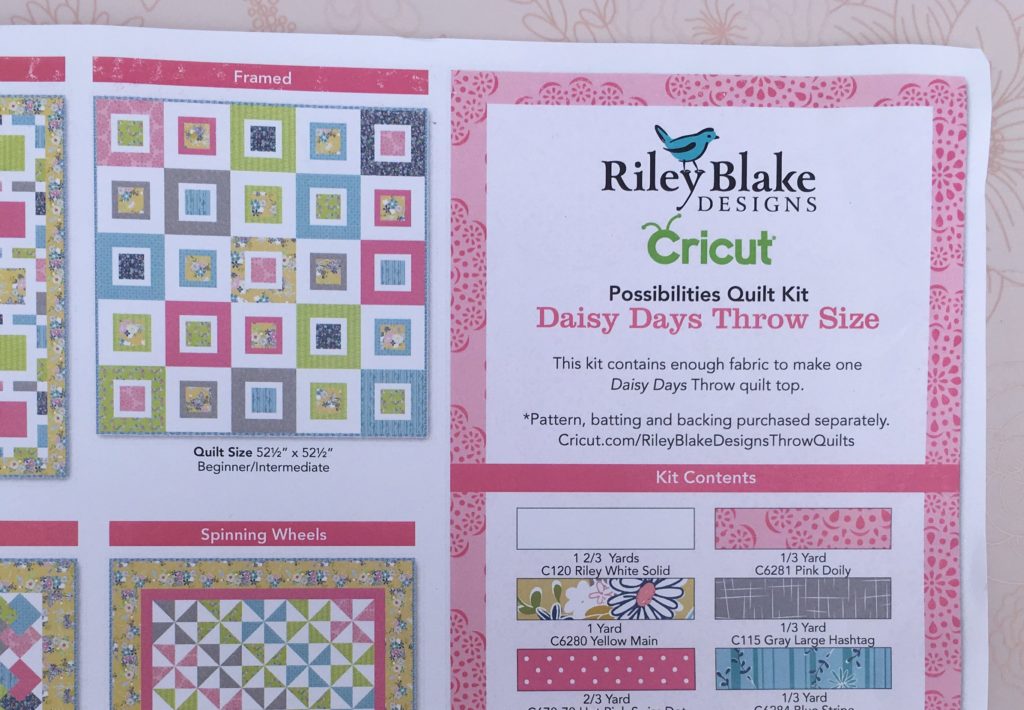
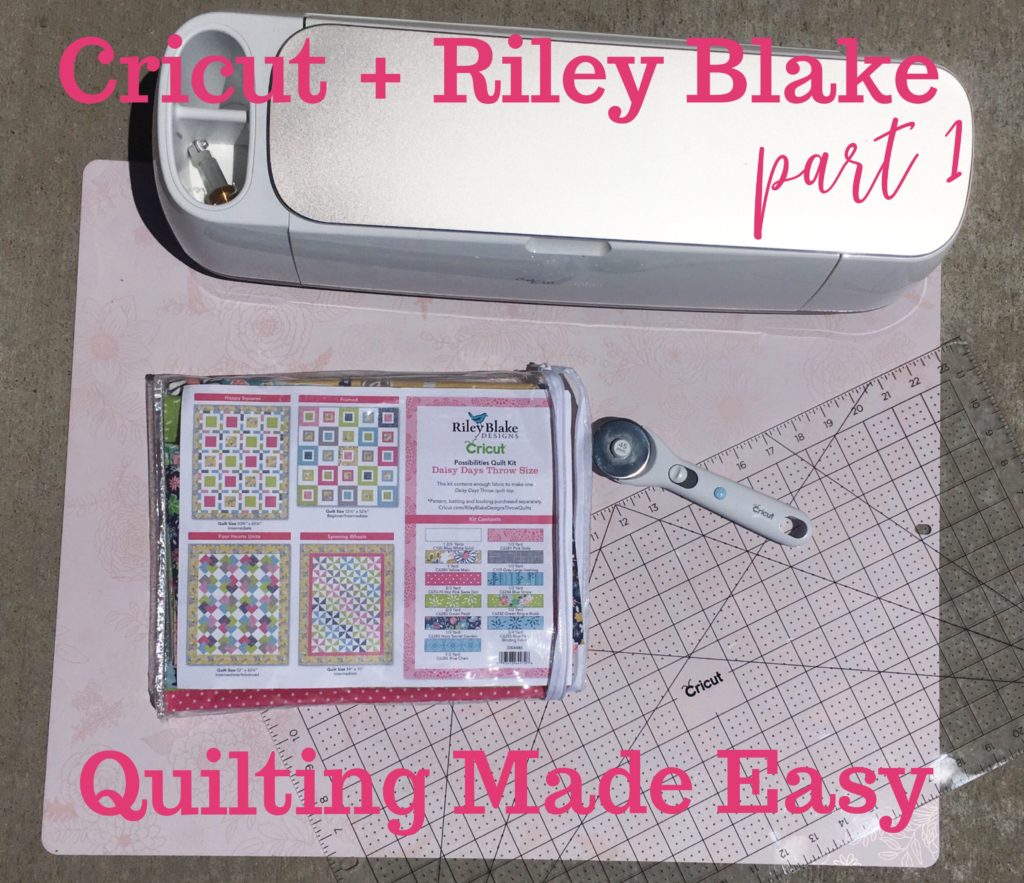
–Riley Blake Daisy Days Throw Quilt Kit
–Framed Throw Pattern in Design Space
–FabricGrip Mats, you only need one, but I had 2 mats and it went so much faster.
-Thread
FIND YOUR PATTERN
How do you pick a quilt pattern. Cricut and Riley Blake made it easy. They have beautifully curated patterns on their website. Click on over to Design Space to see all the options. It’s a free interface that you can download. The great thing is you can browse around and see all the projects you could make with your Circut. Here is a link for the quilty options
As you can see each quilt bundle has four different patterns you can make. I was torn between the Happy Baby Days and the Daisy Days Quilts. I loved both of them, but decided to go with the Daisy Days and I really love the Framed throw pattern. However you can still create the other three if you like those better. Isn’t that great? Each kit has multiple patterns and all the fabric to make any one of them. I love it!
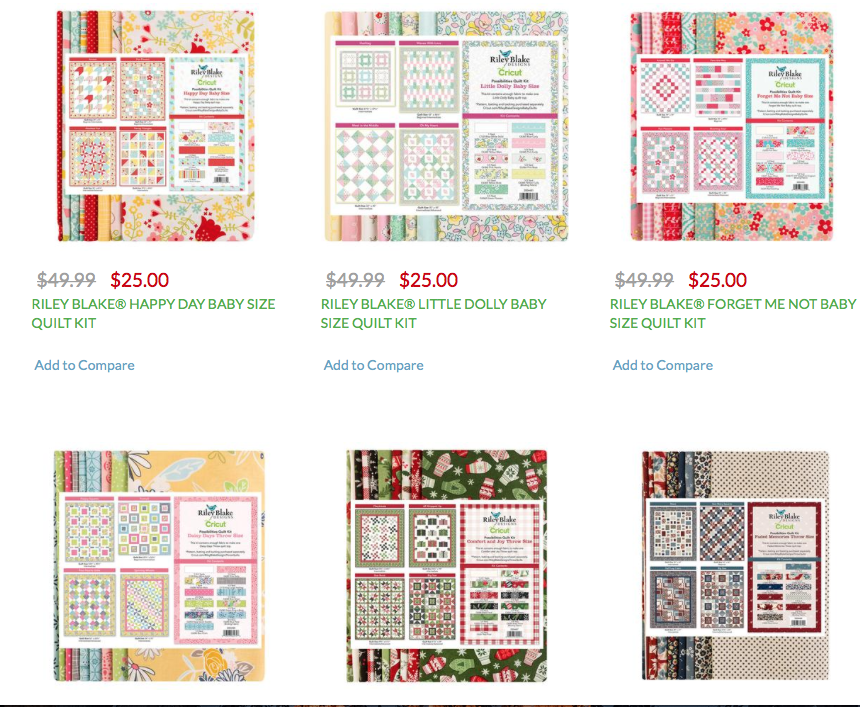
If you click the pattern you can see all the important details about it. You can use a quilt kit or your own fabric. Click here to see the cute quilt kit available

LET’S GET STARTED
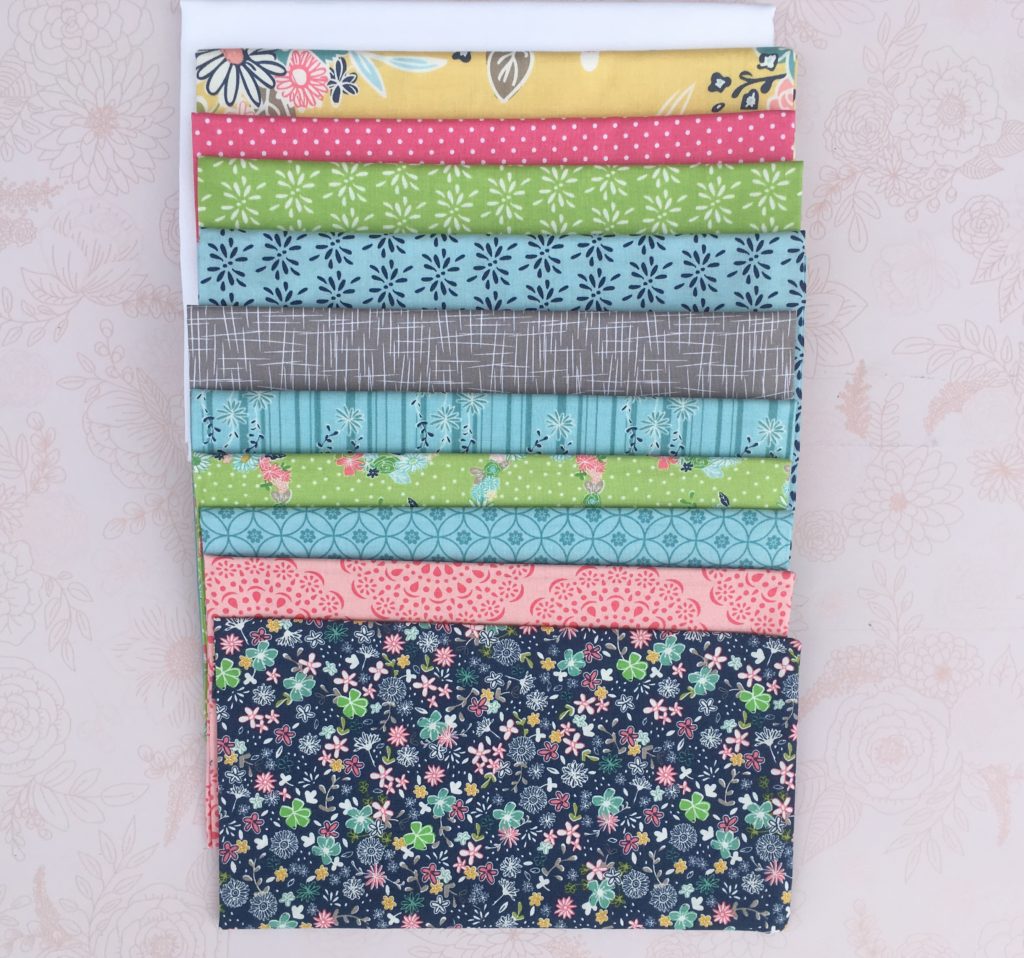
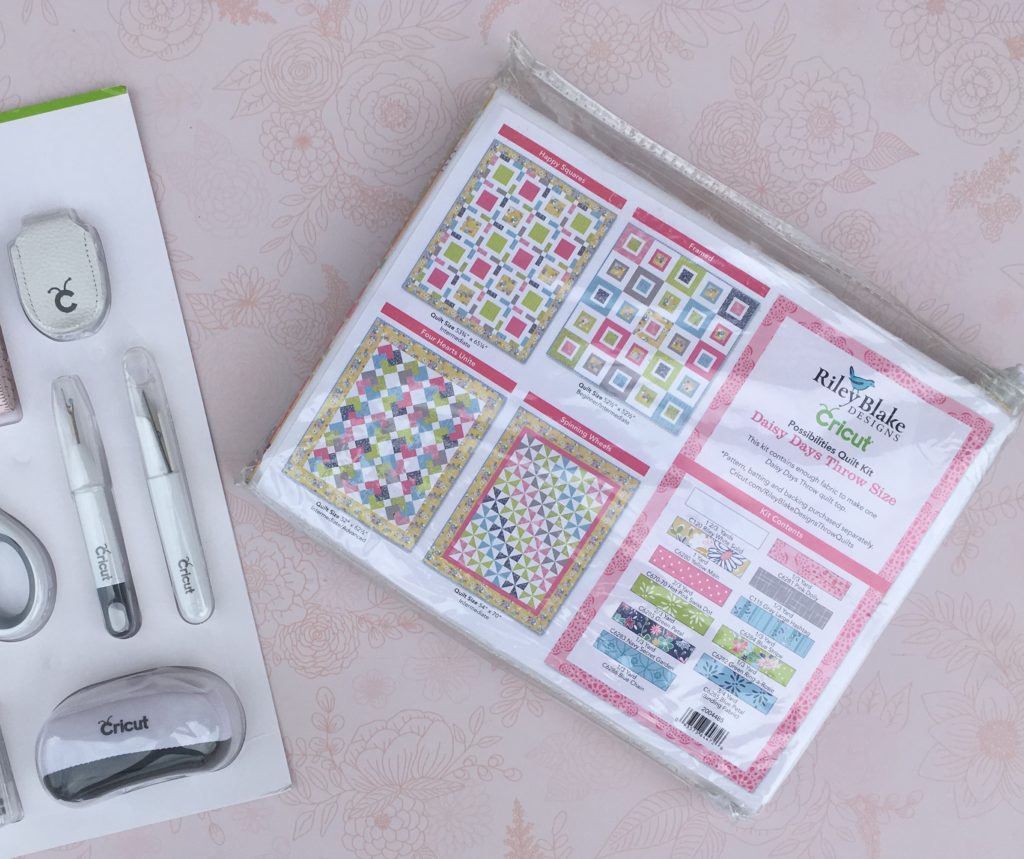
When the quilt kit arrives it has all the fabric you need (thank goodness) to create the top of the quilt. Have you ever had to run out of fabric in the middle or get to the end and find you need more fabric? I have. Oops. You shouldn’t have to worry about that with this quilt kit. Also, have you ever bought a quilt kit and got home and found the fabrics were slightly different in your kit? I have. This was exactly the fabric and the pattern was the exact replica of the pattern. However, you can still switch fabrics around and play with design if you want.
I love how Riley Blake put together such pretty combinations of fabric both in color and print.
Before you cut your fabric down, I recommend figuring out how the fabric should be labeled. I wrote on the quilt kit insert so I wouldn’t forget and I have a visual to look at before I begin. In the instructions each fabric is labeled “Fabric 1” “Fabric 2” and so on. Please note: The fabric that I circled is the binding fabric – take that out and put aside so you don’t accidentally cut it.
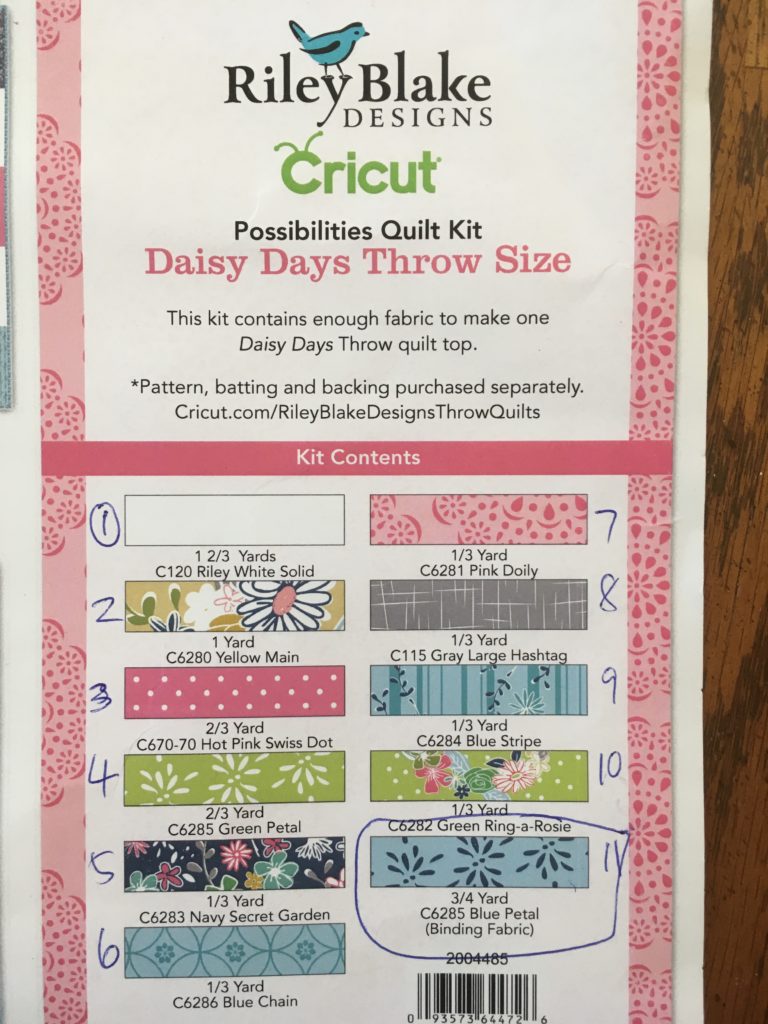
All of the cutting instruction are included in the digital pattern. If you are like me, you like to have the paper pattern at your finger tips. You can easily print of the paper. You can also access the digital pattern online on your computer, tablet or phone.
Cricut’s FabricGrip Mats are 12″ wide by 24″ tall or they have a 12″ by 12″ too. You will need the 24″ mat to complete this project.
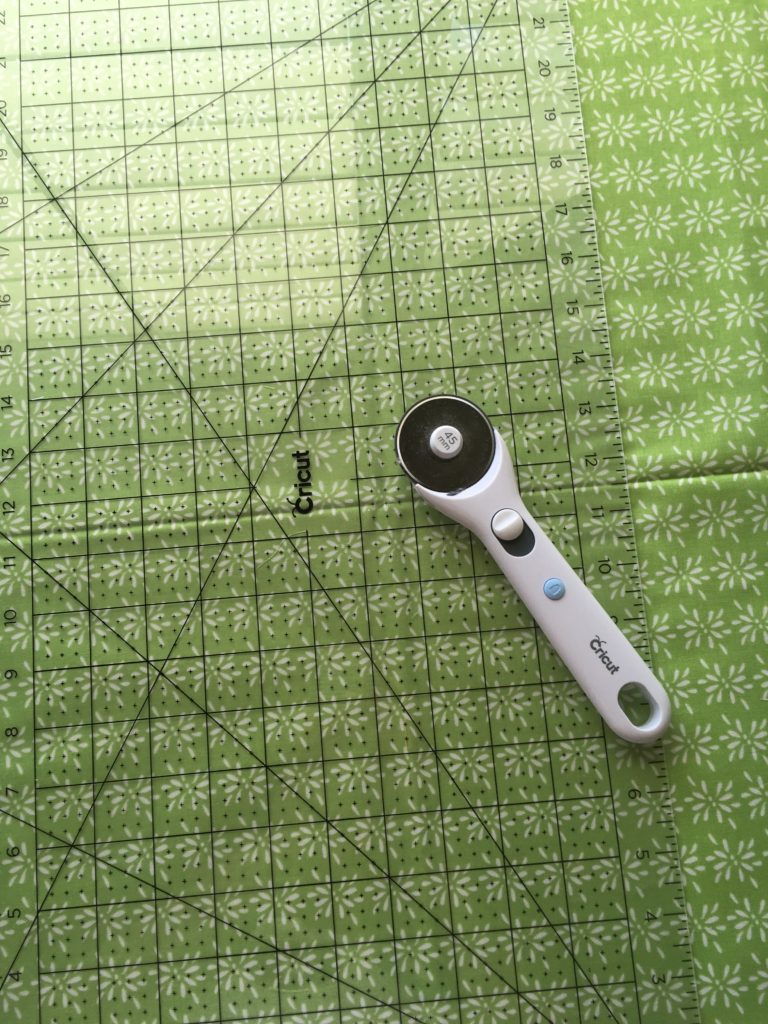
You’ll only need to cut a few fabrics before you begin. I am so excited about this quilt. I have made quilts before, but this one was by far the fastest assembly time. Which is so great for this busy mama!
Come back to see the completed quilt.
Thanks!
SookEe Designs
This is a sponsored conversation written by me on behalf of Cricut. The opinions and text are all mine.

Recent Comments