

Hello Friends! This project was too fun. As a mom with four girls, I am always looking for fun projects for my girls. I have two little girls (ages 5 & 3) that LOVE all girly things and this pillow hit the mark for them. My favorite part is having the options to change the hair, flower and leaf colors you can add more or less -it’s up to you! I love having patterns that are quick, easy and adorable. Thankfully Cricut and Simplicity have a ton to choose from.
This experience is based strictly on my opinion. Others may have a different opinion or experience with the products listed below. I was provided samples free of charge by the company and I have given my honest opinion.
Materials Needed
Cricut Makers
Simplicity Sleeping Girl Pattern in Design Space
Simplicity Sleeping Girl Pattern in Design Space
Felt for leaves and flowers
Fabric for hair and face
Embroidery Floss & Needle
12 X 24 Pink Cricut Fabric Mat
Polyfil
Polyfil
Let’s Begin:
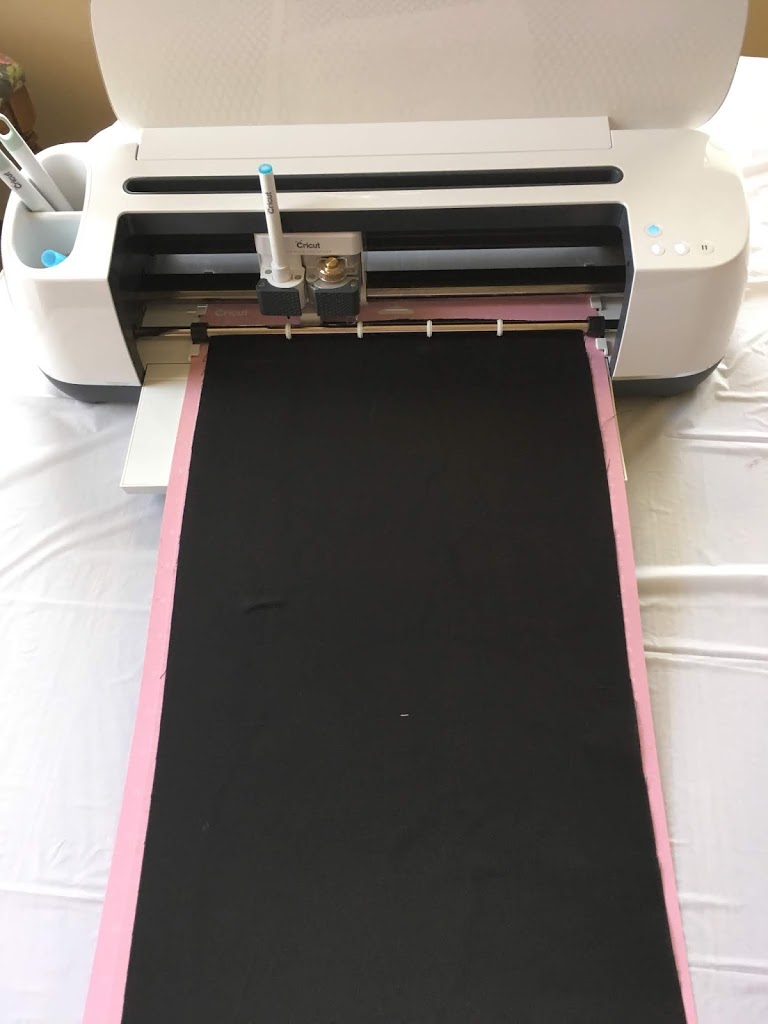
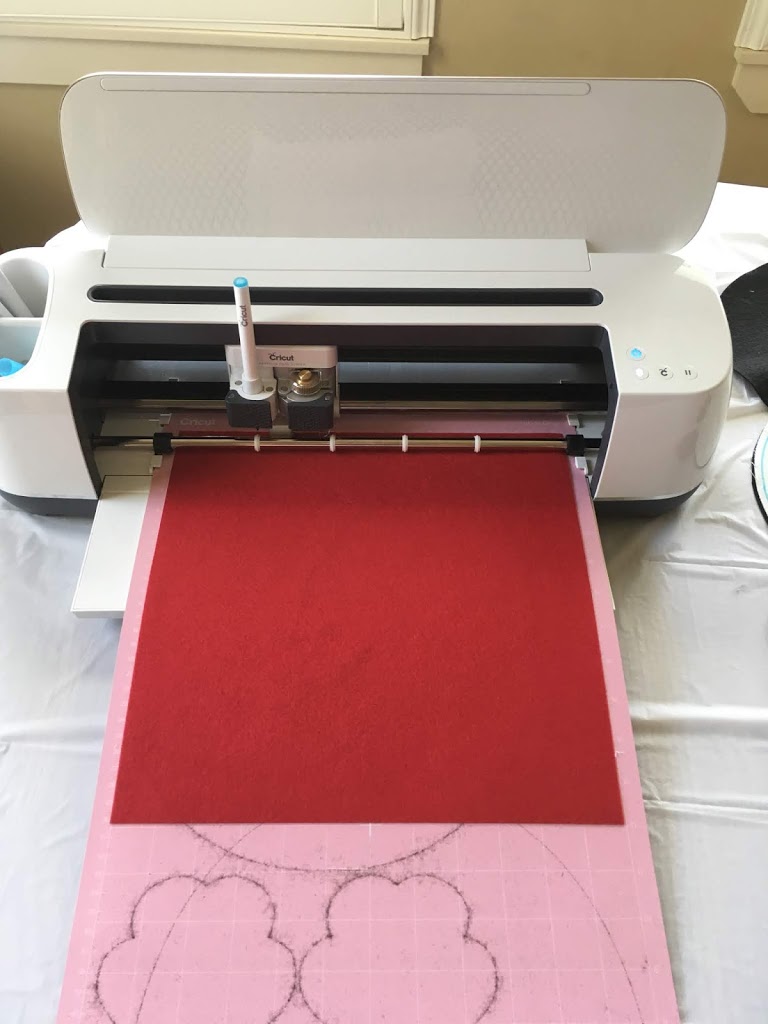
Place your felt (hair color) onto your pink fabric mat and let the Cricut Maker do it’s job.
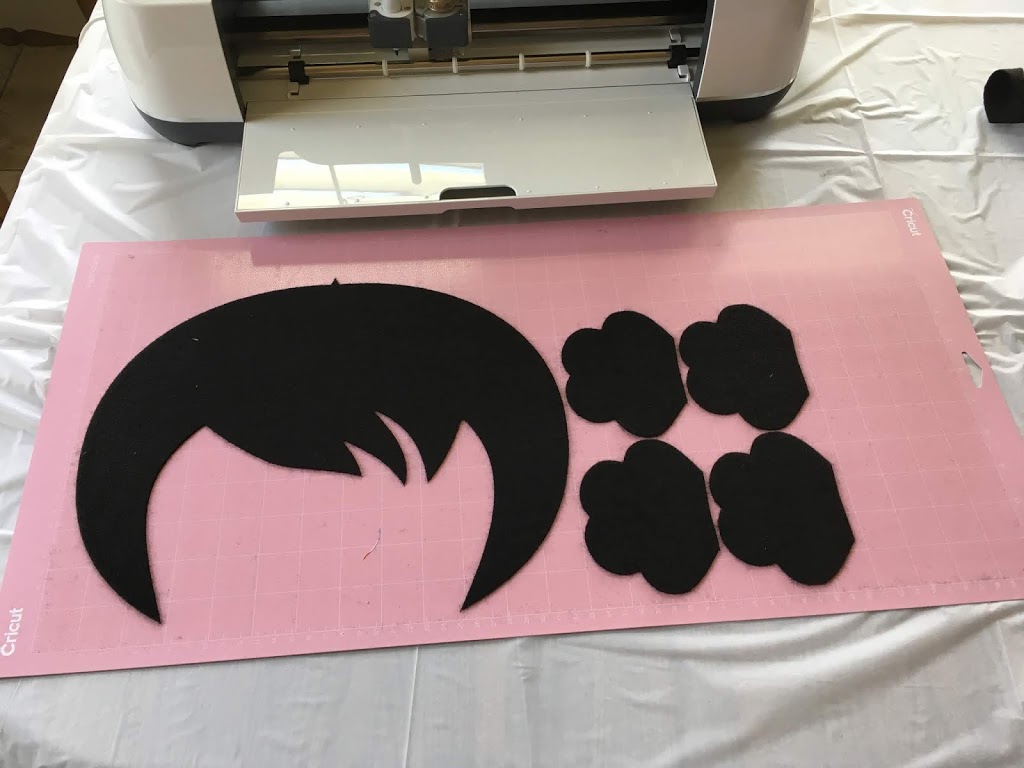
How cute…this is your hair and the two little pony tails – if you use a lighter colored felt your fabric marker will mark sewing lines.
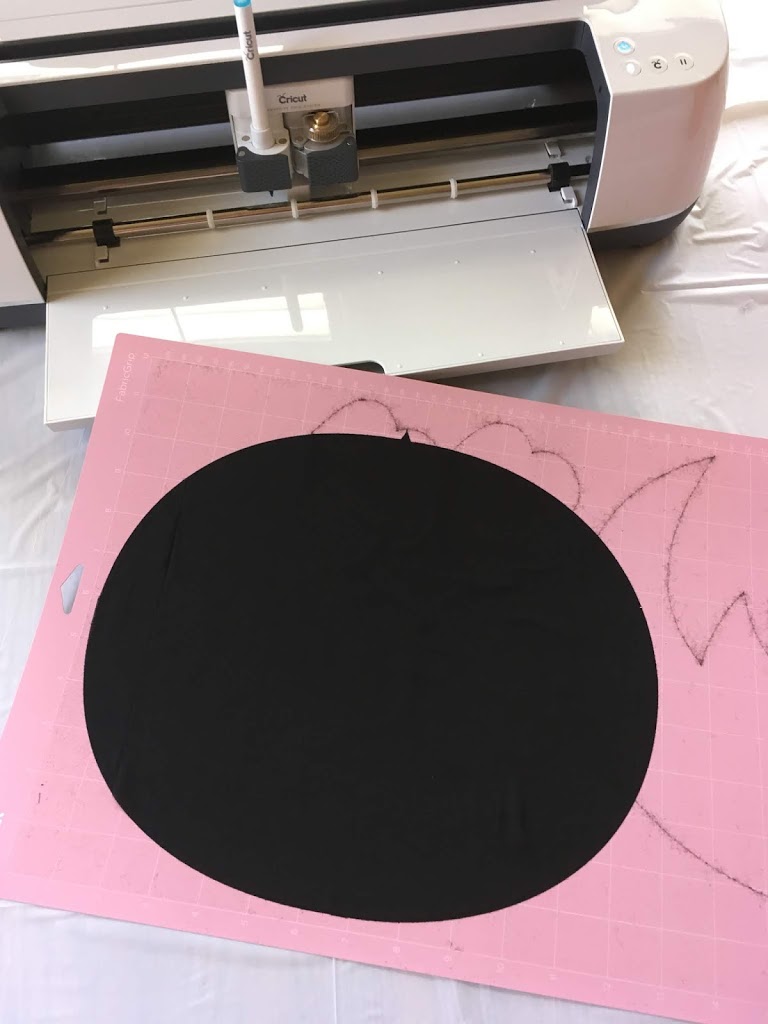
The fabric back…match your hair color. Again, you will see the sewing lines if you use a lighter color fabric.
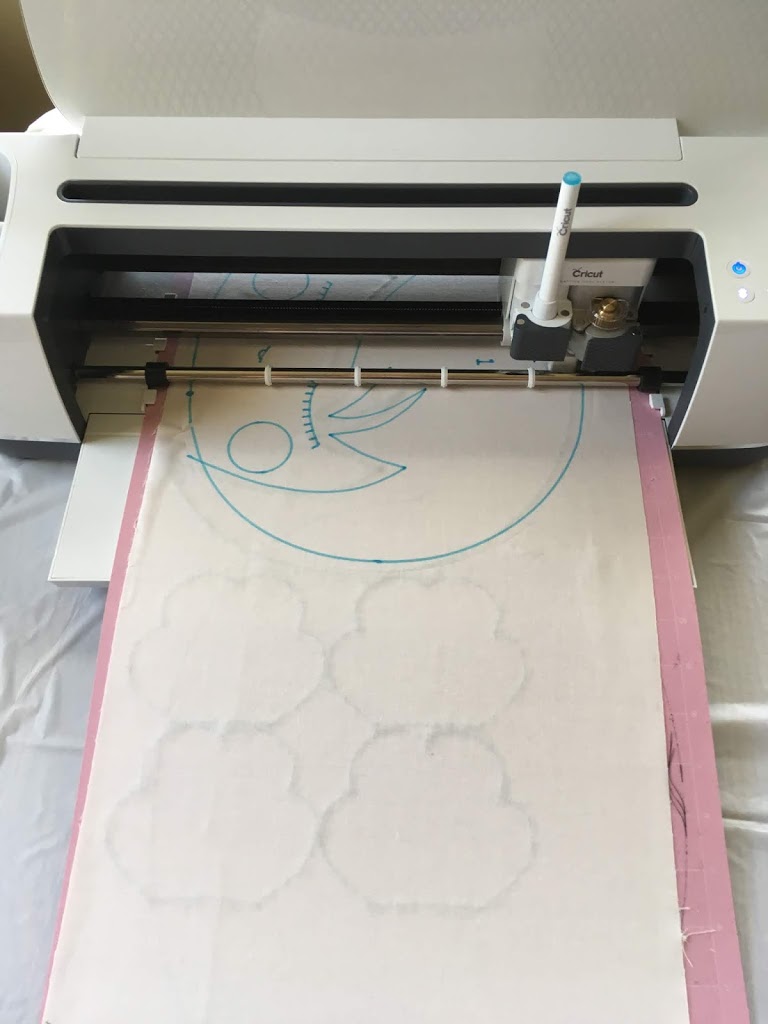
The face being traced on your fabric.
Cut your flowers – as many or as few as your would like
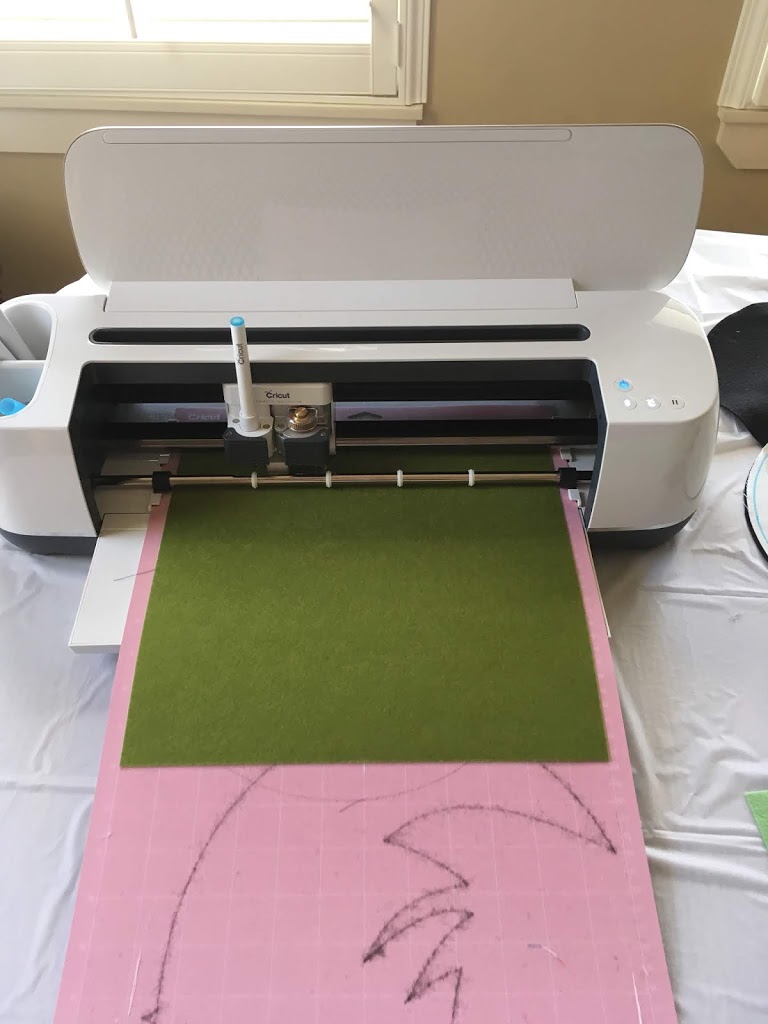
Cut leaves
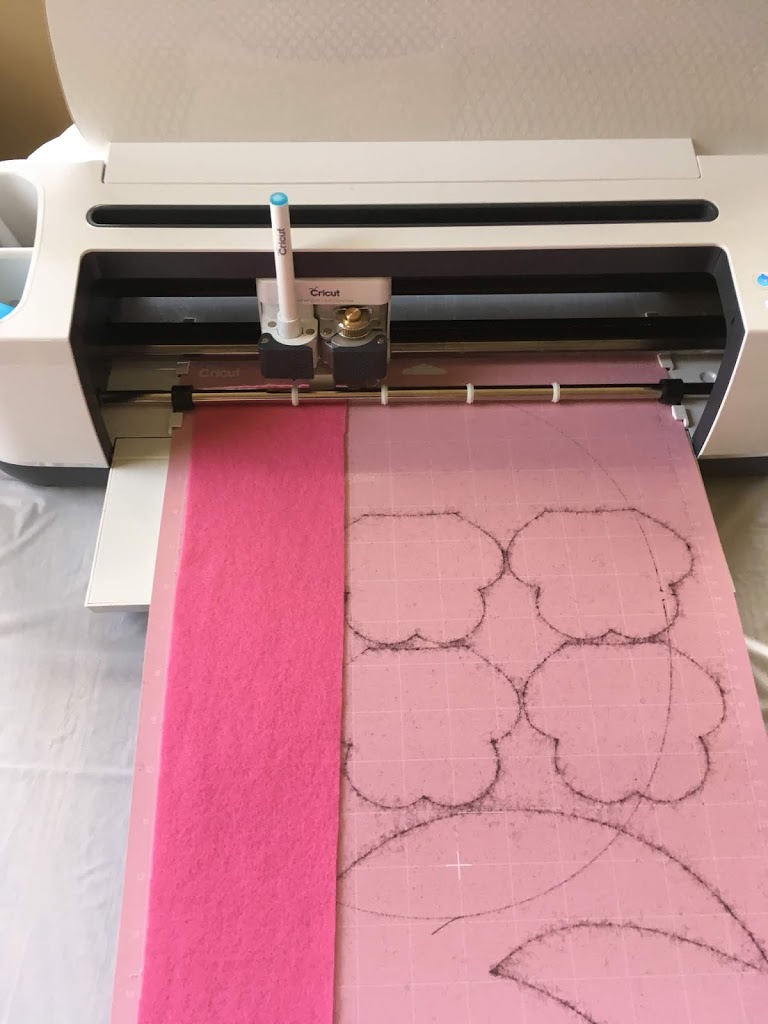
Cheeks – don’t worry about the felt left over on your mat – it will still work
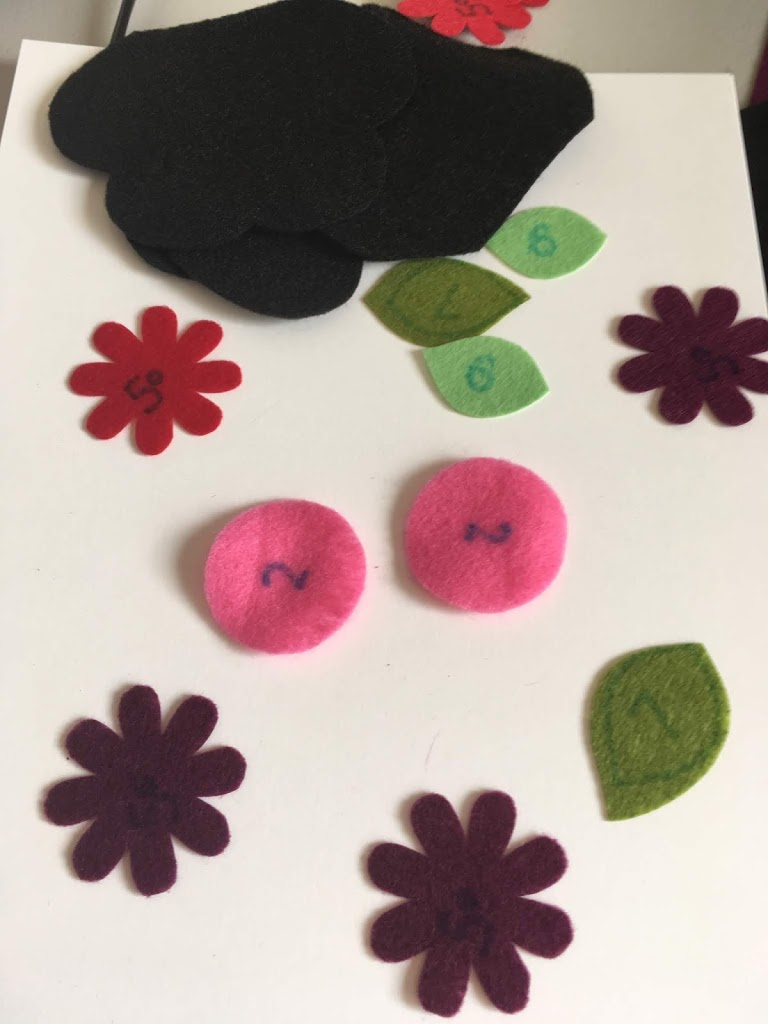
How cute are these little cheeks, flowers, leaves and hair
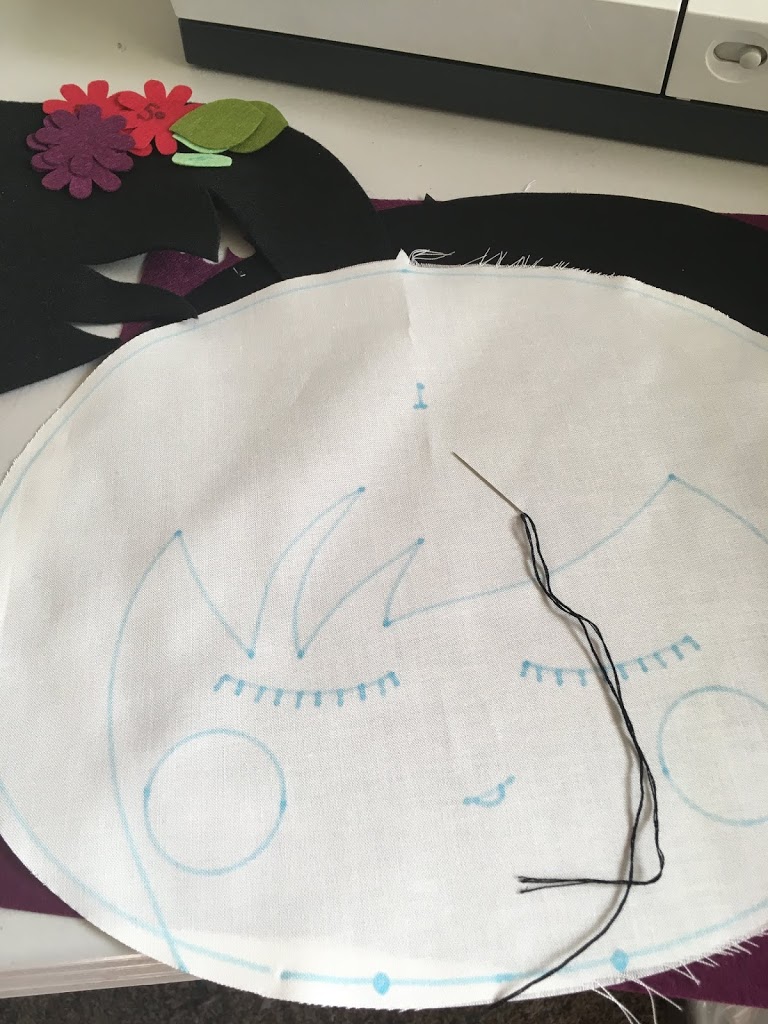
Look how fool proof they make this with the sewing lines, and outlines of where things go.

Next you will embroider the eyelashes and lips…before you sew things together
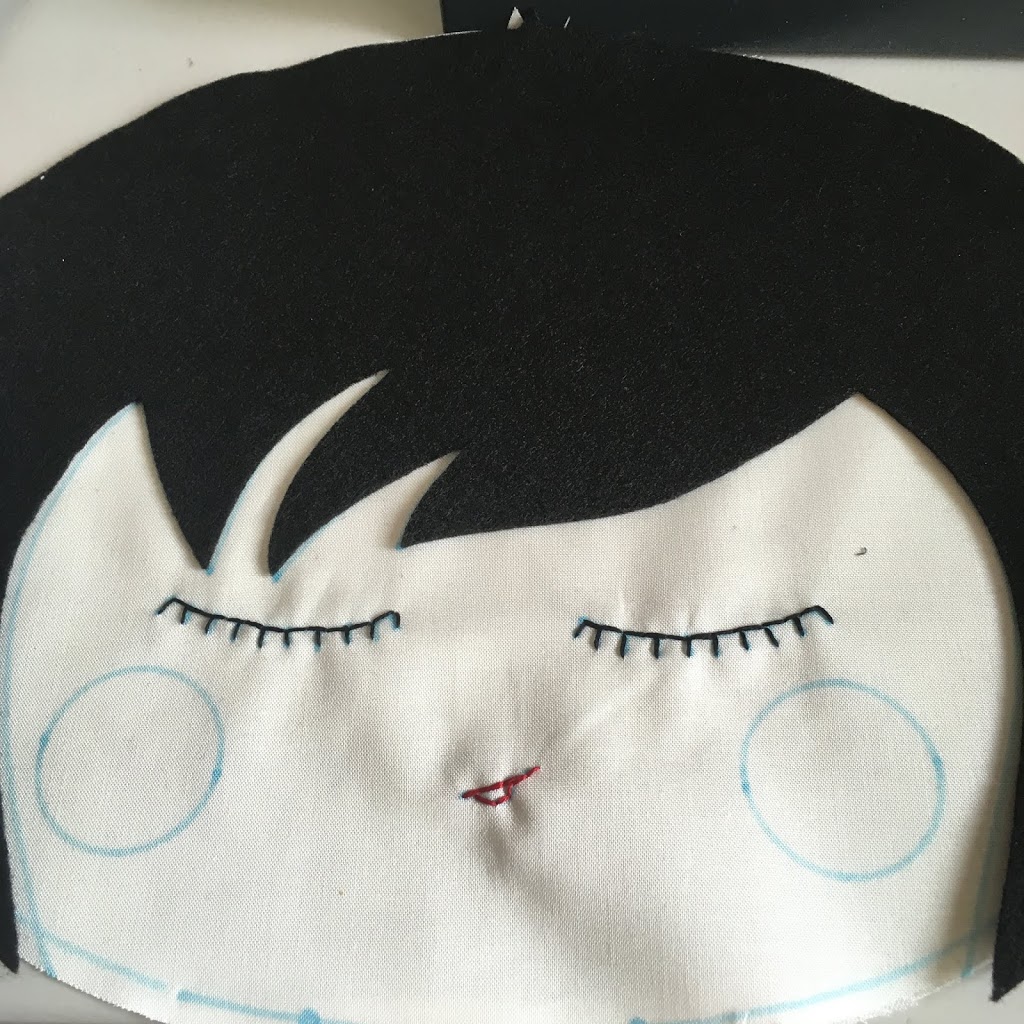
Add the hair to the face and sew together
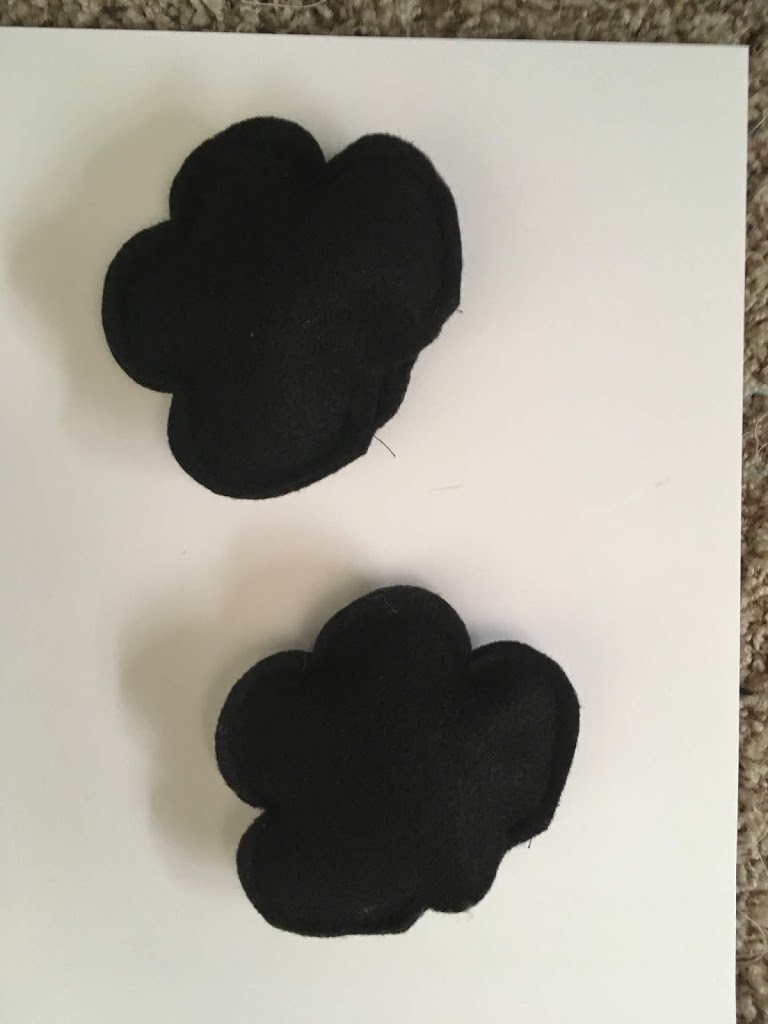
Sew your hair puffs (that’s what I call them) and lightly stuff with polyfill
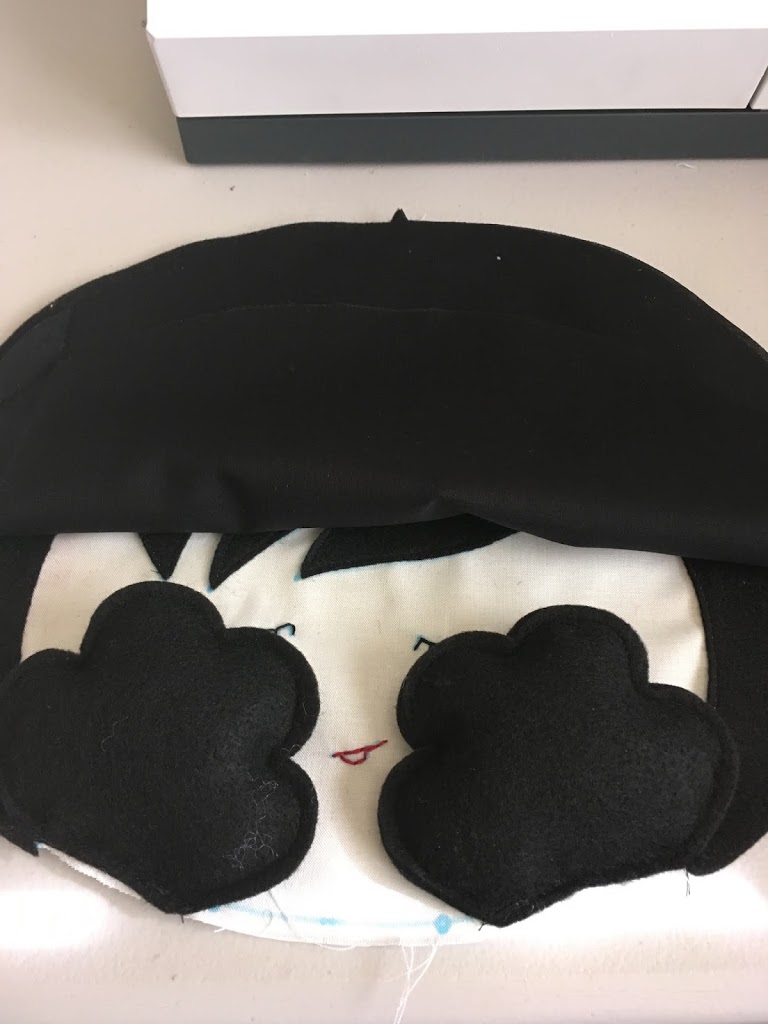
Add the hair puffs to the face – I found it easier to baste them on
Place the fabric hair on the face right sides together. Sew to the dots beginning on one side and ending at the other (leaving a hole). Turn to right side. Stuff with polyfill and sew closed. I added the flowers and leaves after. I used a french knot to attach the flower.
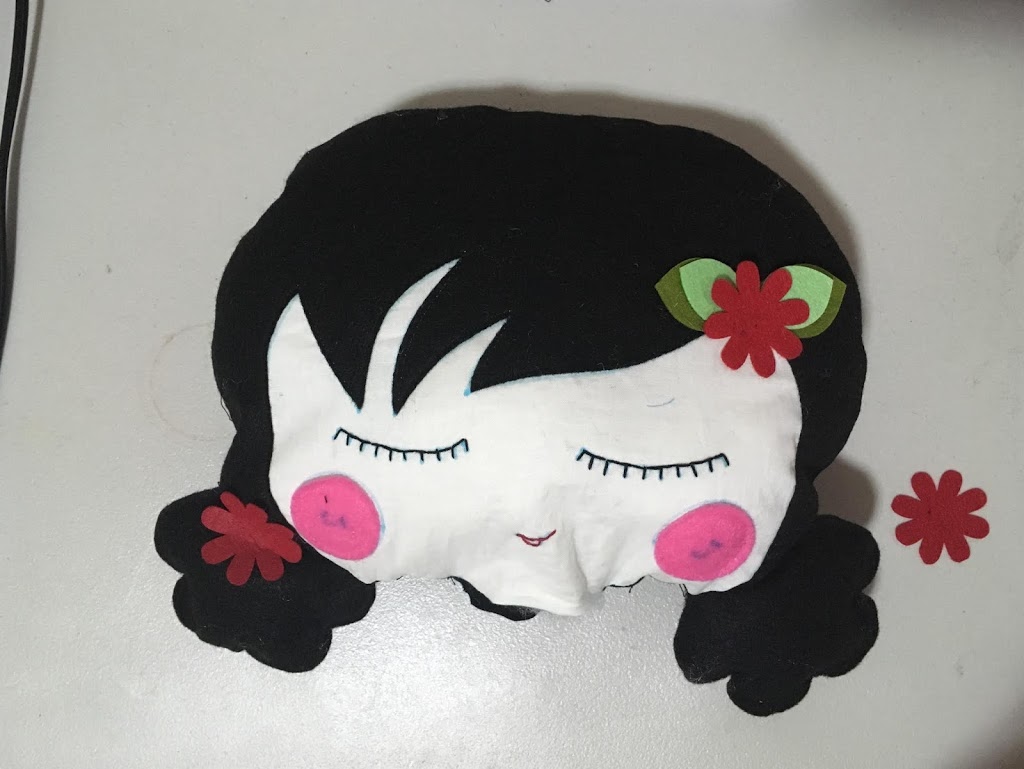
What to do with the fabric pen…holy moly, I thought I ruined my project. All that hard work. Thankfully, this pen is washable. I wet down my project with warm water and then put it in the dryer on a delicate dry cycle. I had to show you this so you don’t get scared!
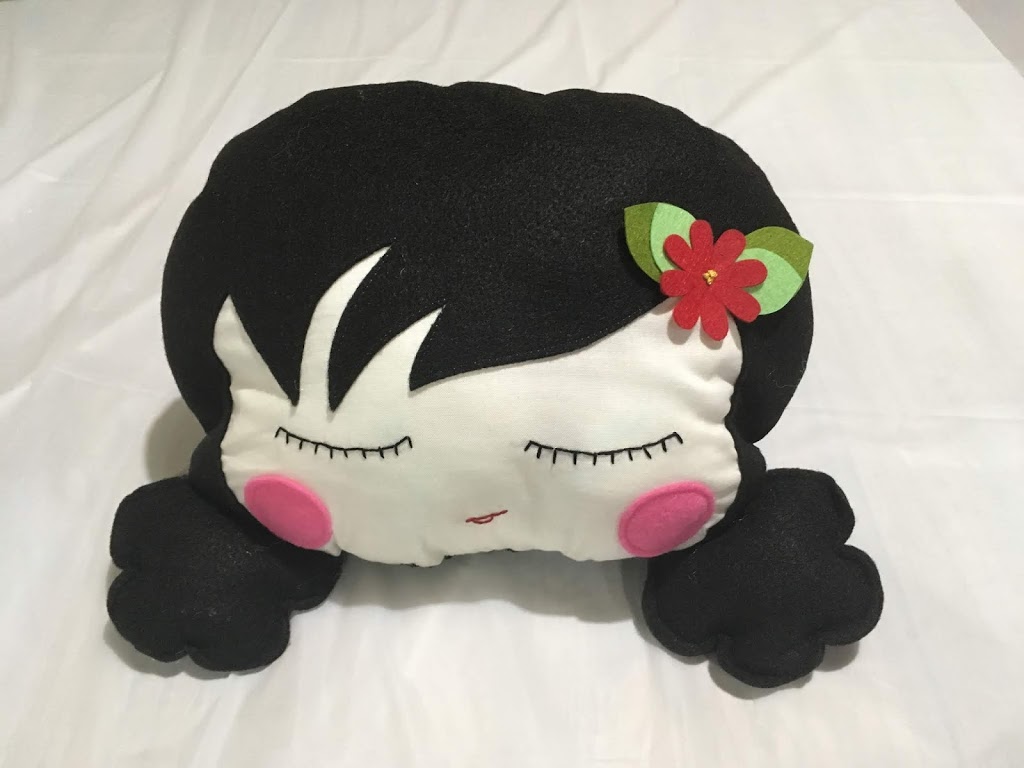
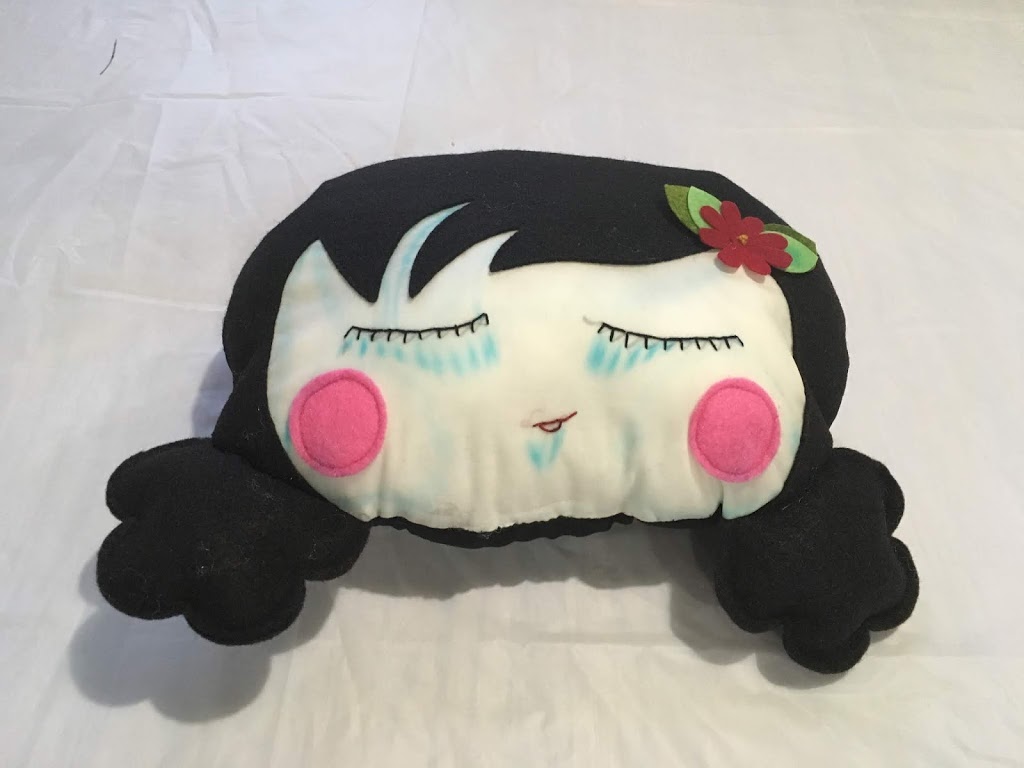
All finished! Don’t you just love it!
My next idea it to make this into a purse. How cute would that be? I know my girls would love it. Check back to see how I make that happen
This is a sponsored conversation written by me on behalf of Cricut. The opinions and text are all mine.

Recent Comments