Hi Friends!
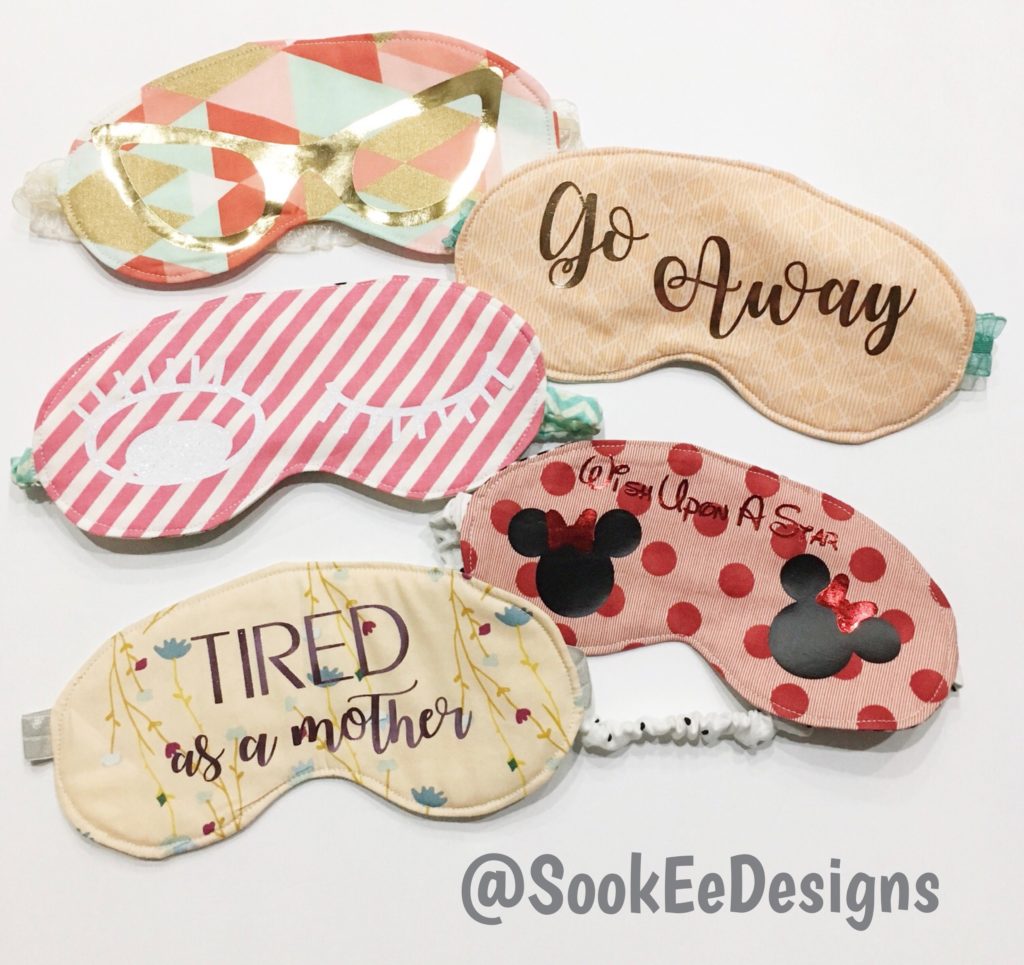
I am back with a fun tutorial and free download for these darling Eye Masks. Who doesn’t love a good eye mask? I like to put one on and sit in my tub…oh wait! I am a mom, who has time for that? I haven’t for a really long time. I do sometimes use them when I have a headache or migraine. They are so easy to make and once you get the hang of it you can whip them out quickly and have some on hand for a last minute gift.
Here’s a video of me demonstrating these on Fox 13 – The Place! It was my first time doing a sewing demo and it was LIVE television. So fun, scary and exciting. Watch for me again because they asked me back!
I like to use them as a hostess gift and pair with a cute cosmetic bag. You can fill it with a few personal items like your favorite lip gloss, hair product or nail polish.

- I was recently asked by a local TV station to come demo a sewing project and I had to think of something fast. I only had 4 minutes to discuss and show how to create something fun. I looked back through my posts and saw my eye mask. It was my first project I created for Cricut and I still love it. I knew it would be the perfect project!
Eye masks make really great gifts, they sew up quickly and you can use up your fabric scraps. Win-win! You can really personalize them and make them special. Let’s get started!
MATERIALS:
DIRECTIONS:
Step One: First be sure to follow me over on Instagram or Facebook. Download the Pattern (see link above) be sure to cut it out.
Step Two: Layer the two layers of fabric and fusible fleece and place pattern on top. Pin together and cut out.

Optional: if using a fabric covered elastic. Fold fabric right sides together and sew long edges leaving the short edges open.

Step Three: Place your back fabric on top of the fusible fleece right side facing up (so you can see it). Pin your elastic on to the fabric. Place your top fabric right side down (you will see the back of the fabric) on top of the others.

 Top fabric layered on top of others right side down.
Step Four: Pin your project together – or you can use quilt clips (as seen here)
Step Five: Sew project together – leave a 1-1.5″ opening so you can turn it right side out.

Step Six:
Turn your fabric right side, iron and close the hole. I like to sew over the whole project, but you could hand stitch together using a ladder stitch or your favorite method. If you wanted to add rice and essential oil do it before you close your hole. You are done!

My girls obviously love them. Aren’t they so cute? You can personalize your project once finished. If you are adding rice to your project be sure to use the iron on before you add the rice and close the hole. It’s super hard to iron on top of a bumpy surface.
Thanks for joining me on another fun project. I’d love to see what you create. Please comment with a photo or send me an email.

Monica@SookEeDesigns.com


Recent Comments