 This is a sponsored post written by me on behalf of Cricut. All opinions are 100% mine.
Hi Friends! Are you excited about back to school? I am excited and nervous. This year is unlike any other and our school is going back using a hybrid schedule. We will have a couple days in the classroom and a couple days of online learning. I love using my Cricut and I’ve been making masks and other projects during our quarantine time. As we head back to school I wanted to make sure my kids can find their backpacks, lunchboxes and personal items easily. I also, love how easy it is to find something in Cricut Design space that fits each of my kids personalities.
This year masks are required during school, I wanted to have masks for each day they are in school so we can wash them and send them with a new one each day. They get stinky and dirty and lost occasionally so it’s nice to have a few on hand. My kids didn’t want their name on their mask so we went with pictures and we made a school spirit one. I really love how they turned out and so do my kids.
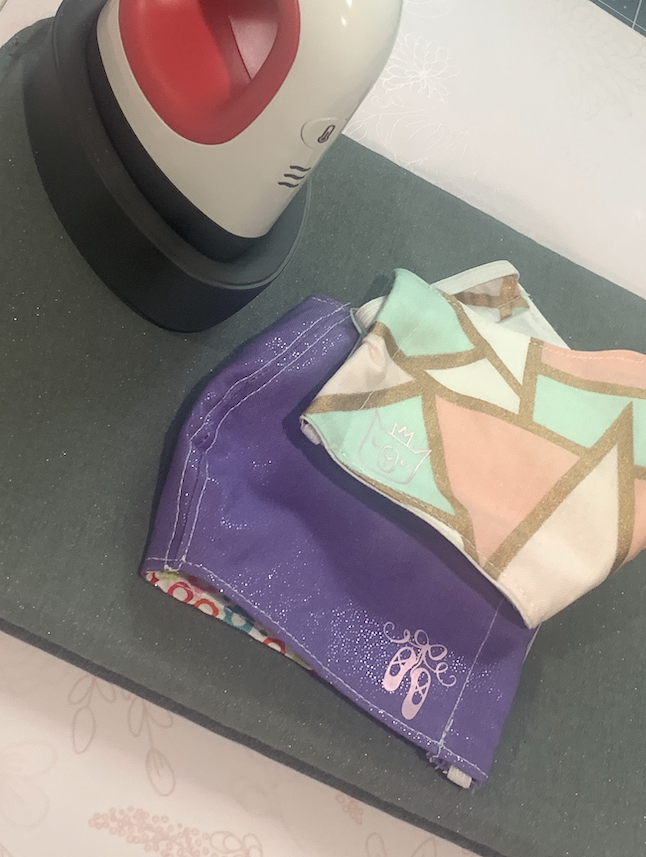
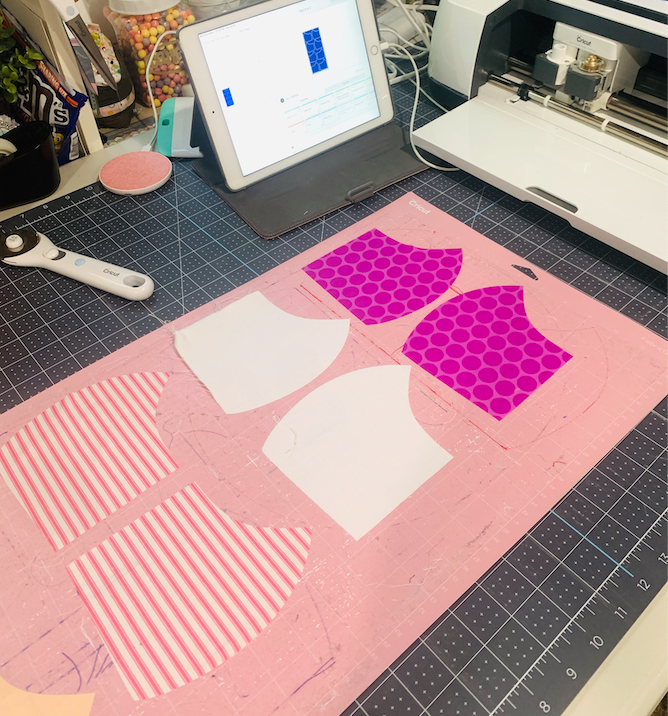
I used the mask pattern in Cricut’s design space it is easy to use and the pieces line up perfectly. I used the large mat to cut multiple masks at a time, which really speeds up the process. After the masks are sewn together, you can quickly iron on your kids favorite pic, their initials, name or whatever they want. I recommend measuring the size before you cut out your project. My kids like the images to be small, good news you have lots of options with Cricut.
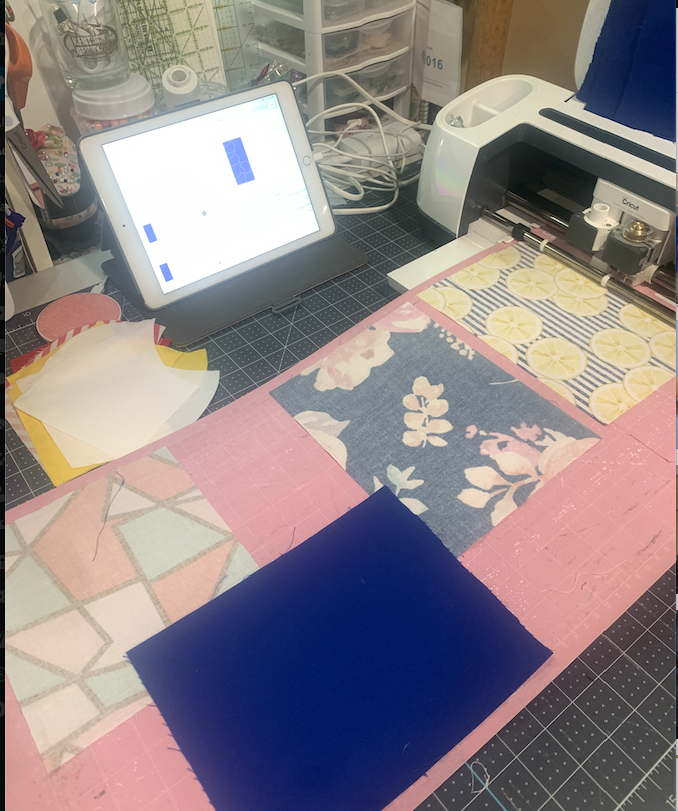
Once you cut out your image and weed it, line it up on the mask where you want it and then use your Easy Press to attach. I used my Easy Press Mini for the masks, it works perfectly for small projects like this. However, you can use any easy press you may have. I have to say I really LOVE my easy press machines. I highly recommend.
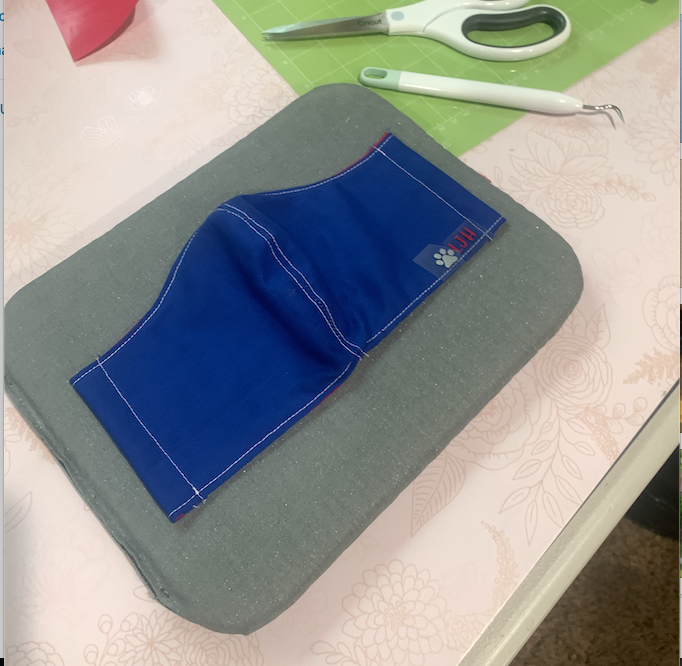
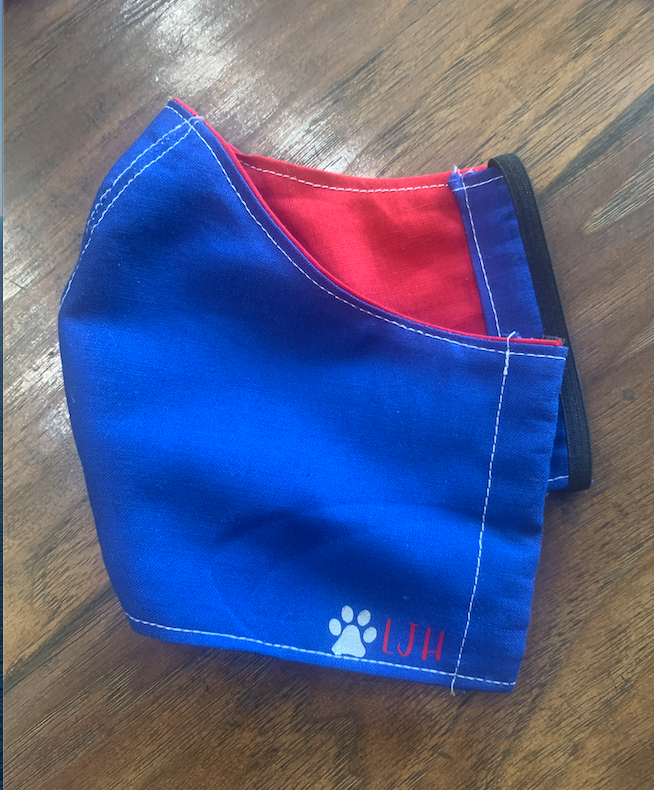
Don’t you love how this turned out? It’s perfect for game day and to show your school spirit.
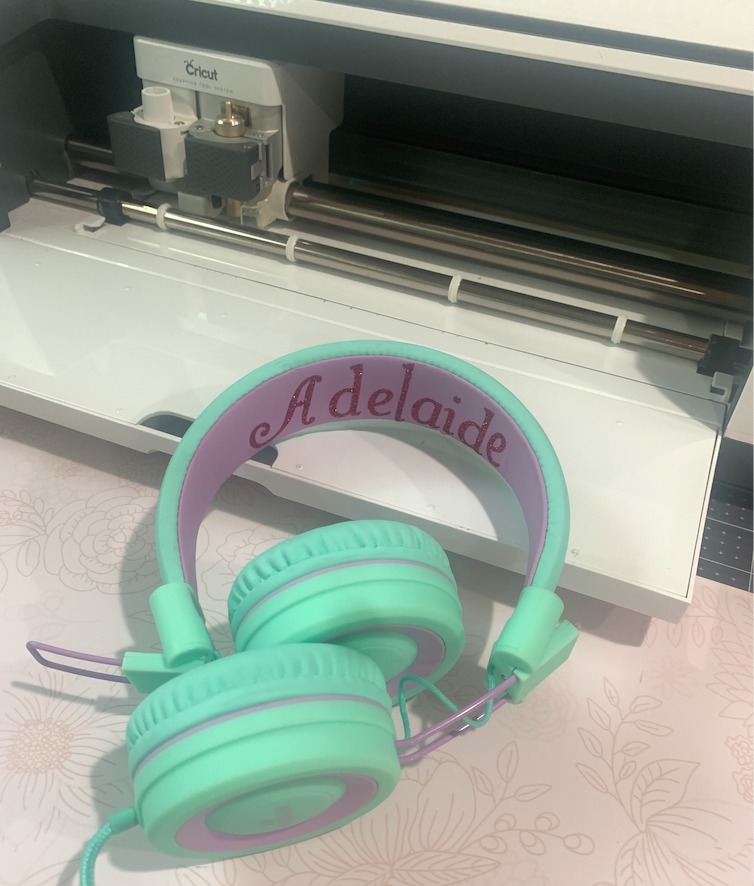
I wasn’t sure if this project would work, but it did and I am so happy! Since we needed our own headphones this year, I wanted to make sure my daughter could keep track of hers. I used the easy press mini to attach the glitter vinyl letters. I pressed for about 15 seconds and checked to see how it was doing. Pressed for a few seconds more if it wasn’t quite ready.
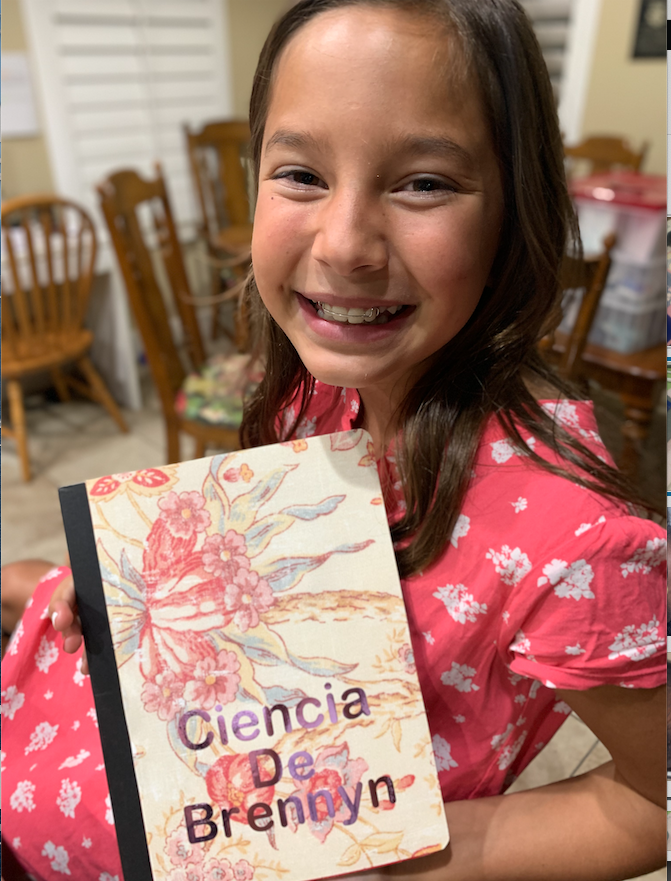 This cutie needed a science journal for her Spanish class, so we used foil iron on and applied it to her paper composition notebook. It’s fun to use iron-on in different ways and on different materials. We love using it on paper.
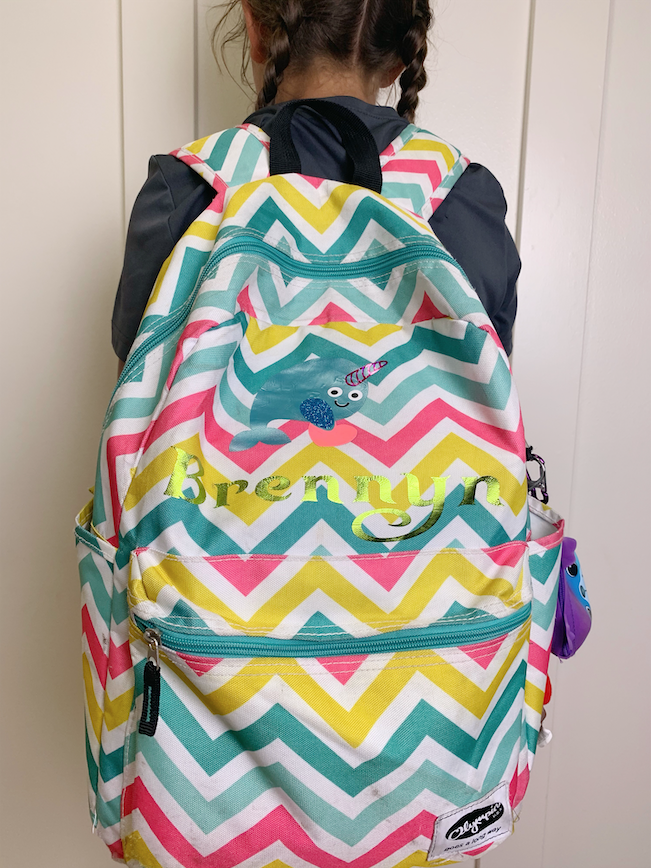
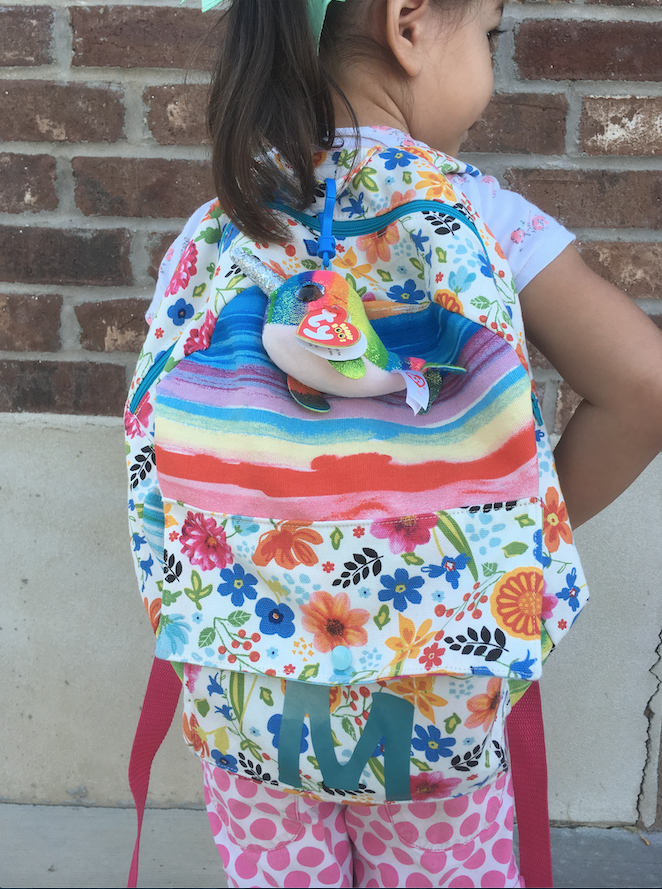
Of course backpacks are a must to personalize – I know from previous years, my kids will always have a matching pack with another kid. It’s nice to quickly add a name or Initial so they don’t get confused at school. 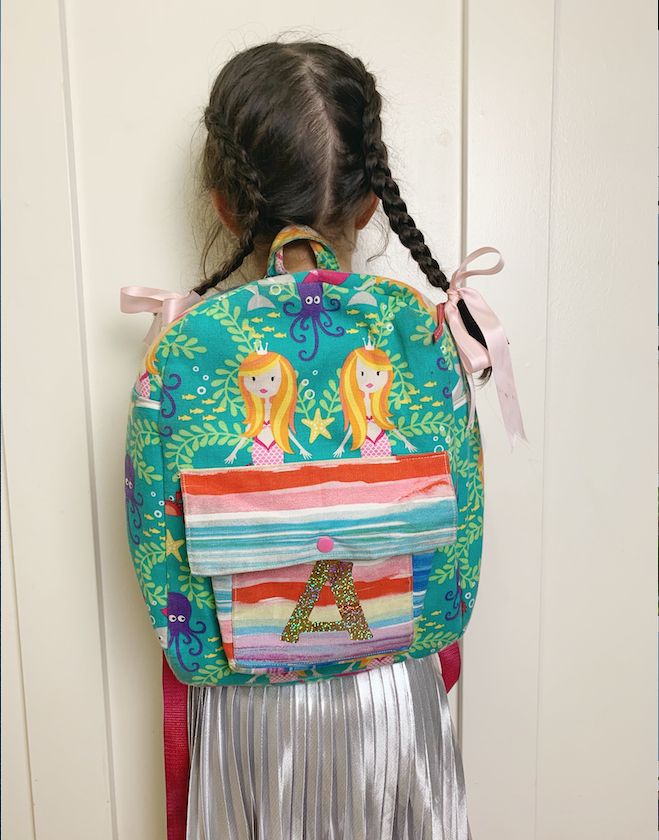
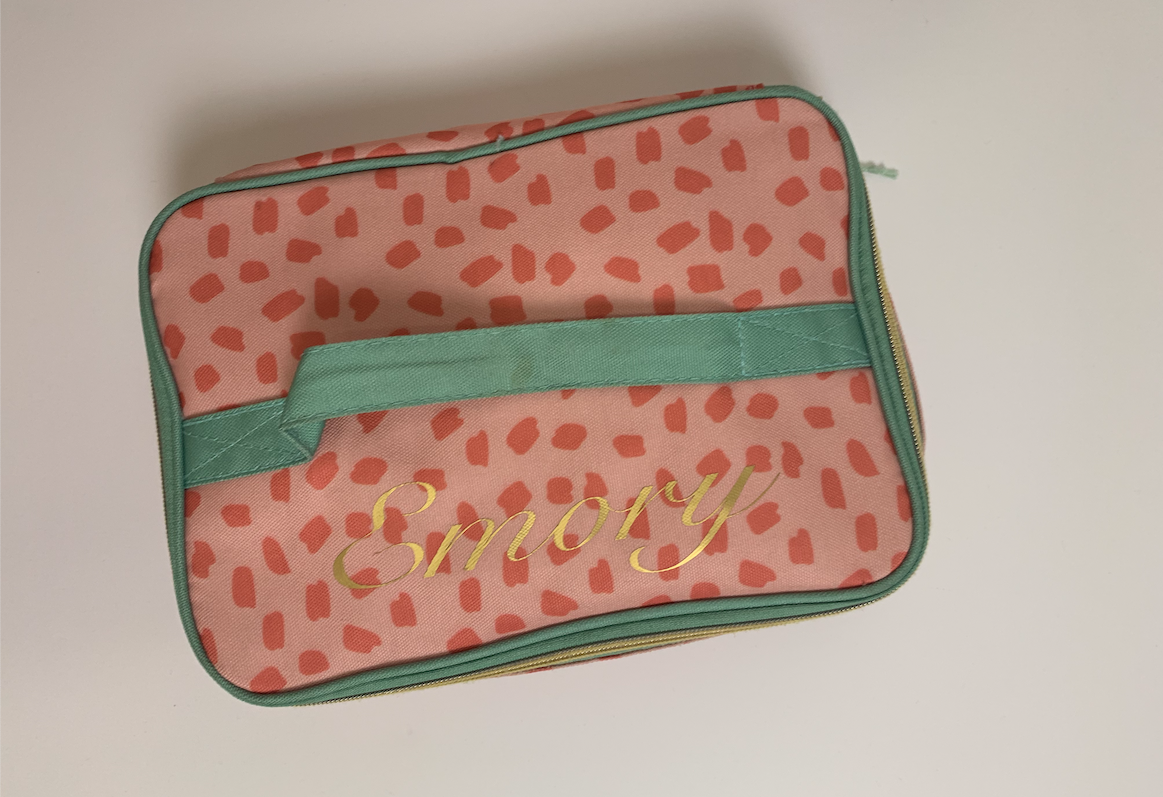
My daughter loves the way this lunch box turned out. She got to choose the font and the vinyl. Since she is in junior high, you know she wanted something special and I know this is exactly what she wanted.
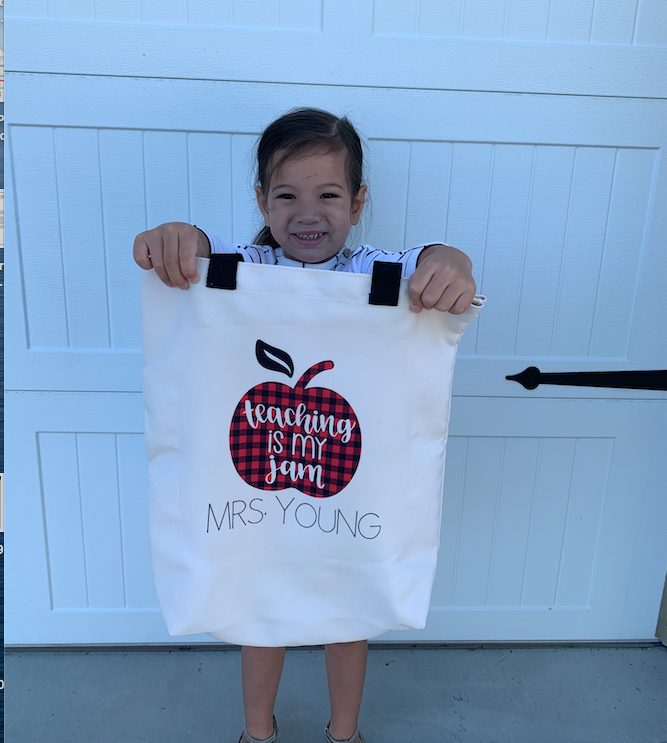
Finally, who doesn’t want to take a fun bag to the teacher on the first day. This easy to create personalized, infusible ink bag is perfect. We like to fill it with Clorox wipes, glue sticks and this year lots of hand sanitizer.
Whether you are headed back to school in person or online you know Cricut can make your school supplies shine! I would love to see what you create so drop me a message or comment below with your favorite back to school project. Which one would you make first?
As always, thanks for stopping by!


Recent Comments