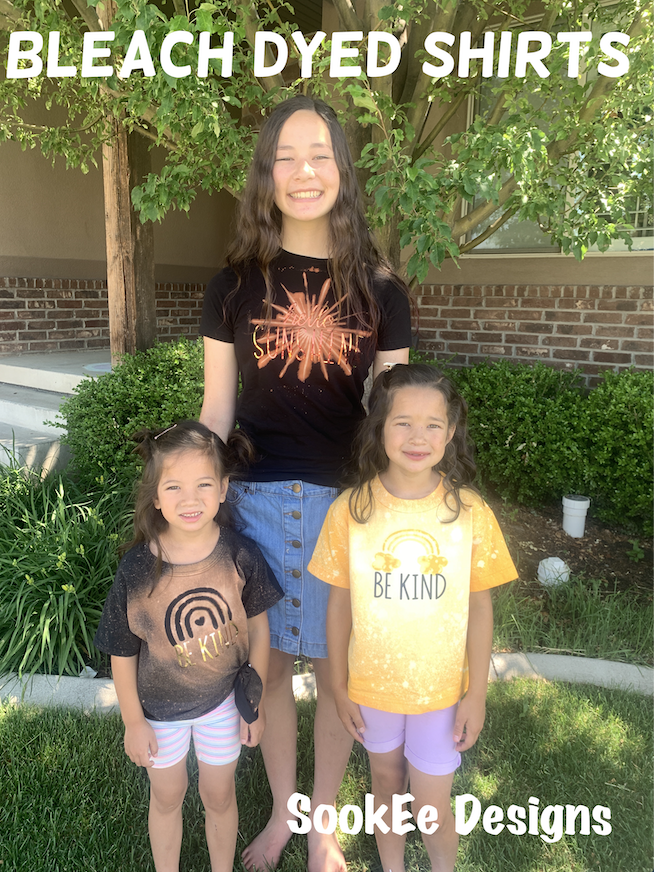
Hello Friends! Hope your quarantine have been going well. It’s been a little crazy here with five kids in four different schools. I think we finally finished and I feel like I can blog again. I am ready to share a fun project we did. My kids love being crafty and I love nurturing that in them. I think being creative is therapeutic. Bleach dyed shirts are an easy project and so fun because you really can tailor them to your creative tastes.
MATERIALS NEEDED:
This contains affiliate links, which means if you click through and make a purchase, I will receive a small compensation at no extra cost to you. It helps me continue blogging and creating content for you to enjoy.
Shirt – White doesn’t work at all, unless you use dye. Most other colors will work and you can used shirts that have a stain on them. I found my shirts a the dollar store – so it was super economical.
Spray Bottle – filled with 1/2 bleach 1/2 water solution. I like this type of nozzle where you can adjust the spray width.
Vinyl – I used removable vinyl – not iron on.
Freezer paper – this can be used instead of vinyl, it works really well and can be used multiple times.
Cricut or Silhouette – not necessary but easy if you have one.
Iron on Vinyl – this step is optional, I really liked adding the vinyl to personalize the shirts more.
PROCEDURE:
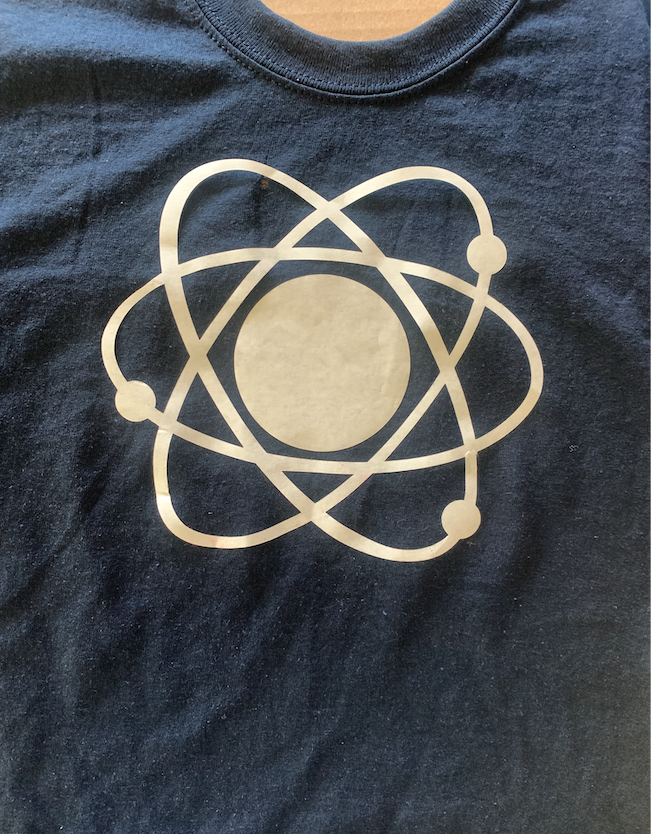 Cut pattern out of freezer paper or vinyl. I used my Cricut. Any cutting machine should work or you can trace a pattern on freezer paper and cut by hand. This shirt was done with freezer paper.
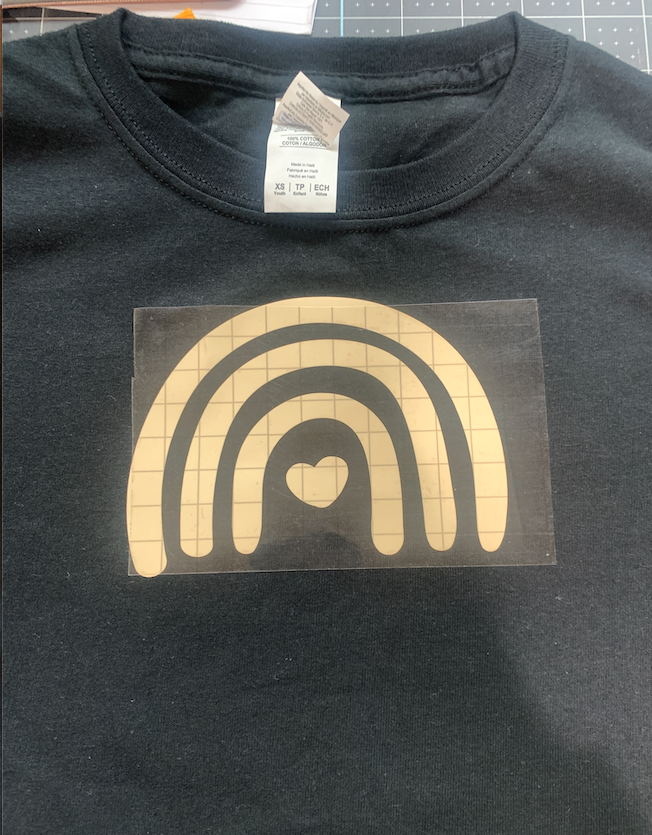
This shirt was done with vinyl. I used transfer tape to transfer the pattern to the shirt and then removed the transfer tape.
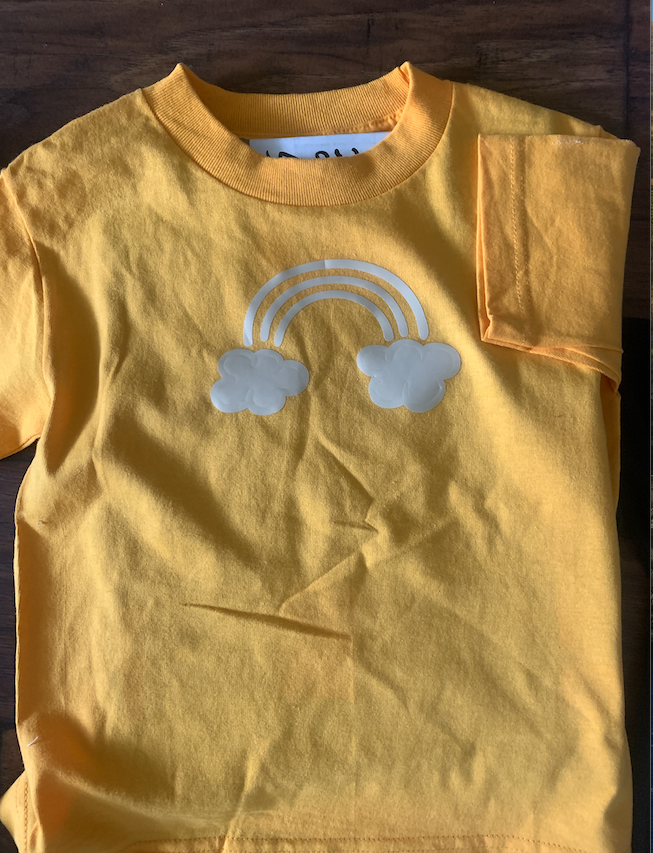
Place a piece of cardboard into the shirt so the bleach doesn’t soak through and then take outside to spray.
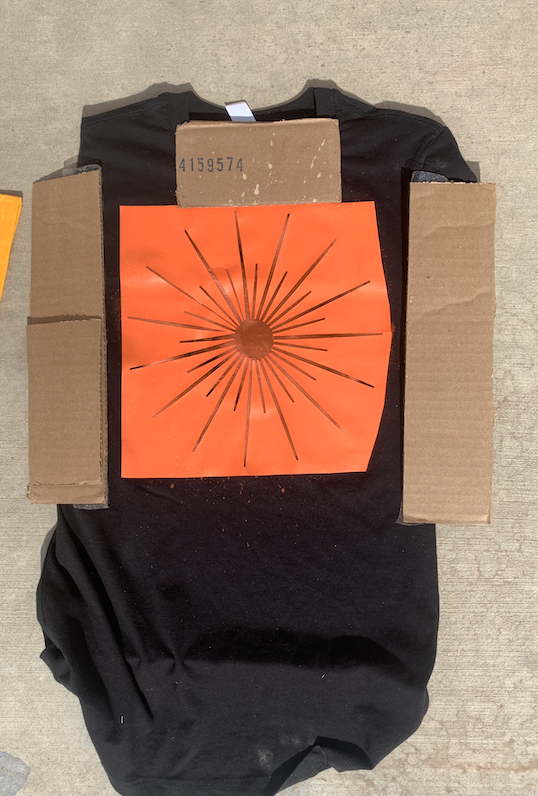
For this shirt I added cardboard around the edges because I didn’t want the whole shirt to be bleached.
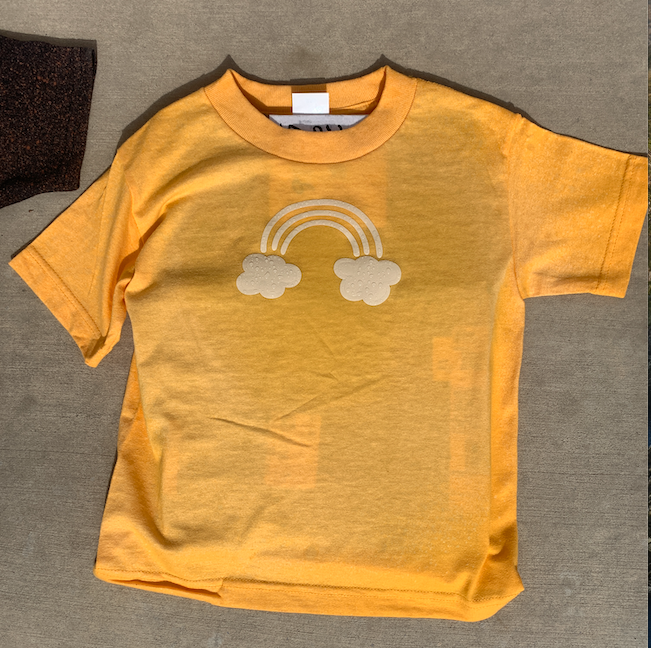
I sprayed really well around the vinyl pattern and then sprayed all over the shirt. I wasn’t sure how the yellow shirt would work, but I really love how it turned out. The bleach was hard to see at first, be patient with light colored shirts.
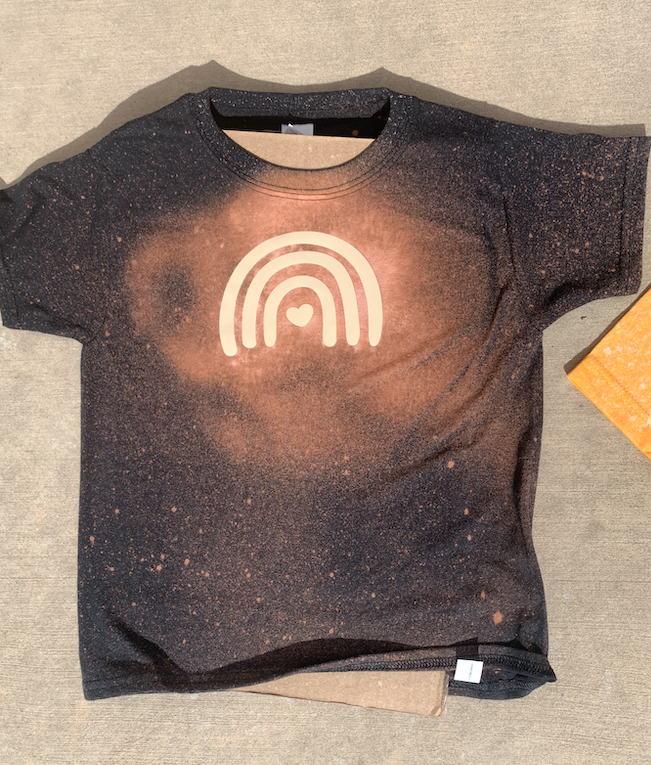
You will see the bleach start to work almost immediately. If you want more or less of the splatters just reduce or increase your spraying.
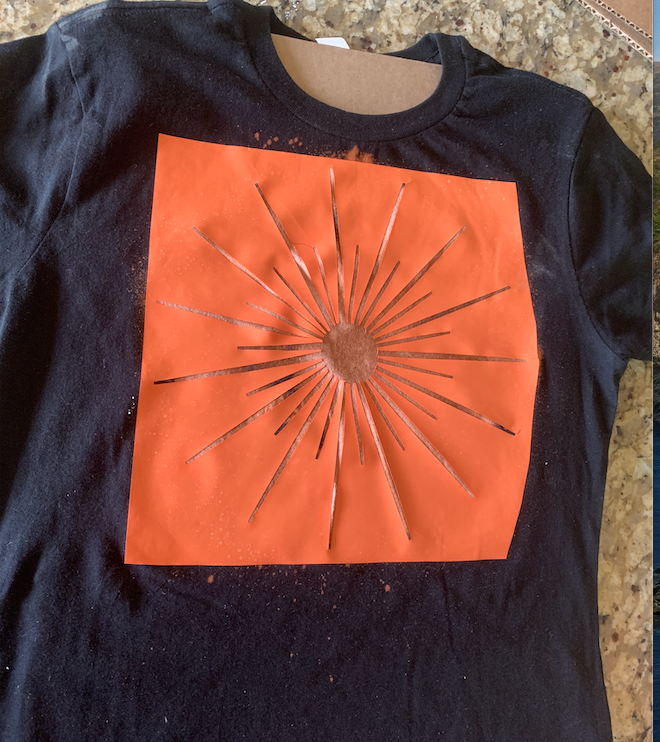
You can see how much the color changed inside my pattern, once I like the look of it, I removed the vinyl (or freezer paper) and rinsed the shirt in cold water and then washed it.
I recommend about 15-30 minutes. This is a personal preference. Less time lighter bleach marks, more time you get a darker color.
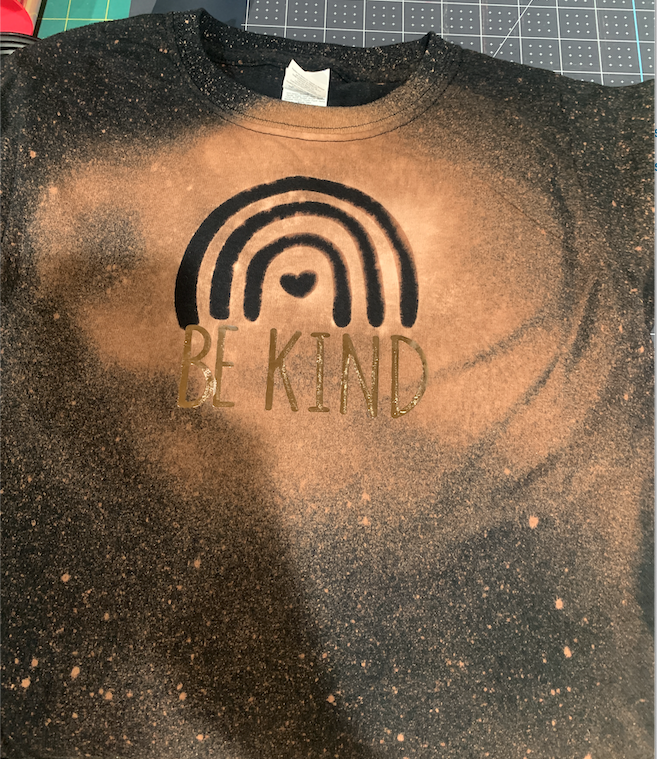
Once the shirt is washed and dried, I added a vinyl saying.
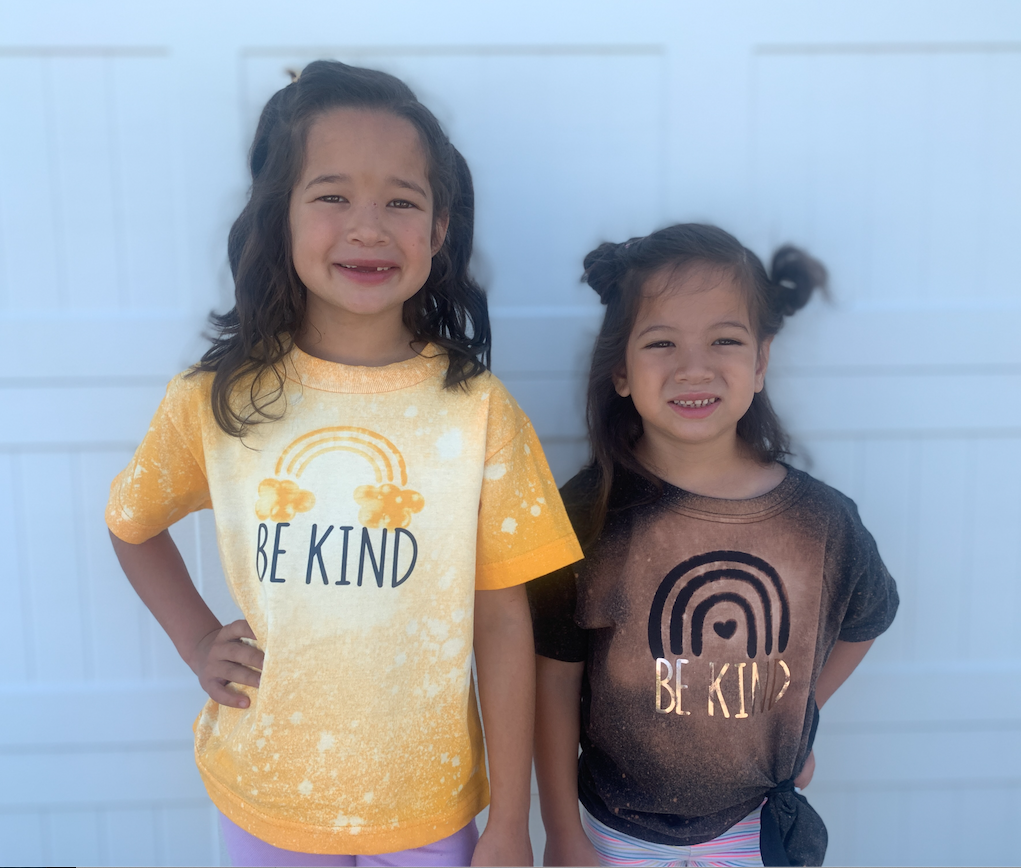
My kids were able to help by spraying and choosing their own patterns. We loved how they turned out and I would love to see what you create. Send me a photo and let me know if I can post to my social media accounts. I appreciate you stopping by and hope you’ll come back again.
Don’t forget you can see me once a month over at Fox 13 – The Place for fun tutorials and projects.


Recent Comments