Hi! Today I will be appearing on Fox 13 – The Place showing three easy craft projects to do with your kids. I love creating and crafting with my kids. Spending time with my kids creating and talking has become one of my favorite things to do. I am always trying to find ways to connect with my kids and give them opportunity to talk to me about their day and whatever is on their mind. I have found that crafting together gives us those bonding moments. These projects are a favorite of ours and hopefully you will love them too! Also, they work for a wide age range of kids too! Let’s get started.
If you decide to make a purchase through my links, I will be paid a small commission for it. This doesn’t cost you anything additional. These commissions help to keep creating fun projects for you to enjoy! Thank you!

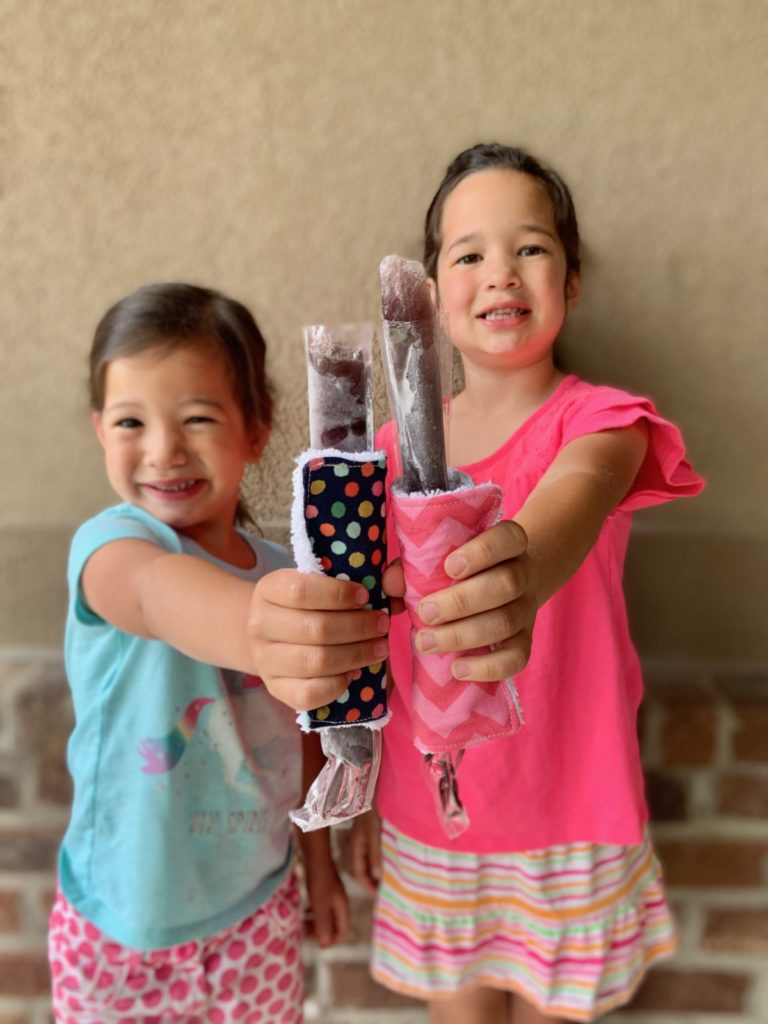
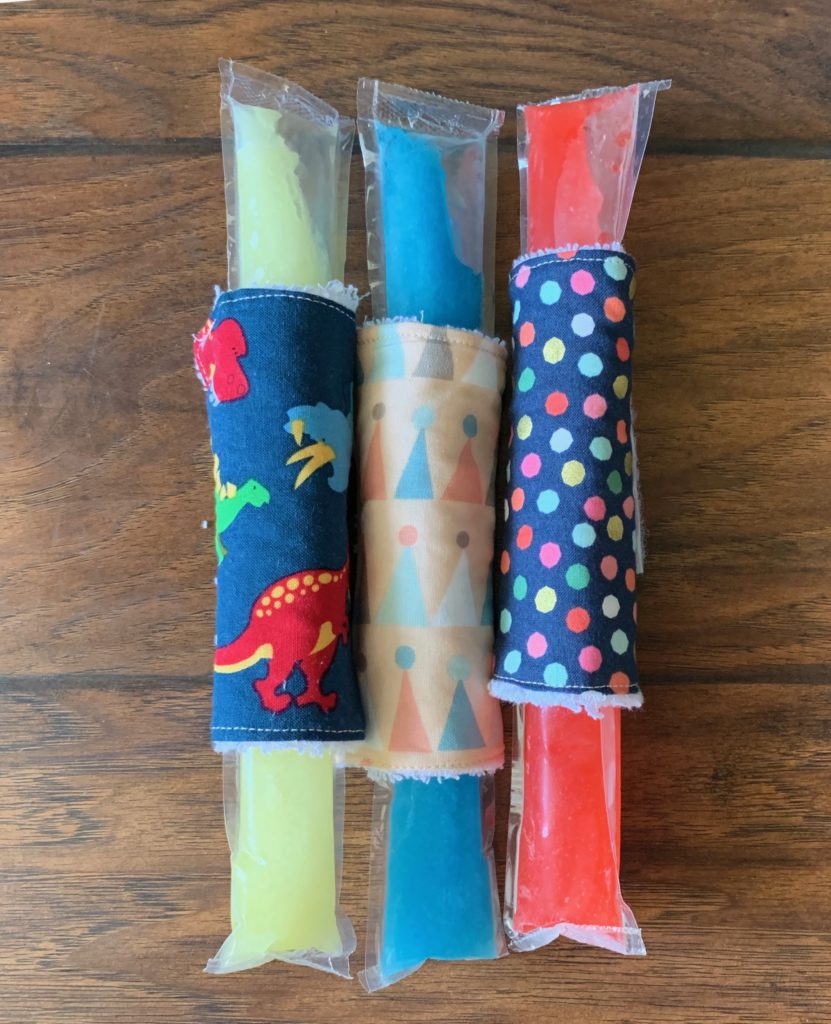
First up, Freezer pop holders (or little cozies). Adults have cozies for their drinks, why not kids? Right?
Do your kids beg for freezer pops during the summer and then complain about how cold their hands get? Mine do! Every. Single. Time. I used to use a towel (if I could find a clean one), a napkin or a paper towel. That is just wasteful and annoying. I found some cute examples on Pinterest and decided to try them out. Guess what? My kids love them.
Materials Needed:
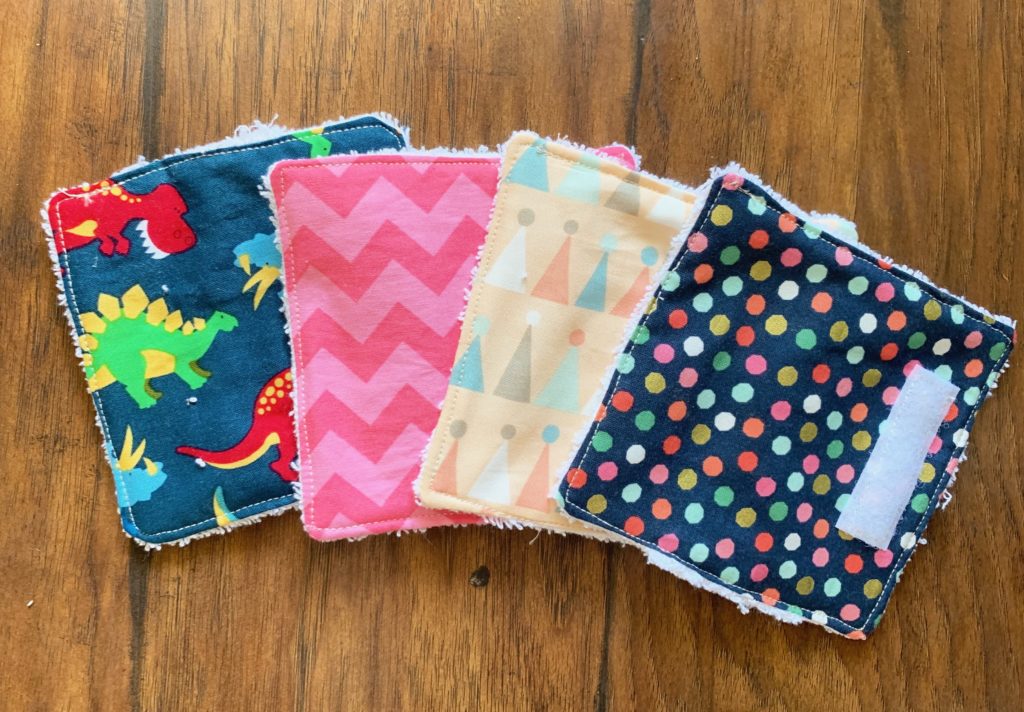
5″ X 5″ of fabric or a charm pack or fabric scraps
Velcro – sewable or stick on. I prefer sewable it will last longer
Sewing Machine
Thread: This is my favorite brand
Tutorial:
- Cut the fabric and hand towel into 5 inch squares
- Pin velcro onto the cut towel and fabric. 1/2 inch from one edge.
- Sew velcro onto fabric and towel
- Place the fabric and towel right sides together with velcro on opposites sides.
- Sew around outside, leave a 3″ opening.
- Cut corners. Be careful not to cut through stitching
- Turn right side out, push corner points.
- Sew around entire perimeter to close hole.
- You are done! Enjoy!

These Freezer Pop Holders are machine washable. Perfect for when they get dripped on.

Second, my teenage daughter LOVES scrunchies. I tease her all the time about it. I wore them when I was her age and I think it’s funny they are back in fashion. Personally, I could never understand whey they were fashionable to begin with, but I do love this updated look. I found an easy tutorial over at Orange Bettie, Anne is wonderfully kind and I loved meeting her at a recent conference I attended. She has a great free pattern and tutorial over on her blog. You can find it here: Orange Bettie Scrunchie Tutorial and Free Pattern. I hope you will check it out. I made these using her tutorial.

My girls love them!

Finally, this is a fun project for younger kids. I love that it helps them with dexterity, creativity and they learn how to use a needle and basic sewing skills. I use a thicker needle which is easier for little fingers to grasp and maneuver.
Supply List:
Paper Plates I found cute polka dot plates or you can use plain white plates.
Yarn You can use one color yarn or variegated which is really fun.
Instructions:
- Trace a pattern or shape on the plate. I let my kids do this part – hence the extra shape.

2. Poke holes around the pattern. I do this part or have one of my older kids help. I use a push pin or straight pin.

3. Thread needle with yarn and begin sewing.

4. Go up through the back and down through the front. Continue until you have gone through every hole. You can let them sew in any direction. It makes each one unique and special.

5. You are finished. Tie off the threads in the back.

I hope you enjoyed these fun projects. I would love to see whatever you create. Please come back for more tutorials and message me with photos of what you make with your kids.
Do you have a favorite kid craft, message me with a photo and info. I would love to feature your creations on the blog.
Thanks!


Recent Comments