This post is sponsored by Cricut, but the views and opinions are mine.
Welcome to my second post (See the first post here about picking your quilt kit and fabric) about the Cricut Maker and Quilting. Have you ever wanted to be a quilter? I did! I have a friend, Diane, that is so amazing at sewing. She inspired me to learn how to sew. My first project I ever made was a quilt. It was pretty simple and I hand quilted it after, but it was UGLY! The seams weren’t quite straight and the fabric was not as pretty as it could have been. Having my Cricut Maker really helped up my quilting skills.
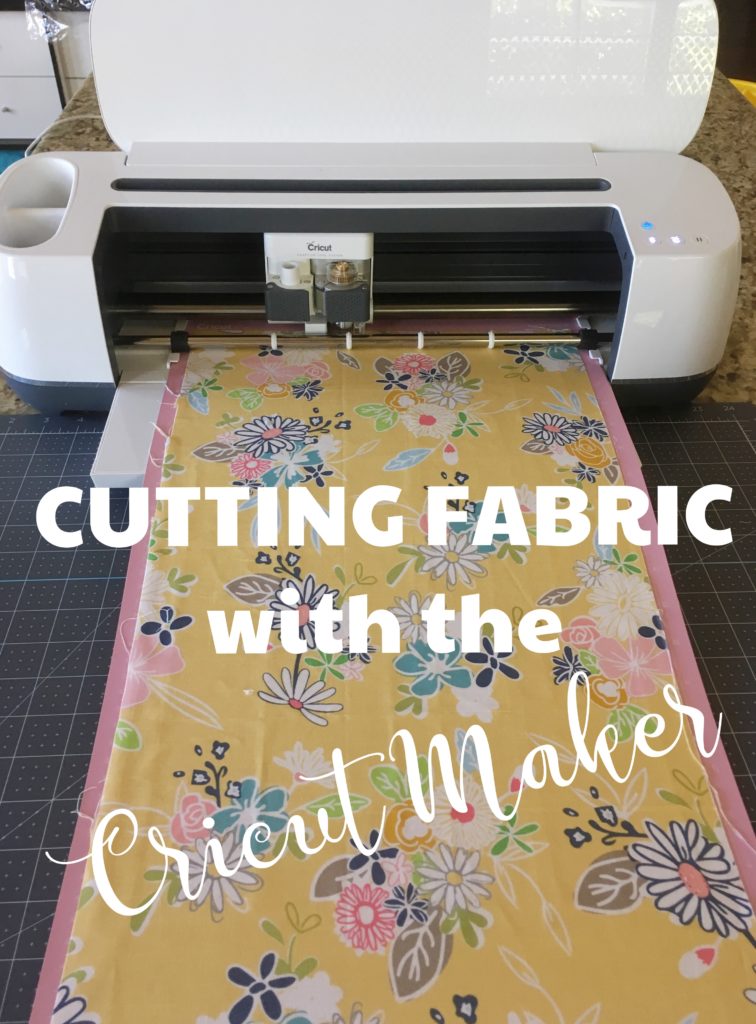
One thing that I immediately noticed is every single piece is perfectly cut! This makes a huge difference when you go to sew it all together. The amount of time you save when cutting my hand is huge! You know that adage measure twice cut once? Well with the Cricut you just place your fabric on the mat and have it cut – This is literally the first time I have made a quilt that all the pieces were correct. Having someone (or in this case something) do your cutting for you is so satisfying and makes piecing a quilt together easy, quick and so efficient.
MATERIALS
–Riley Blake Daisy Days Throw Quilt Kit
–Framed Throw Pattern in Design Space
–FabricGrip Mats, you only need 1, but I had 2 mats and it went fast.
-Thread
CUTTING THE FABRIC
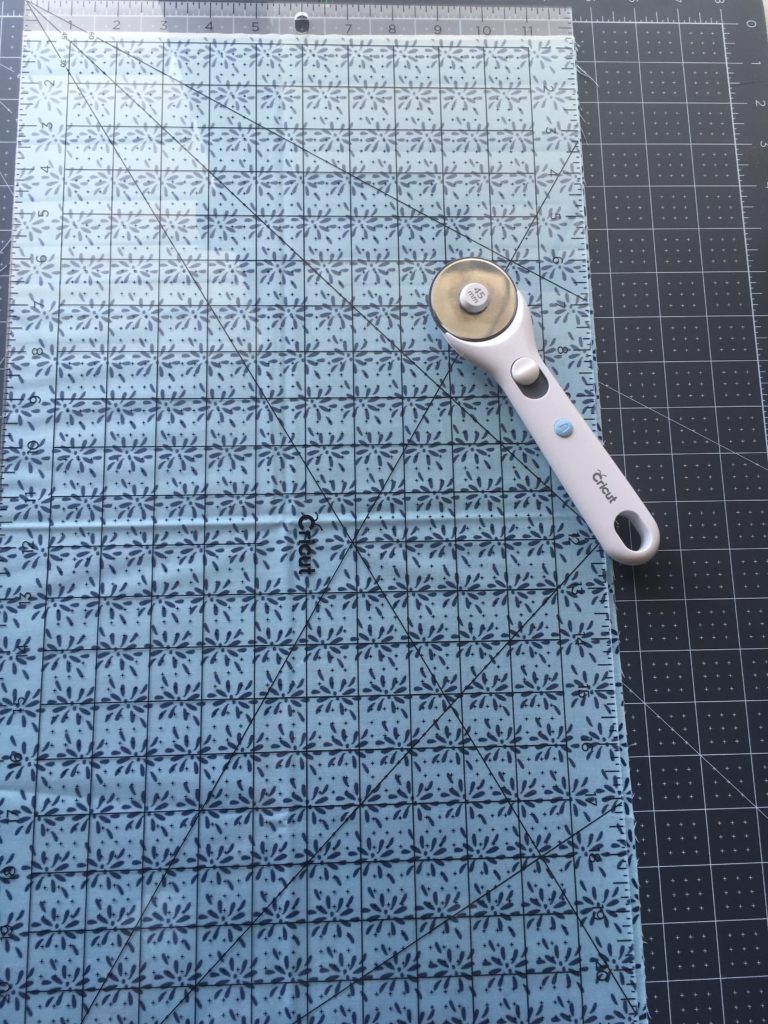
What? I thought you said no cutting. I know, but this is the only cutting you have to do. You need to trim down pieces to the right size to fit Cricut’s FabricGrip Mat. 12″ by wof (width of fabric). It’s ok to have some fabric hang off the edge. Basically just cut 12″ strips. So EASY!
Using the Cricut Ruler and Rotary cutter makes this cutting process so easy. You really start to feel like an experienced quilter! I love the ruler it’s exactly 12″ so you just place it down on the fabric, line it up and cut. I appreciate how easy Cricut has made this sewing experience.
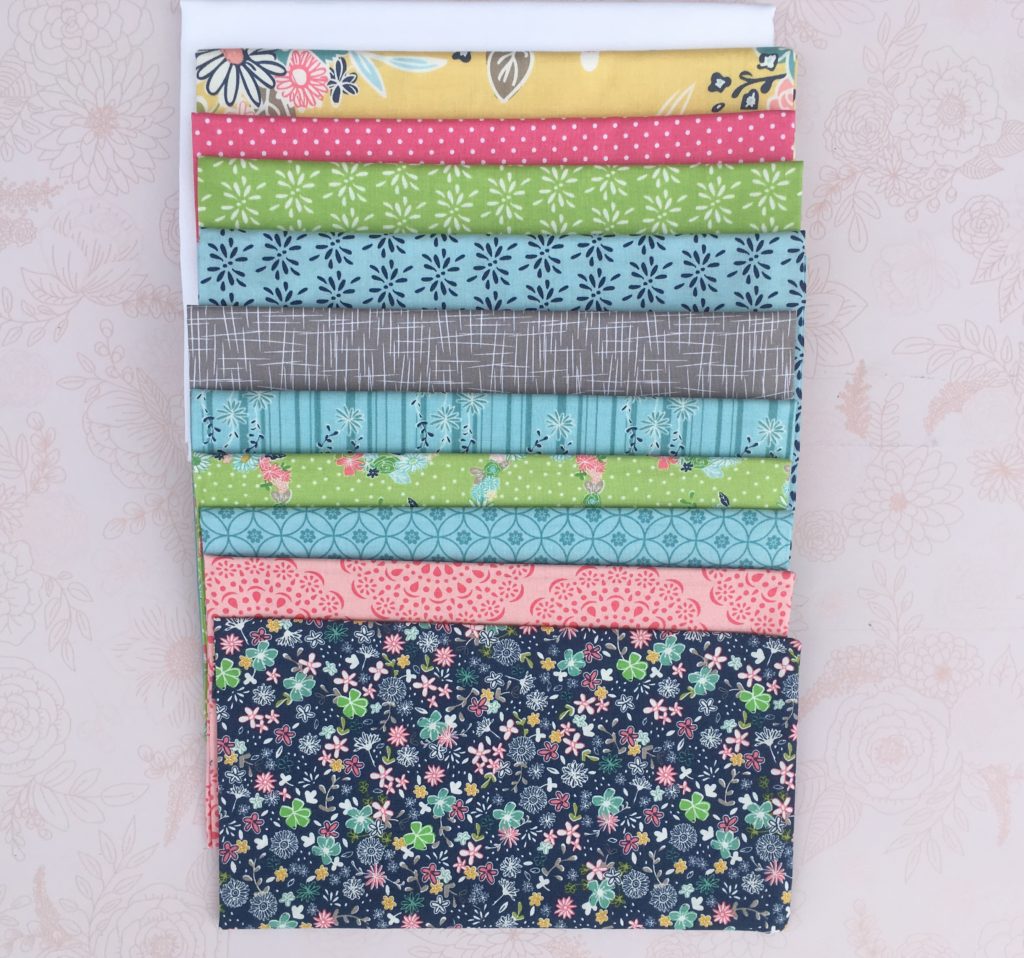
Be sure to pay attention to which fabric needs cutting. Not all of my fabric needed to be cut down. One of them is the binding so you don’t want to cut that. I set my fabrics out in the order they would be cut to help me remember. Once cut, I placed them in order again based on the pattern so I could easily find my fabric when I began sewing.
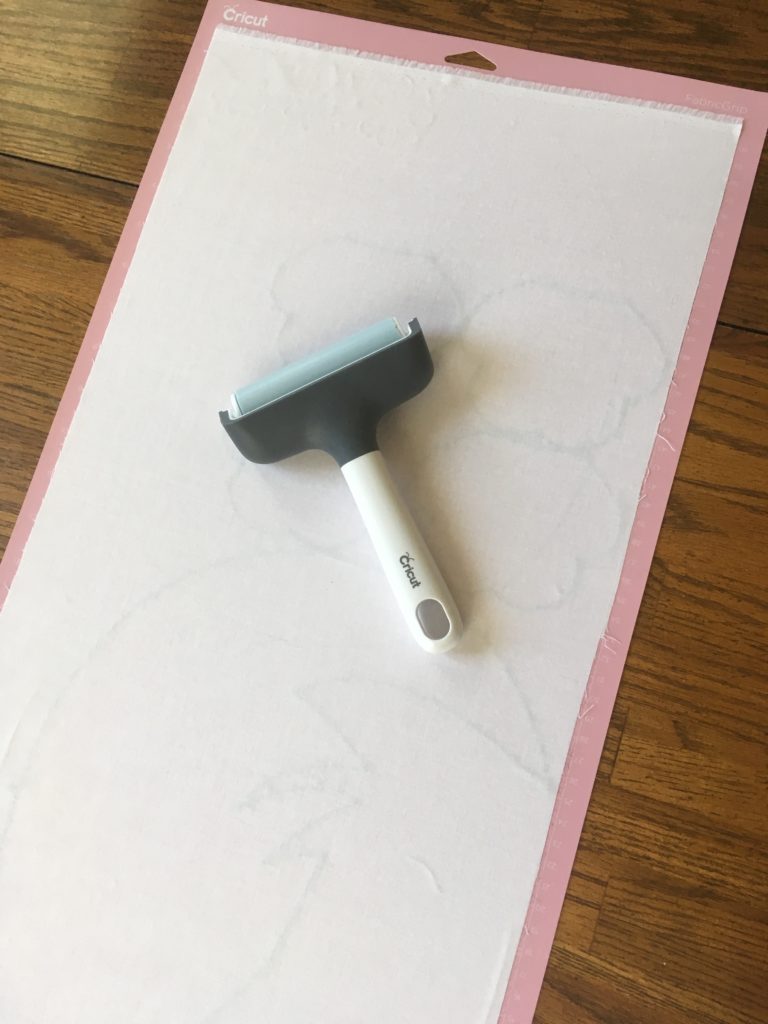
When you place the fabric on your mat be sure to smooth the fabric out. Using the Brayer is really helpful, but you can totally use your hand as well. Can you see all the stuff on my Mat? I love that my mats cut my whole quilt, plus this previous project when I made the Sleeping Girl Doll Pillow. Just be careful when loading and unloading the mats. The natural oils from your fingers can dull the sticky on the mat.
One thing to note: The mat will get threads stuck to it and if you have OCD like me it will super tempting to try to remove all of them. Don’t! The Cricut Maker will cut right through them. If it gets too much you can use tweezers to remove the threads, but seriously who has time for that?
LET’S CRICUT
Head on over to Design Space and pull up your pattern. Click Make it and get to work.
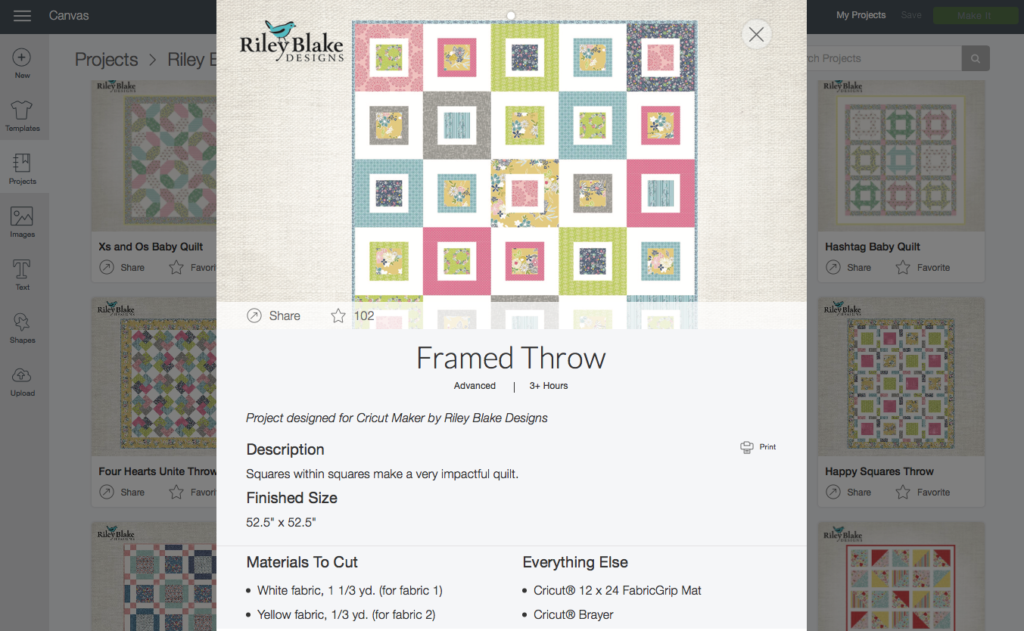
Cricut made it easy to see what you are doing. The mats are color coordinated with your fabric. You can place your fabric face up or down because we only cut out squares or rectangles. Follow the instructions and order of the cutting.
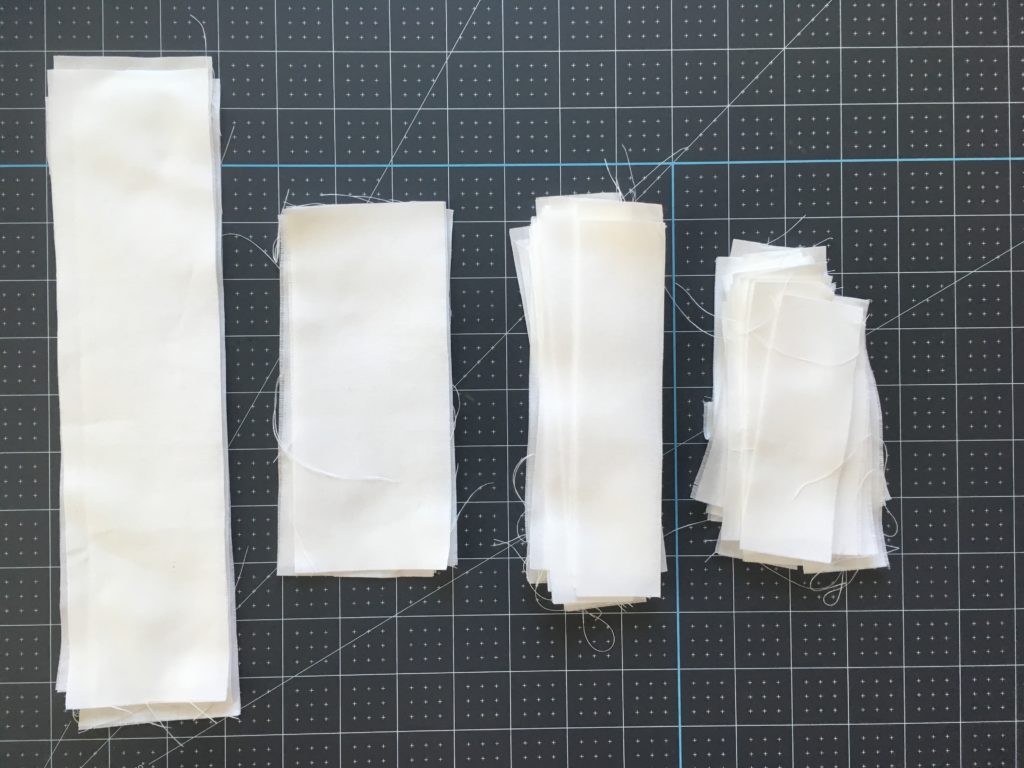
After the fabric is cut, I like to line up all the pieces based on size. It makes it easy and more organized when you begin sewing. I lined mine up by size first and then fabric number second. Each fabric is assigned a number in the pattern I put them out from 1-9.
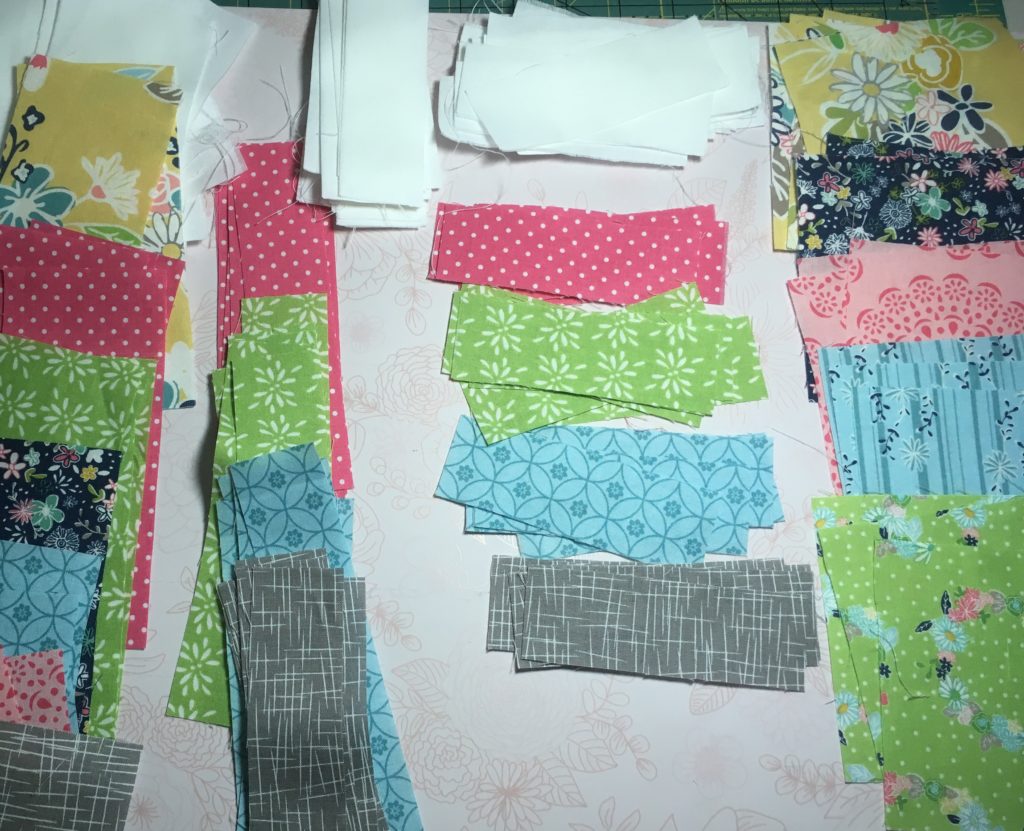
The Circut Maker is the first cutting machine with options cut fabric with a rotary cutter. It makes cutting a breeze and gives you the opportunity to cut through hundreds of materials. This project was so fun because as a busy mom of five, I don’t have a lot of time to craft and create. I was able to go to Design Space find a quilt pattern, buy a quilt kit and then cut and sew my quilt together. The fabrics are beautiful and the project was fun and easy. I am ready to do another one!
This is a sponsored conversation written by me on behalf of Cricut. The opinions and text are all mine.
Next Up: Sewing the quilt together – which I was able to do in less than a day. You’ll get to see my finished quilt in a few weeks, I hope you come back to check it out!
SookEe Designs


Recent Comments