
This is an unsponsored post, all of the opinions are my own. Some of the links below are affiliate links, meaning, at no extra charge to you, I will earn a commission if you click through and make a purchase.
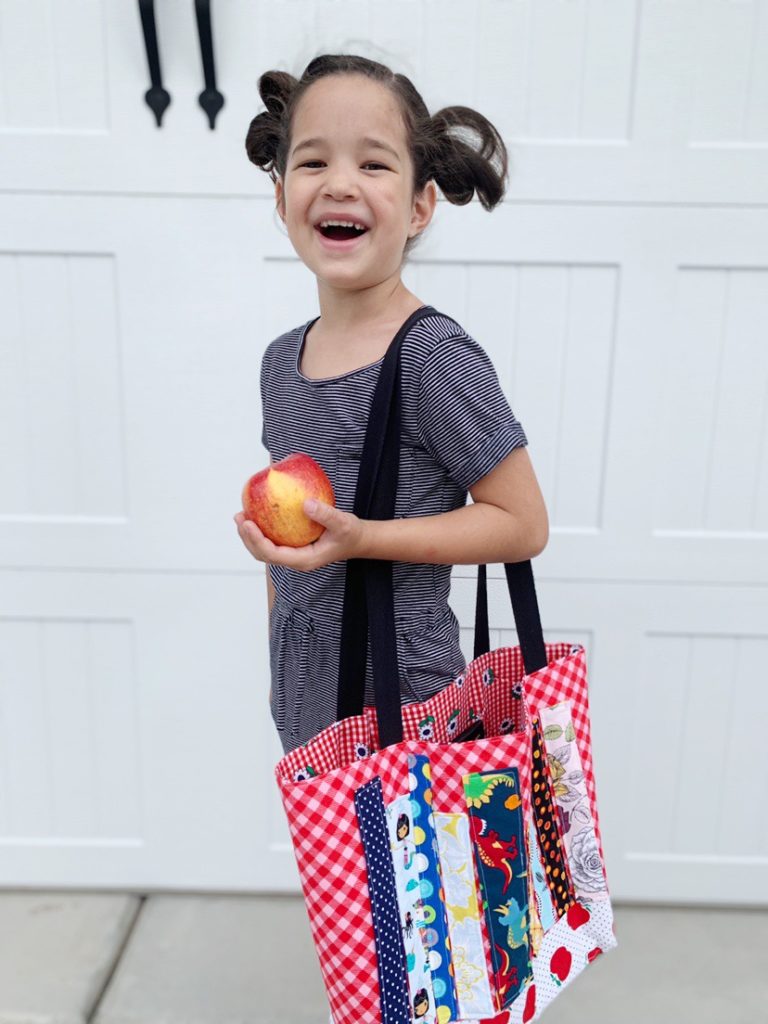
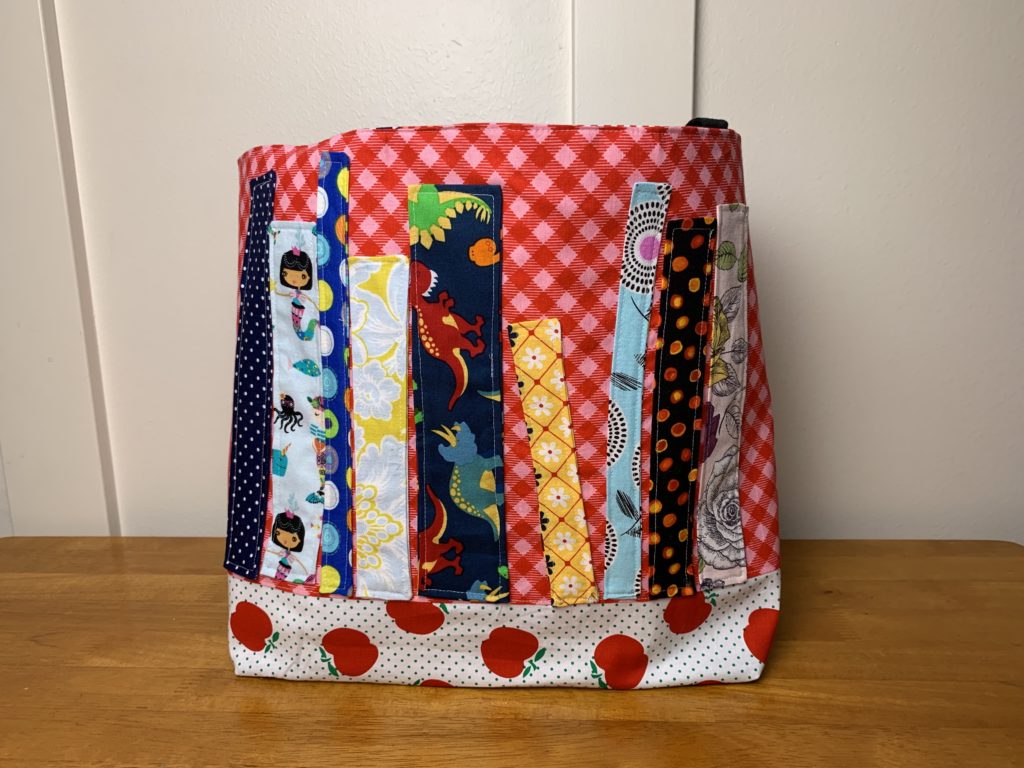
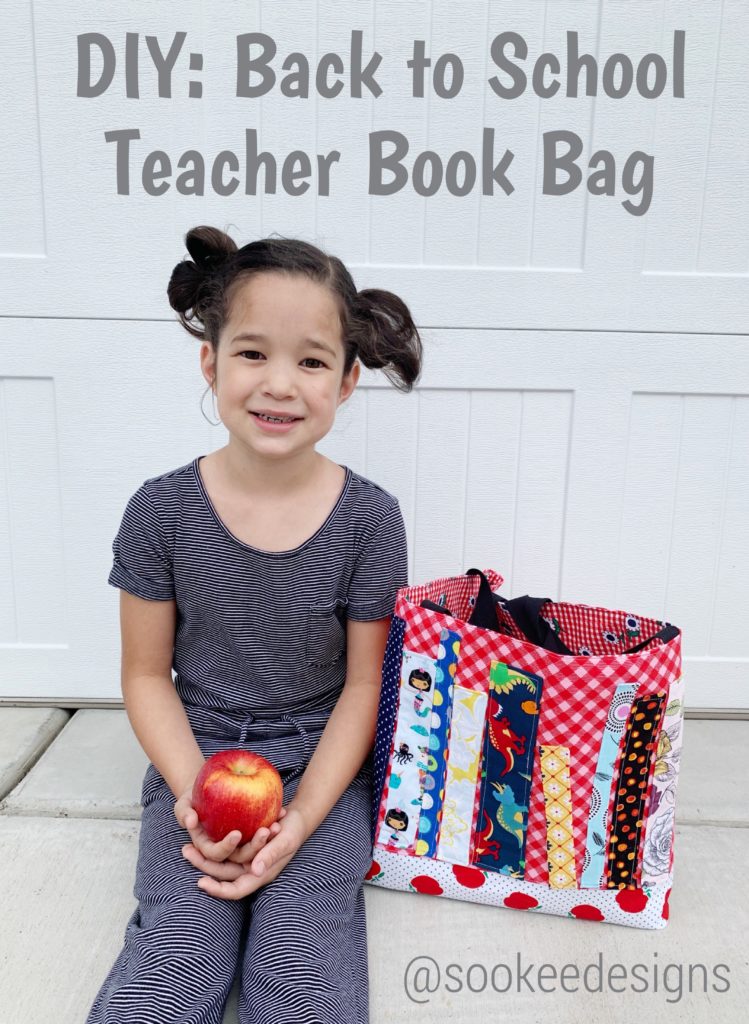
It’s almost time for my kids to go back to school (year round school). At the end of the year I run out of time and fail to give a good teacher gift. I thought if I got a jump on it and started at the beginning of the year I might get something done. I saw this darling book bag online and thought it would be the perfect bag to give to the teacher filled with back to school supplies. This back to school teacher book bag is such a fun gift and I love how it turned out. The nice thing about this project is you can make it with a pre-made bag and just add embellishments. Yay!
You don’t need a Cricut to add personalization, but it does help. Before I had my Cricut I would hand trace and cut the letters out. Just remember to mirror the letters – you don’t want to have the letters turn out backwards – believe me, I’ve made that mistake before.
SUPPLIES
Bag – You can pre-buy a bag or make your own (directions for your own, at the bottom)
Fabric Scraps 3″ X various lengths. You can use smaller fabric as well I wouldn’t go smaller than 2″ wide
School Supplies: Glue sticks, sharpies, expo markers, pencil lead, mechanical pencils, highlighters, Clorox wipes and tissues. These are my favorite supplies to give and I know teachers always appreciate them. I also like to include a few personal items like a gift card for their favorite drink place or restaurant and some mints or gum.
INSTRUCTIONS:
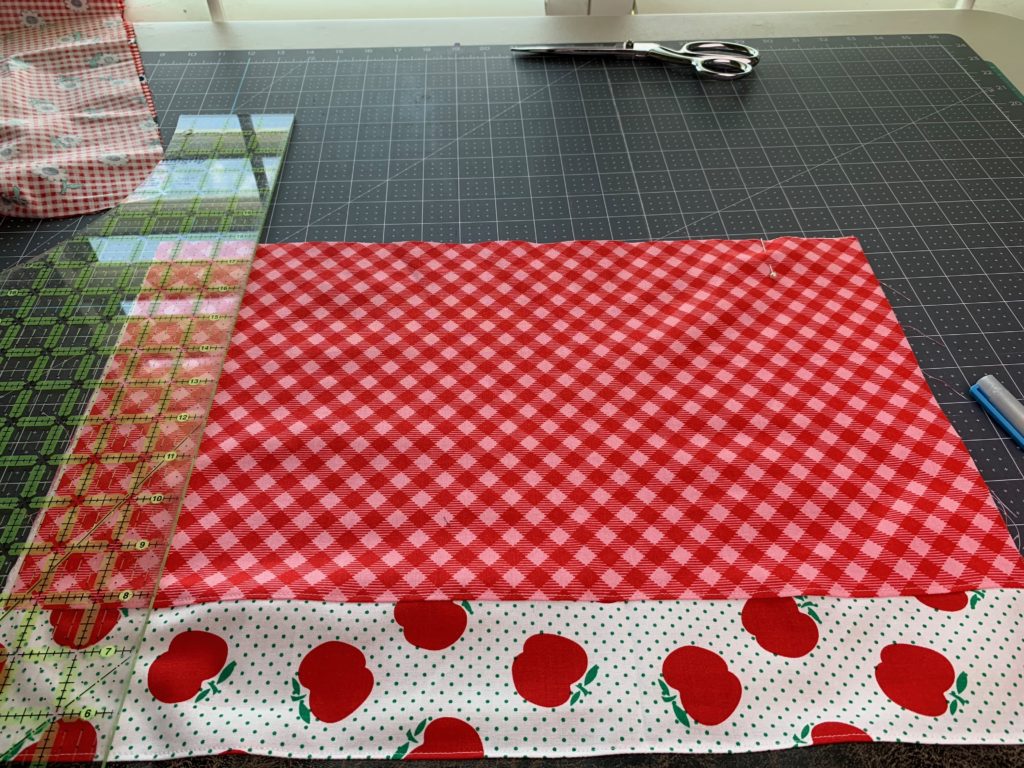
Fabric Main Body: 11″ X 18″ Cut 2
Fabric Accent: 3″ X 18″ Cut 2
Bottom Fabric: 5″ X 18″ Cut 1
Inside Fabric: 30″ X 18″ Cut 1
Books: fabric scraps 3″ X 9″ or smaller and 2″ X 9″ or smaller
Lightweight Interfacing – I like to use a fusible one.
Twill Tape Or Something sturdy for straps: 1.5 yards cut in half
Optional:
Cricut Maker: I love this new mint color – so cute
Iron-on Vinyl: so many fun colors and designs. Check them all out.
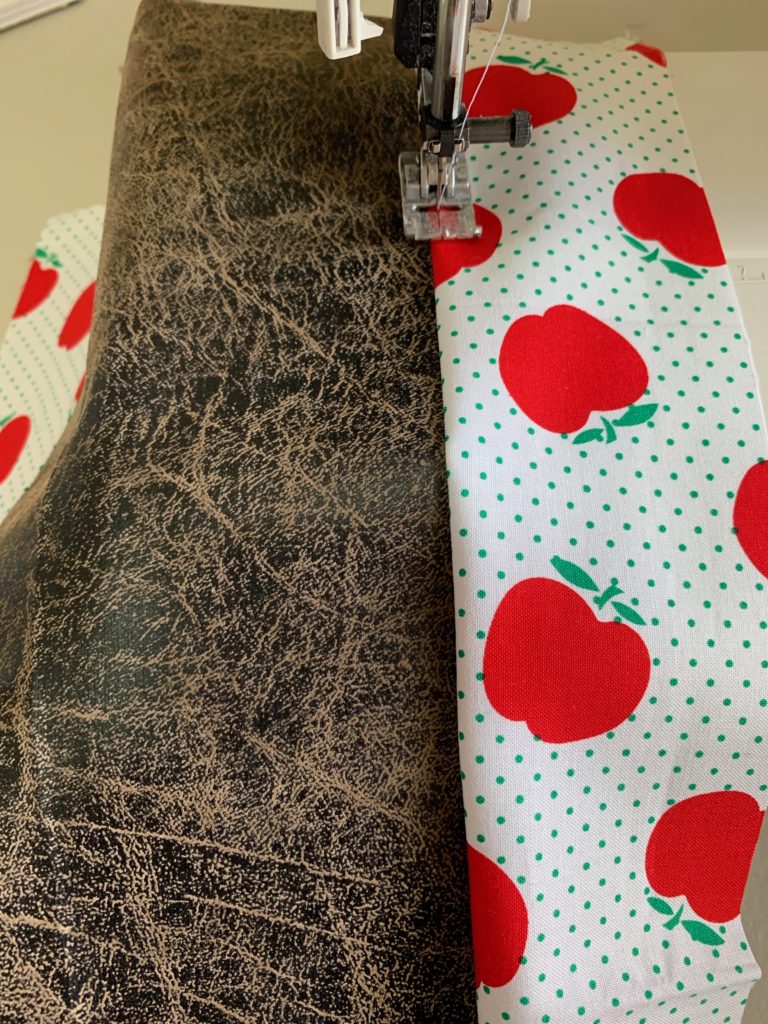 Sew the bottom fabric and accent fabric together. Sew one accent to each long side of the bottom fabric. Topstitch.
 Sew the main fabric to the accent fabric one on each side. Topstitch

Pick out fabric for books and sew together. I like to place right sides together sew down both sides leaving a hole to turn. Turn right side out and then iron.

Place right sides together and sew down both sides. Do this for the lining and the outside of bag.
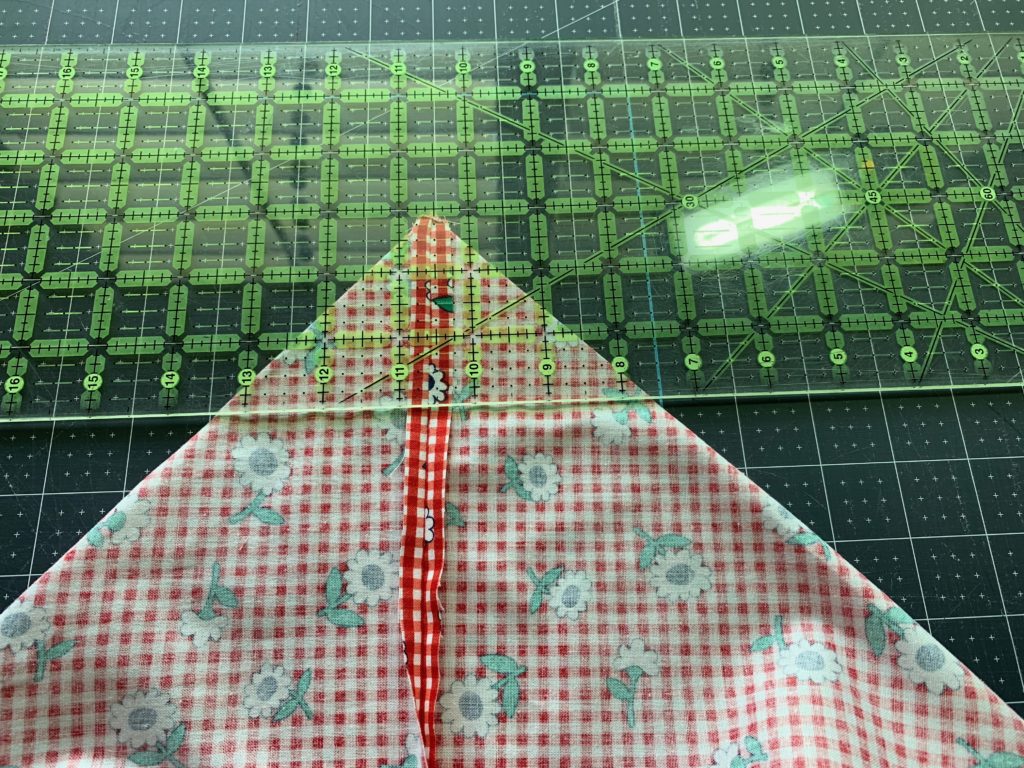 To make box corners: measure down 3″ from top and draw a line. Sew on the line and cut excess fabric off. Repeat on both sides. You will need to do this to both the outside and inside pieces. This helps give the bag shape and will make it stand up better.
Sew bag together – I like to place the right sides together of the outside and lining with the straps inbetween and then sew around the top edge, leaving a 3-4″ hole so you can turn it right side out. Then sew around the top of the bag to close the hole. You’re done!
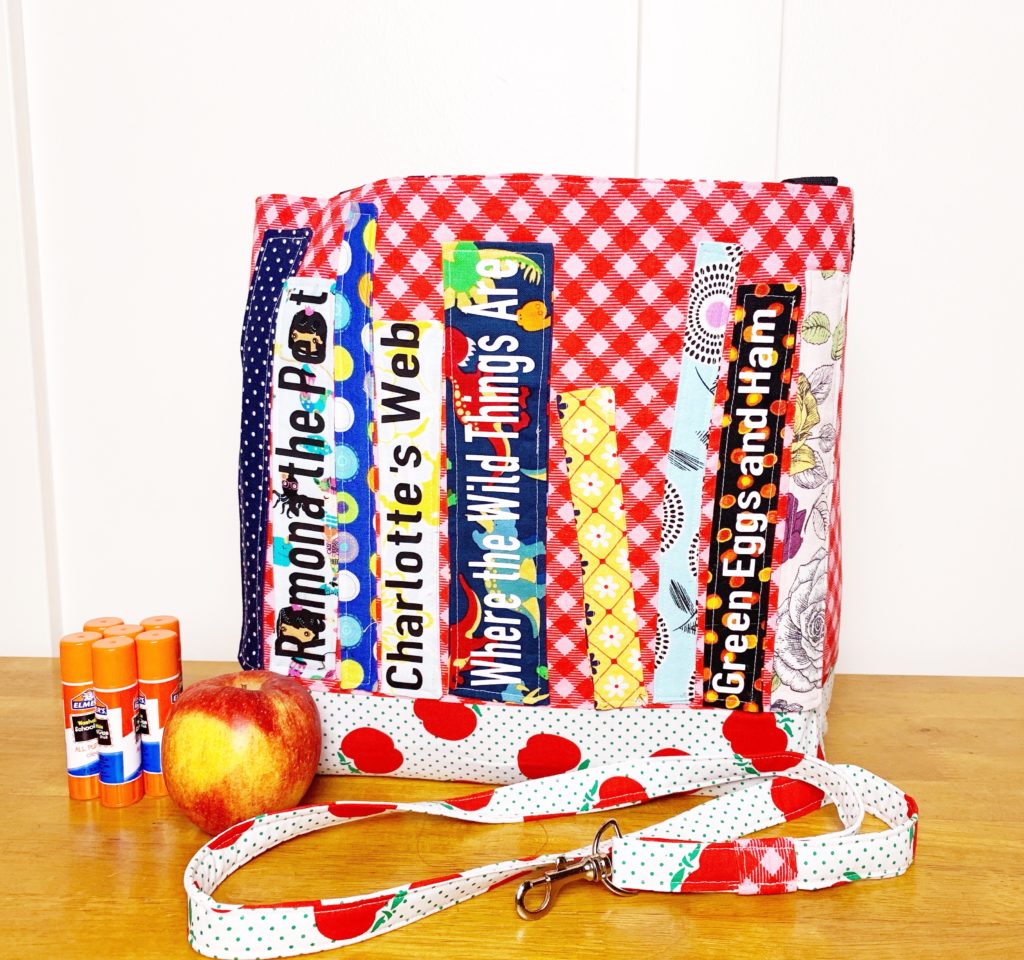
I decided to add some iron on vinyl lettering to the books – it makes it more fun!

Recent Comments