Welcome to the Halloween Sewing and Craft Party. I’ve teamed up with some talented bloggers. Please be sure to check out all the other tutorials. There’s a link at the bottom of the post.
There are affiliate links in this post
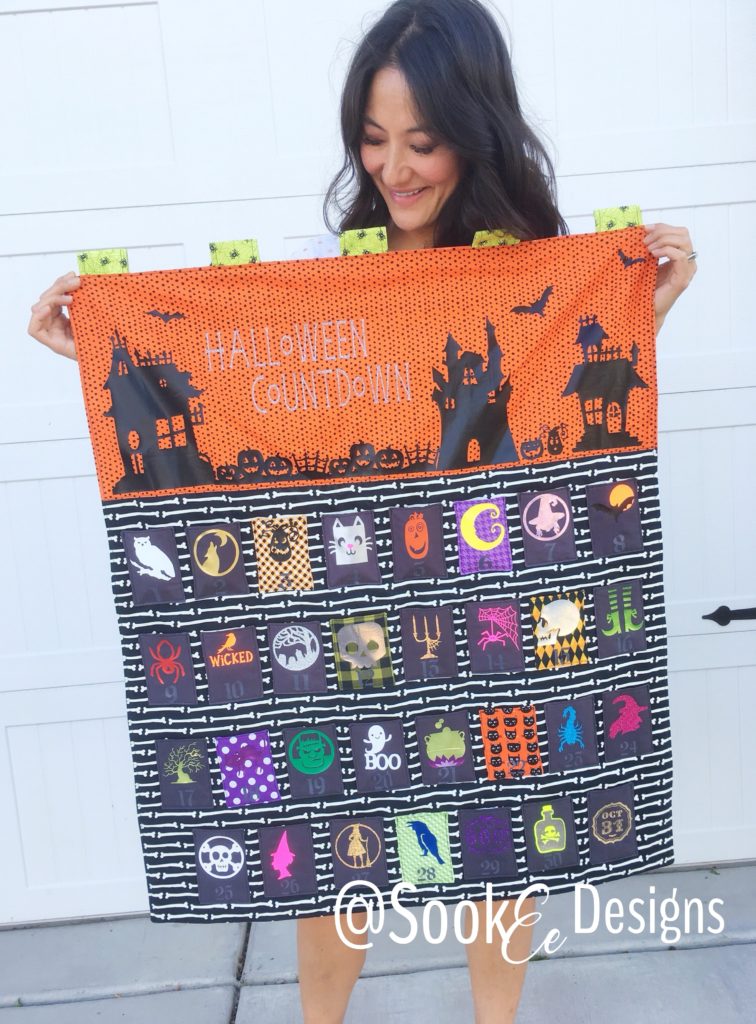
I have five kids that love to countdown to anything, but especially holidays. We countdown to the first day of school, the last day of school, birthdays, Christmas, pretty much anything. In the past, I’ve used cute wooden witches that I made a long time ago. I thought we could use an update.
Using my Cricut Maker made this process so much faster and easier than it would have been doing it all by hand, plus having access to all the cute images in Design Space give you plenty of options for the images on the pockets.
Let’s get started.
I used my sewing machine to attach the pockets, but if you don’t like to sew, cut felt pocket squares and then use hot glue or fabric glue to attach. I think it would be super easy to convert this project to a no-sew project using felt and hot glue or even fabric glue.
MATERIALS:
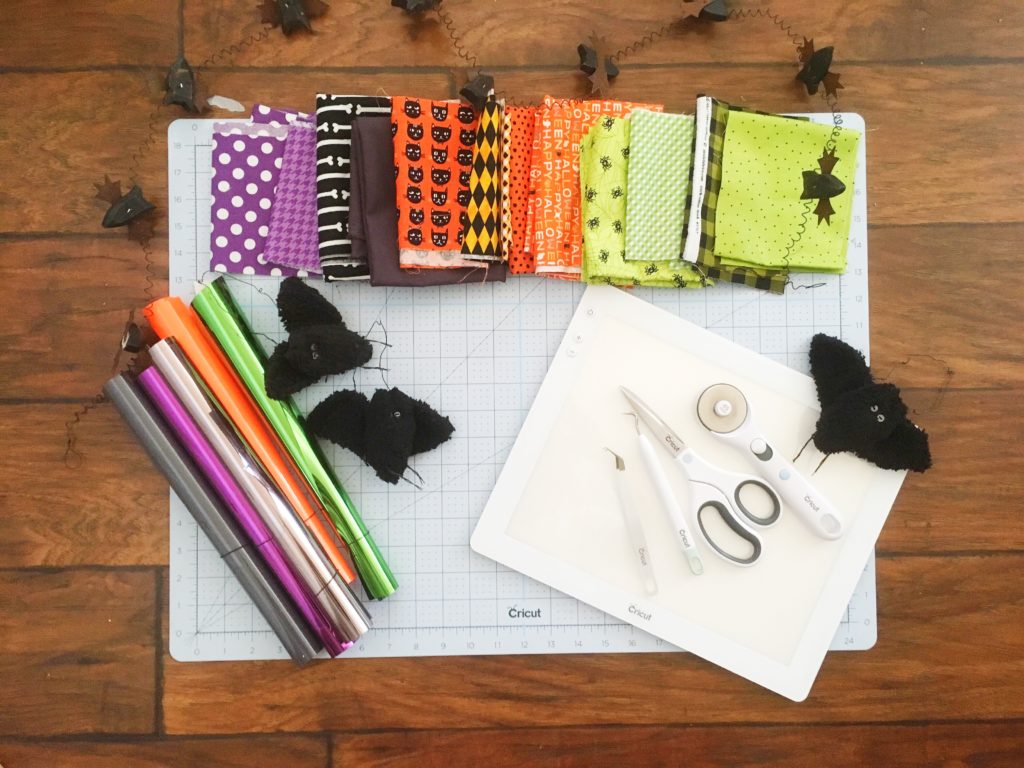
Fabric:
Main Body cut 1: 31″ X 24.5″
Top Main cut 1: 31″ X 12.5″
You could just cut one piece: 31″ X 37″
Back cut 1: 31″ X 37″
Pockets, cut 31: 3.5″ X 8.5″ (if you have a Cricut Maker, you can have it cut all the pieces out for you)
Batting cut 1: 31″ X 37″
Tabs, cut 5: 2.5″ X 5″
Iron-On Vinyl – I used the Cricut brand because I love it!
Thread
Sewing Machine: Although I think you could put this together with hot glue and felt.
Scissors
EasyPress: I used the 9 x 9, but it would be great to have the new larger size and the smaller size.
Project in Design Space with Images
Instructions:
Cut all fabric pieces. Sizes are given above. 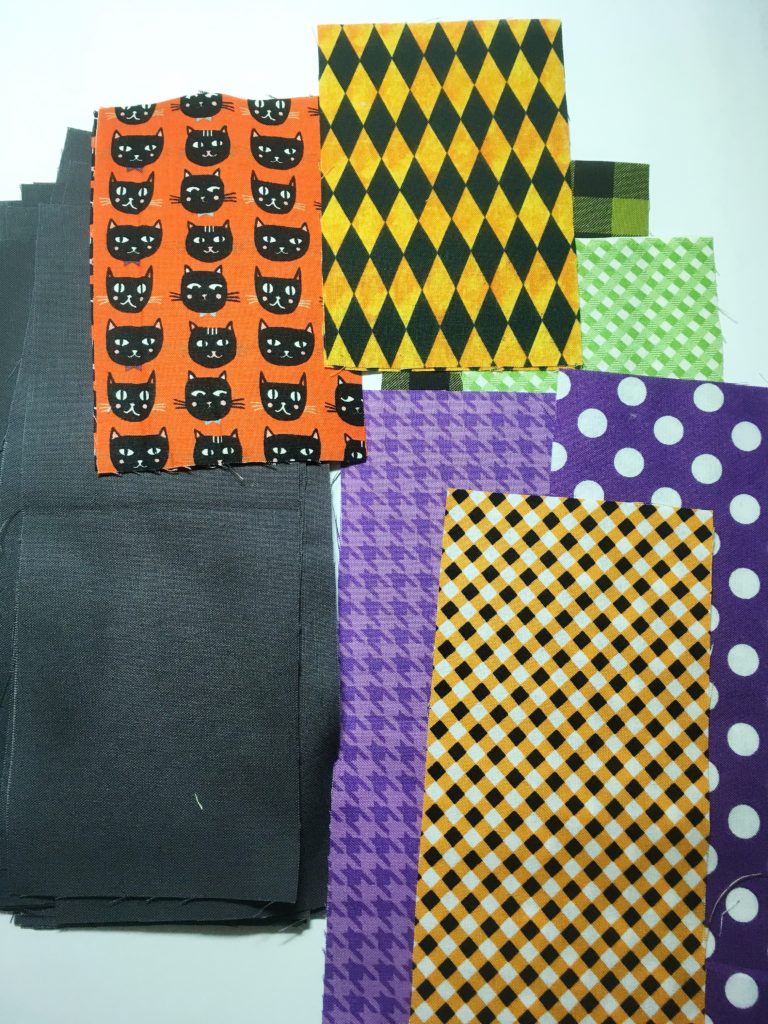
If using two pieces of fabric for Main Body sew long edges together and press seams. Place batting on the back and then place the back fabric on top of the front main body fabric, right sides touching. Sew all the way around leaving a small 6″ opening so you can turn. Be sure to cut the corners before turning to give a cleaner point. You can top stich around the edge (optional). I like to do this because it gives your finished project a more professional look.
Sewing pockets:
Fold the pocket so the right side of fabric touch and the short ends are together
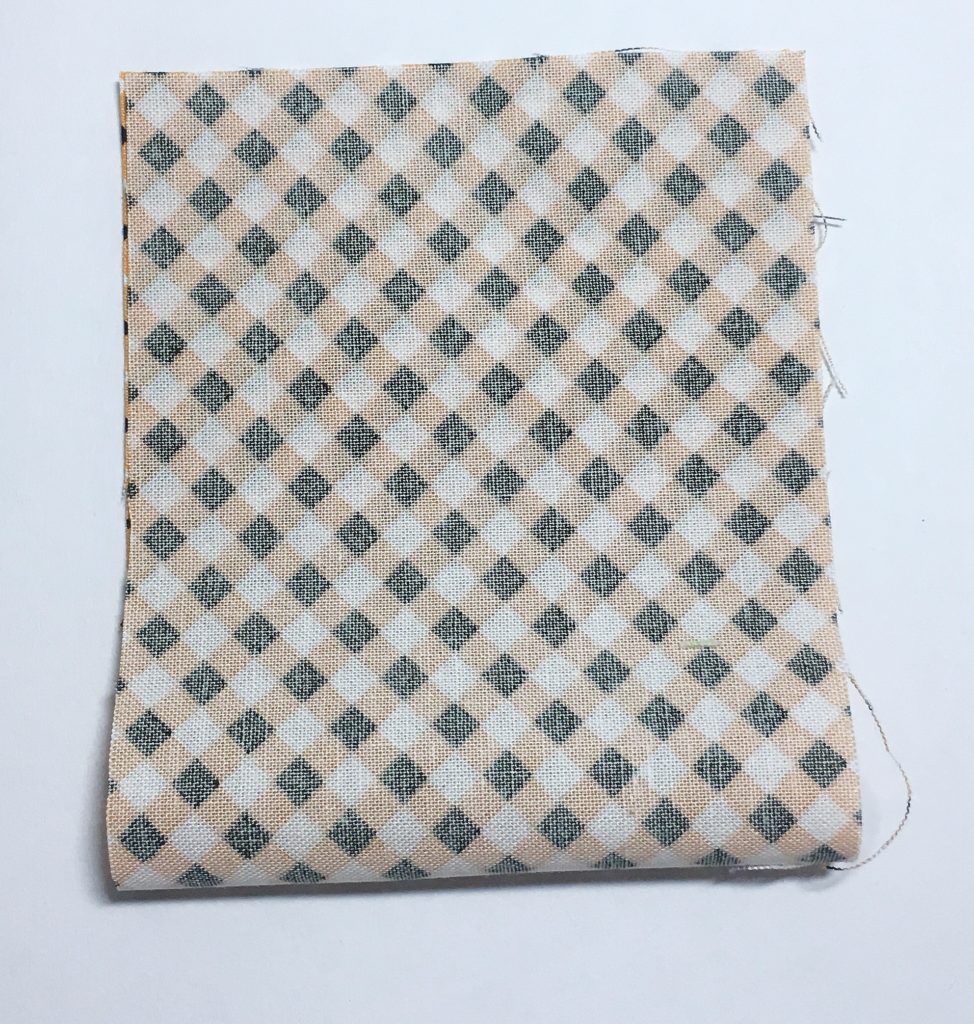
Sew along the three sides leaving a small opening so you can turn the fabric. Cut an angle along all four corners (it will give you a sharper point once turned). Turn the fabric, press.
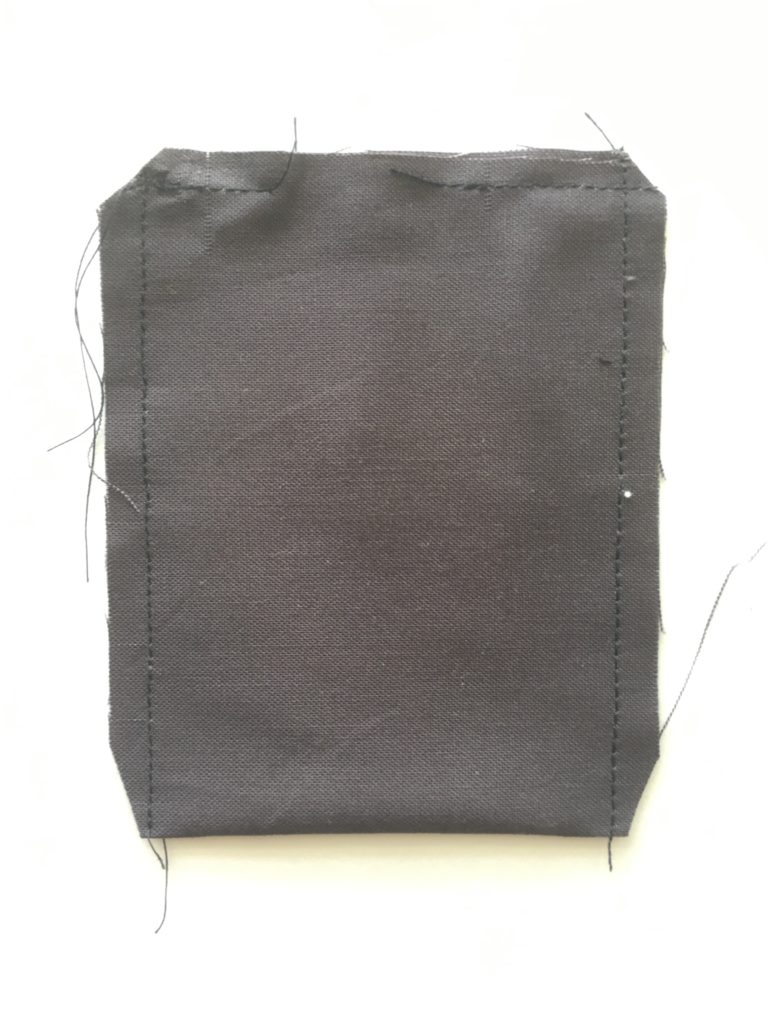
Next, I like to sew along the edge with the hole to close. Be sure to use this as the top of your pocket. It gives a nice finished edge. Attach all the pockets on the front of your main body and pin in place. This way you can see if you like the overall layout and get the spacing correct.
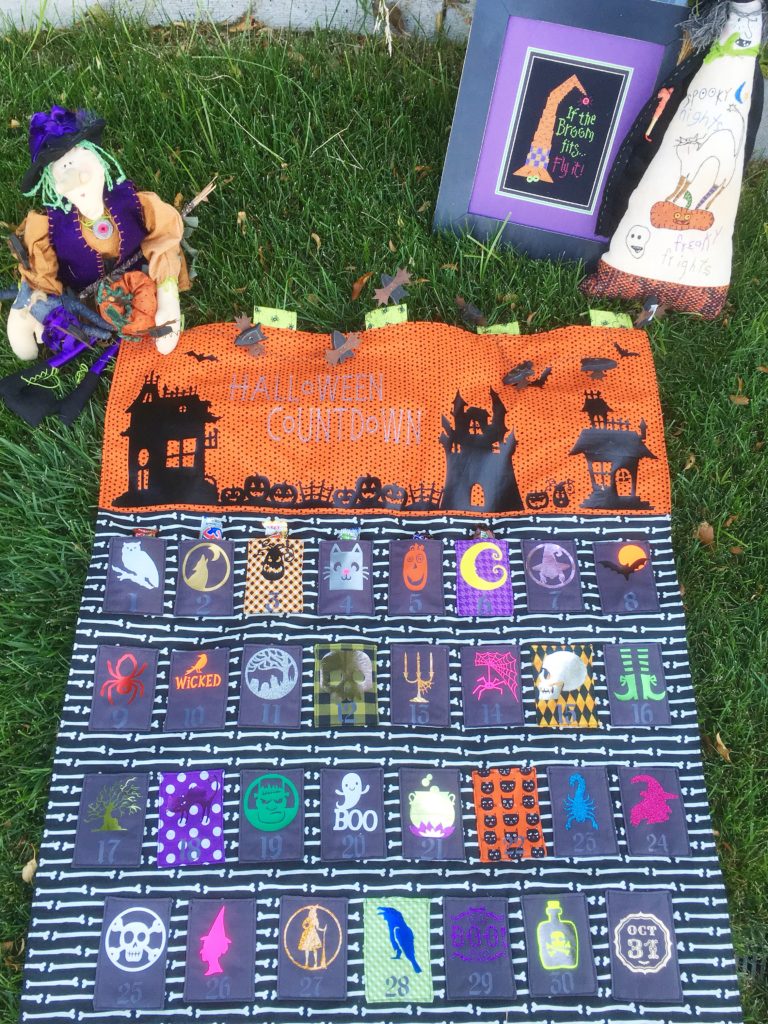
I have 4 rows. The top three rows have 8 pockets and the last row has 7.
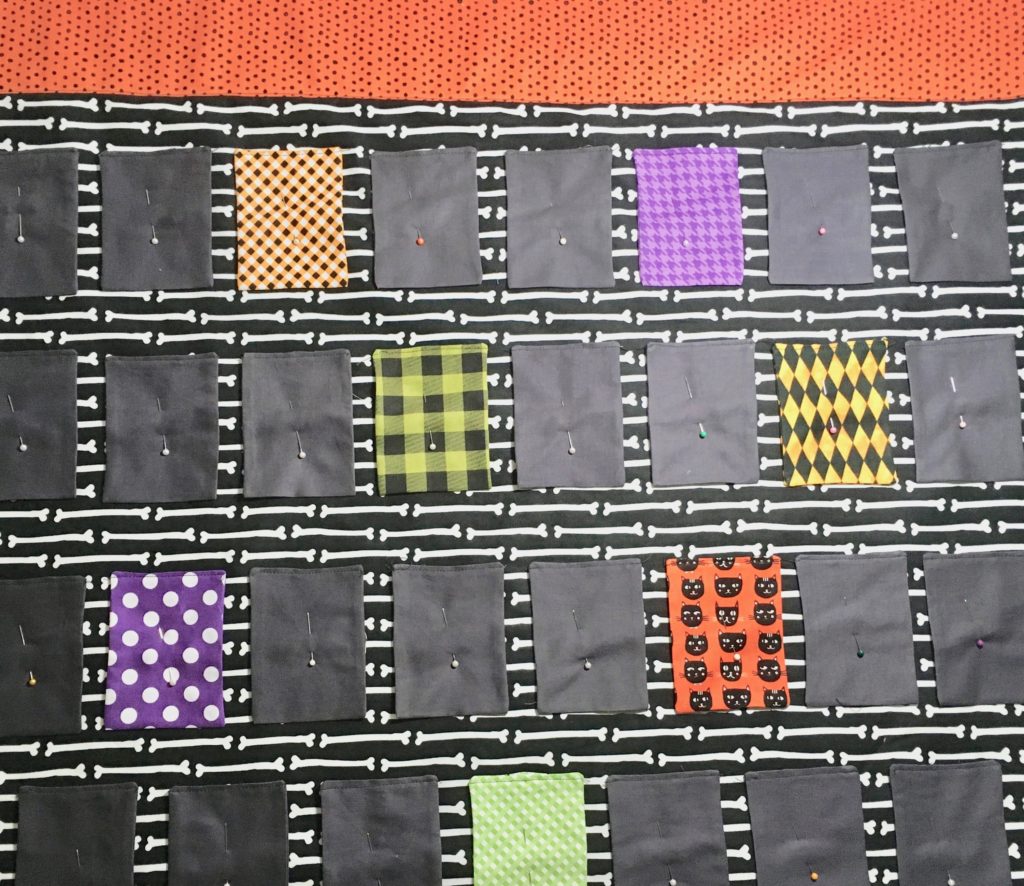
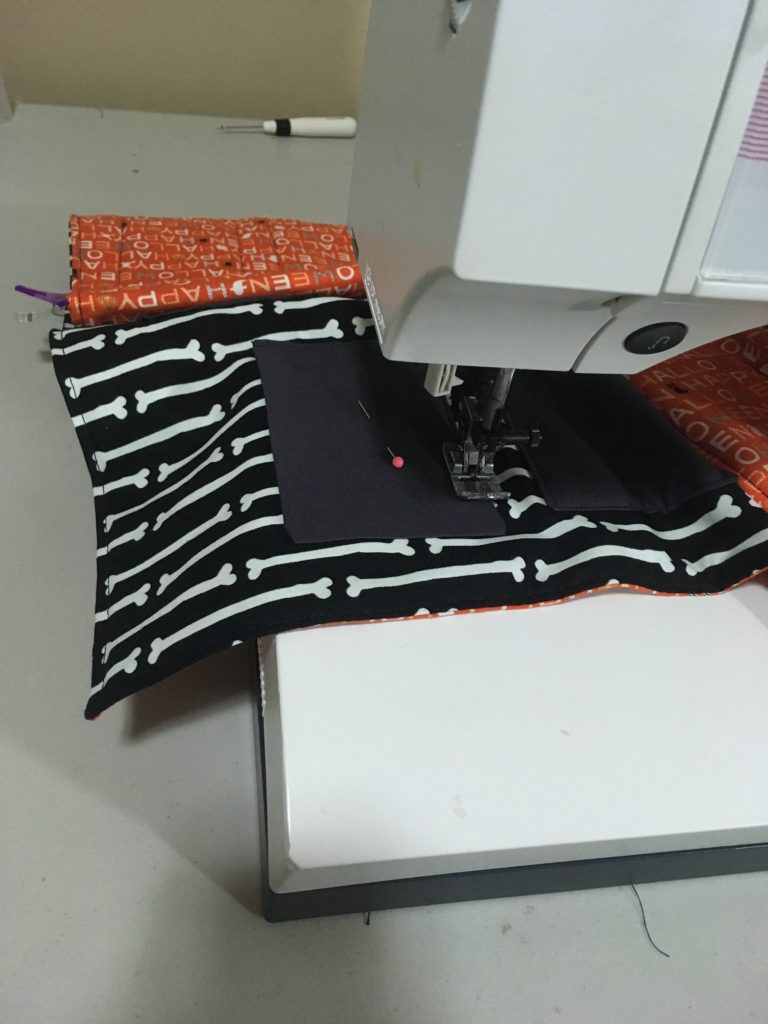
Once you get the pockets placed where you want them sew them in place.
Vinyl Designs:
I really think you could cut everything from felt to create the pockets and main body. If you decide to do so, cut the pockets 3″ x 4″.
Head on over to Cricut Design space to see all the adorable Halloween images you can use for each pocket. If you want you could totally just do numbers on each one. I did both numbers and an image, because well…it was so much fun!
Here is a link to the project in Design Space so you can see all the images that I used.
I used a variety of vinyls from Cricut, glitter, everyday, foil and holographic. When you start attaching them to the pockets use this handy chart and start with the highest temperature, ending with the lowest – which is typically foil. Also, don’t forget foil is a cool peel – so be sure to let is cool off and then peel the carrier film.
Once everything is cut and you’ve weeded each image you can play around with the placement on pockets. I am a little OCD and didn’t want matching colors next to each other or similar designs. You do what speaks to you!
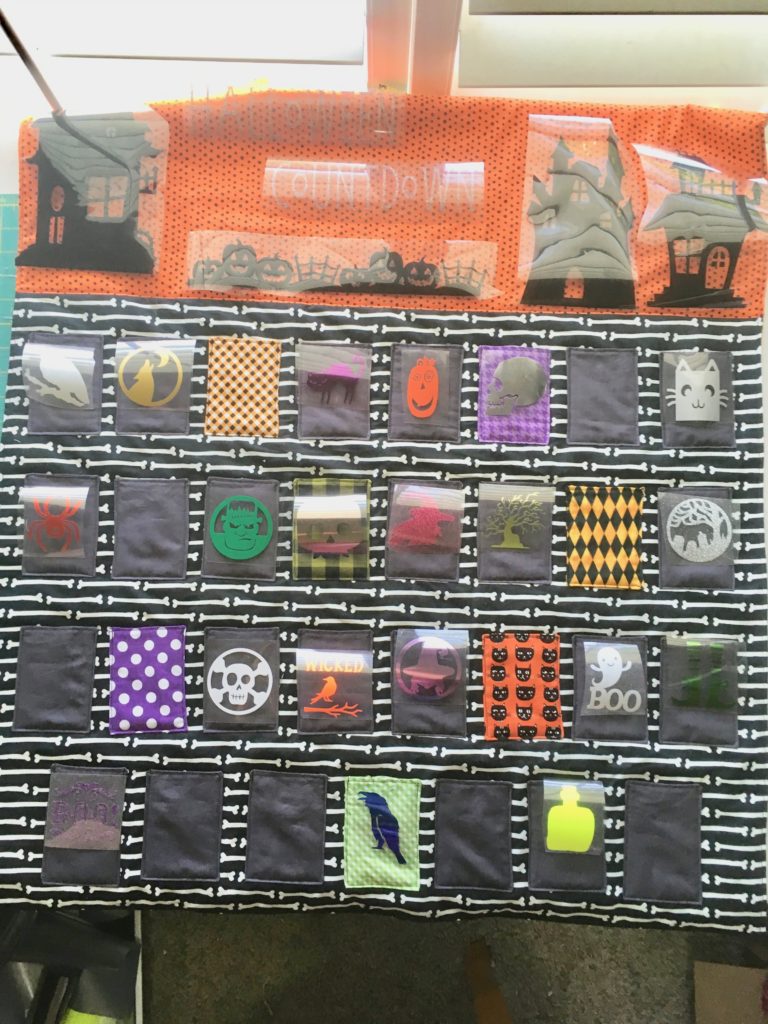
I used my Easy Press to attach the images. I love that it gives you the right temperature and has a timer so you know it’s going to be exactly what you need. Click Here: for a little cheat sheet when applying the iron-on.
Once you get everything ironed on, you are done!
You have a beautiful Halloween Countdown wall hanging! I am going to fill my pockets with a mixture of candy and fun family activities or service projects for us to do. You really can turn this into anything you’d like. I’d love to see what you make and how you decide to use it!
Thanks so much for joining me, I hope you will check out the other bloggers shown below. They have some really cute projects.

Halloween Sewing and Craft Party
Check out all the fun Halloween Inspired Tutorials everyone is making!
9/3 Sweet Red Poppy | Apple Green Cottage
9/4 Housewife Eclectic | Life Sew Savory | Heather Handmade | The Seasoned Homemaker
9/5 Flamingo Toes | GYCT Designs
9/6 SookEe Designs | Pattern Revolution | Coral + Co.
9/7 Paisley Roots | Swoodson Says


[…] Series and there are more fun Halloween sewing ideas for you! The first one is this crazy cool Halloween Countdown Calendar from SooKEe Designs. This is such a great way to let kids celebrate the month of October and get […]