It’s done! How exciting is this?
I made an entire quilt with my Cricut Maker. EEEEK!!
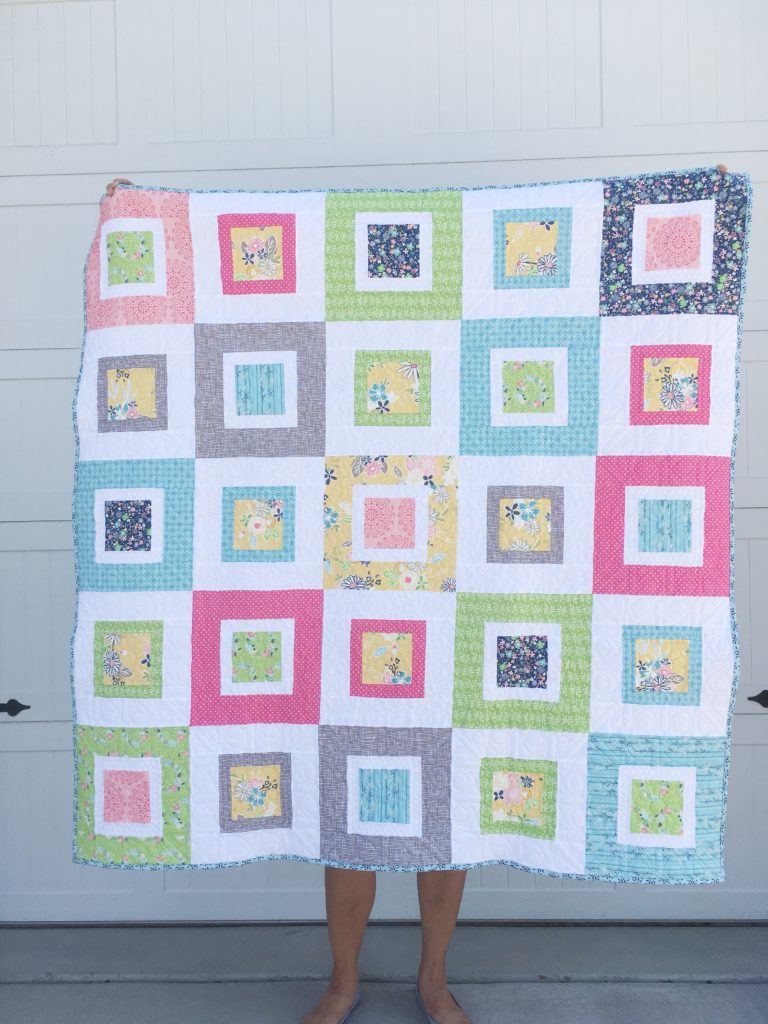
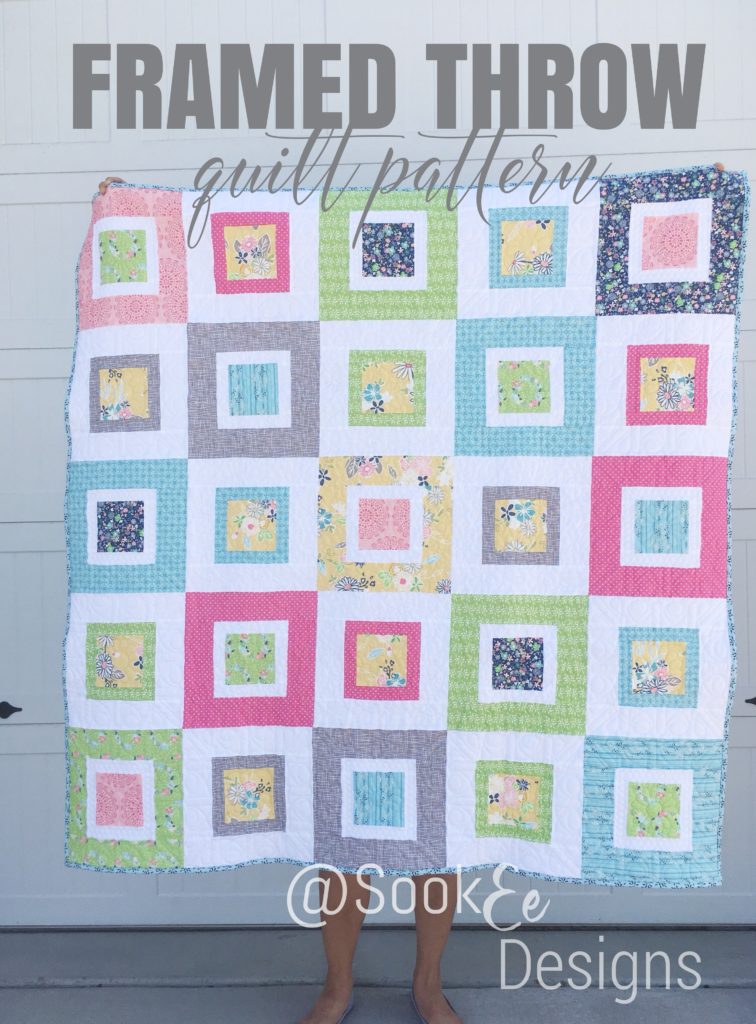
I fell in love with the Framed Throw pattern after I first saw it. It was easier than I thought it would be to assemble. I love quilt kits because it makes the quilting process so slick. You can find so many good options out there. You don’t have to try to find your own fabrics that coordinate, they come with everything (but the backing) that you need to create your quilt top. I love all the colors in this quilt kit and that it has a good mix of floral and other patterns.
If you haven’t seen my first two posts that I created check them out here: Easy and Beautiful Quilts and Cutting Fabric with Cricut
MATERIALS
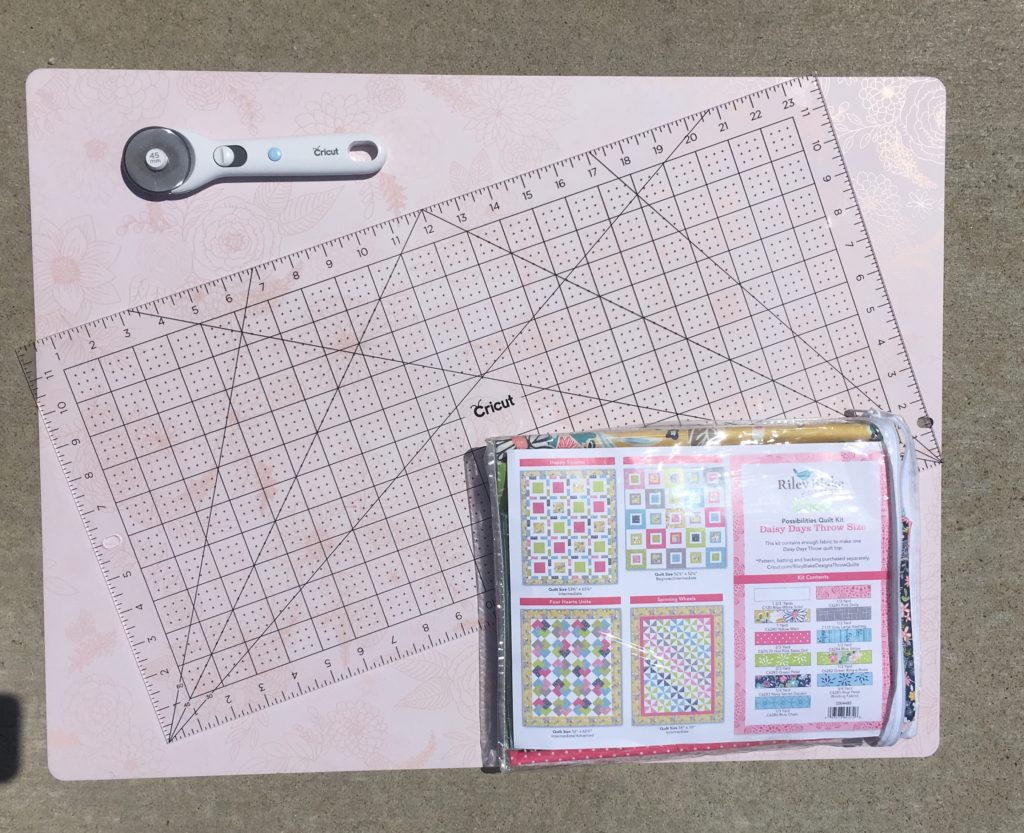
–Riley Blake Daisy Days Throw Quilt Kit
–Framed Throw Pattern in Design Space
–FabricGrip Mats, you only need 1, but I had 2 mats and it went fast.
-Thread
This is a throw size quilt so the finished size is 52.5″ X 52.5″ I love this size because you can curl up with a good book with it or your kids can use it as a snuggly blanket.
HOW TO PIECE THE QUILT
You can follow the pattern to quilt each square together individually.
I like to do a chain stitching method. It works really well as long as you have everything labelled the sewing part goes so fast!
Remember back in my previous post I talked about laying all the fabric out in numerical order? See below…
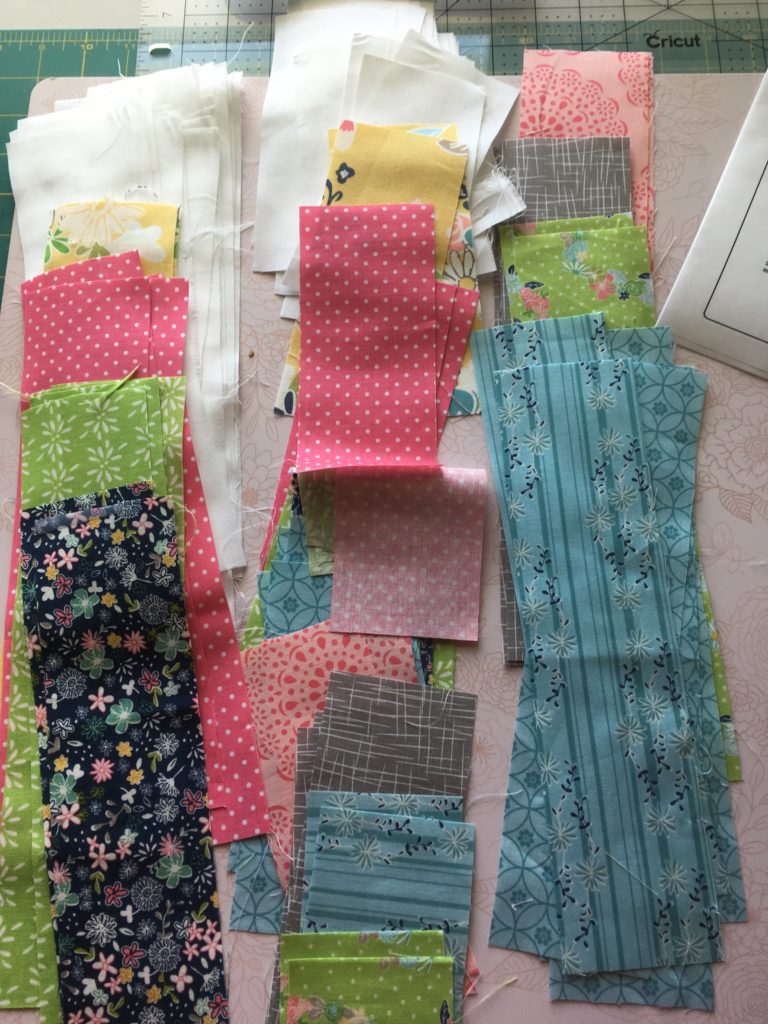
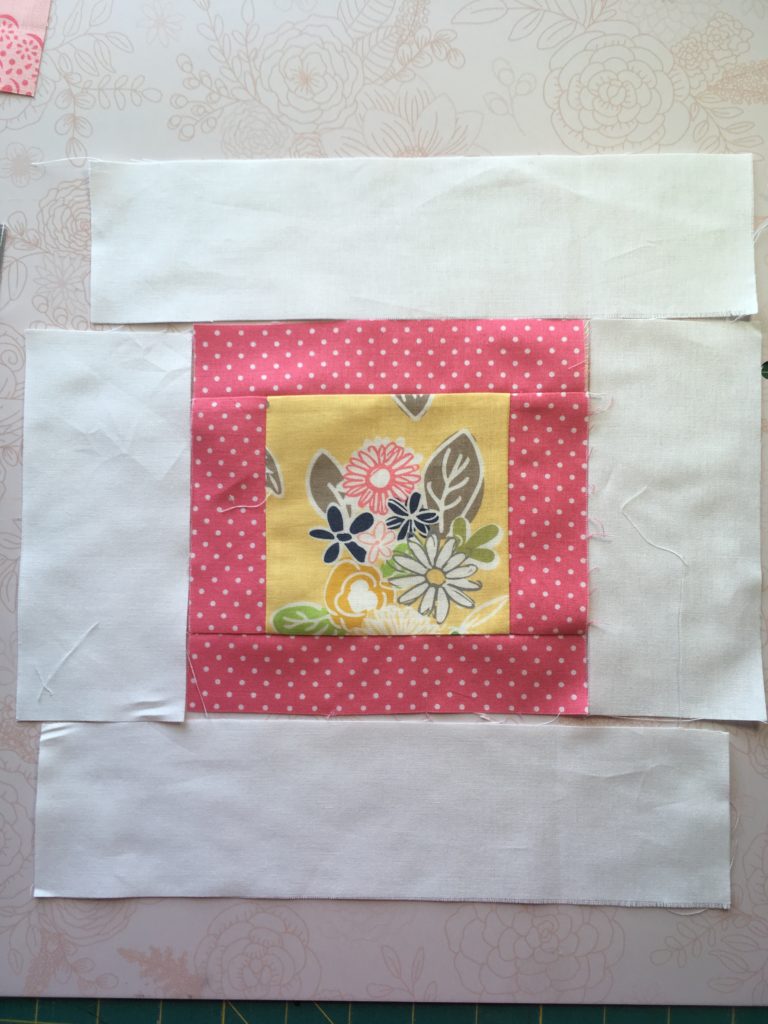
Look at your pattern and find all the center squares there will be 25 squares total. I sew the centers to the right side. Once you finish one square do not lift your presser foot, grab your next square and keep sewing. You will end up with a long chain of fabric. 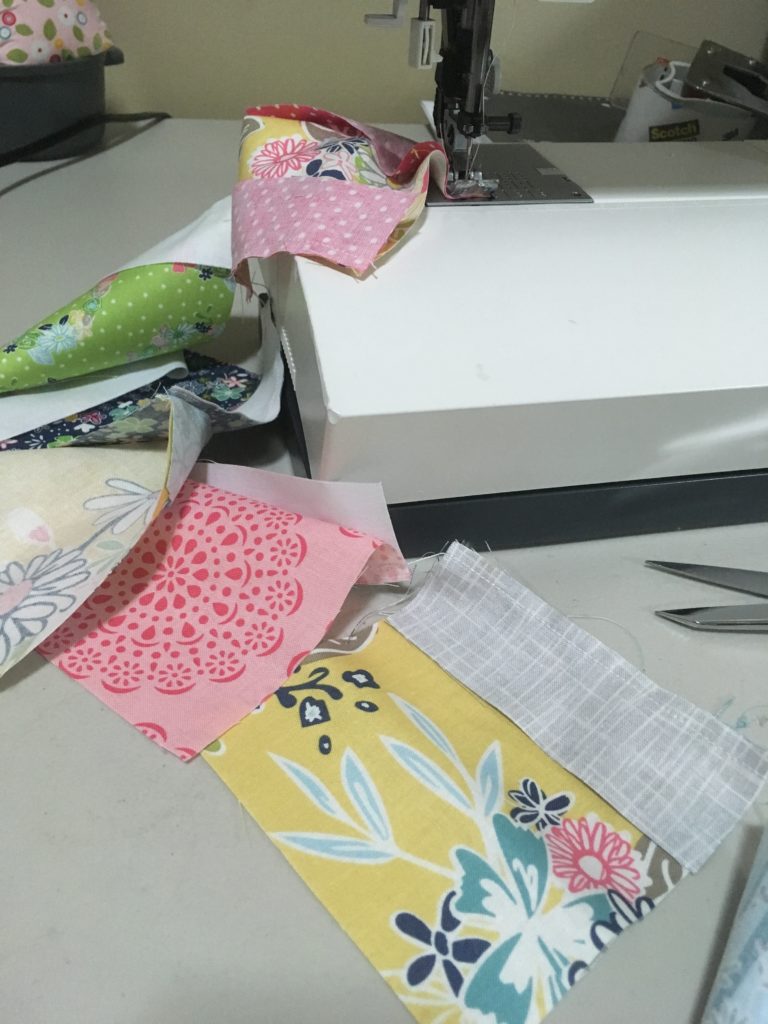
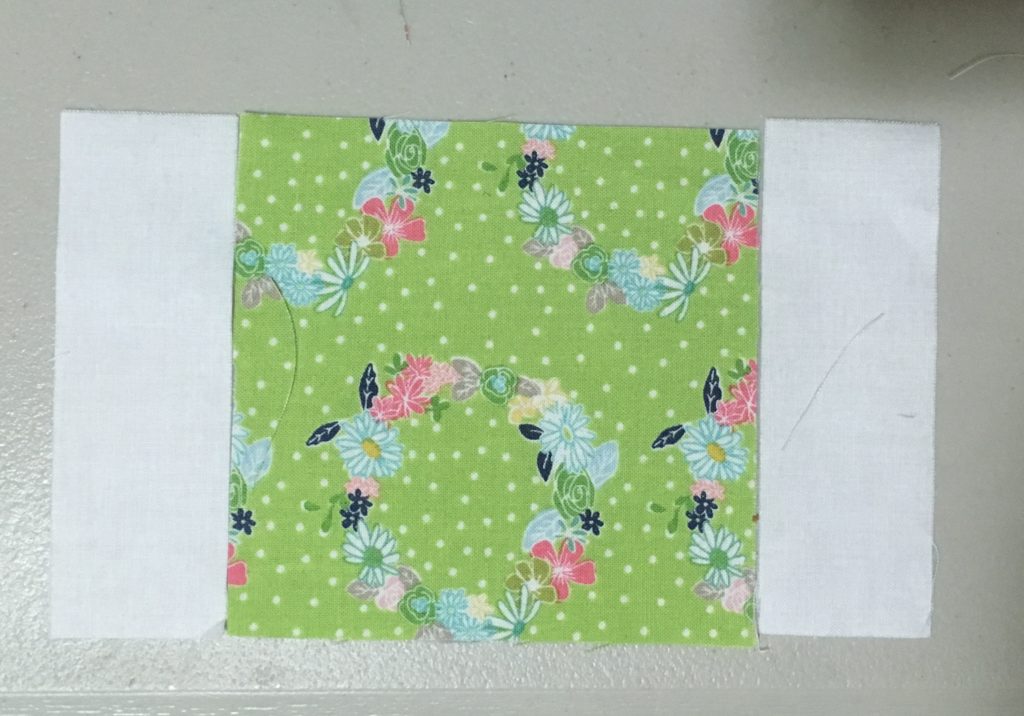 Once finished do the left side for all the squares – using the same chain stitch.
Continue sewing adding each new piece one at a time.
Things I Learned:
- Follow the directions for ironing your pieces.
- Be sure to keep everything in order and labelled.
- If you have a 1/4″ seam foot – use it. You need to keep the seam allowance right at 1/4″. Your quilt will thank you for it.
QUILTING AND BINDING
I tried quilting once on my regular sewing machine and it did not go well for me. Since then, I have learned to find good professional quilters to help me. You can ask around at your local quilt shop or you can check out my recommendation:
- TLC Machine Quilting – Linda has a computerized long arm quilt. She also has a 25% discount going on right now on the quilting. She will also give anyone who mentions Monica at SookEe Designs an additional 10% off a custom quilt. I have loved each quilt she has made for me. I highly recommend her.
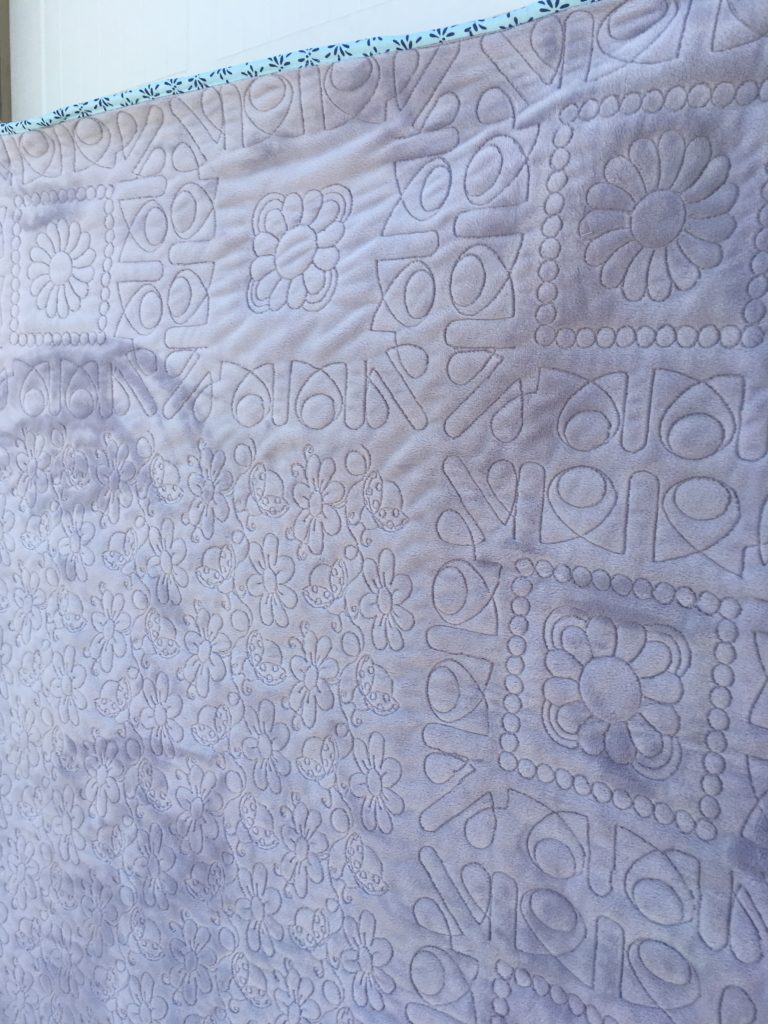
Look how gorgeous that quilting turned out! So much better than what I can do. I also thought it would be fun to add a little quilt label – since I didn’t sew one on, you could use your Cricut to make an iron on label and apply to the back after it was quilted.
WHAT I LOVED
Riley Blake and Cricut make a perfect marriage of crafty, sewing fun. They made everything easy and adorable. This is the first time where all my seams lined up in the final quilt.
Cutting with the Cricut Maker made my life easier and made each piece the perfect shape and size.
Make sure to stay organized, iron as you go.
Label, Label, Label – make sure you know which piece is which.
I really appreciated having all the fabric you need for the entire quilt top. I didn’t have t make a last minute trip to the fabric store for a little more.
I loved, loved having an entire quilt top done in one day. Cut, sewn and ready to head to TLC Machine Quilting.
The Cricut Maker continues to inspire and surprise me again and again. It is such a versatile machine giving you the ability to do so much!
Thanks for stopping by:
SooEe Designs
This is a sponsored conversation written by me on behalf of Cricut. The opinions and text are all mine.

The quilt looks amazing! I still have 2 quilt tops I need to get quilted and I feel that number is going to be rising!