MATERIALS:
This post is sponsored by Circuit with affiliate links which means that if you make any purchases I may receive a small commission at no extra cost to you. The opinions are all mine.
T-shirt for each guest – I had everyone bring their own – that way I knew for sure it would fit. Iron -on Vinyl – lots of colors – it was really fun to see how creative everyone got. Cricut Maker Cricut Explore Air 2 Standard Grip Mat – I recommend 2-4 so you can rotate as needed Easy Press Bright Pad – so much easier to weed Scissors Design Space Weeding Tools – optional but so much easier to have.Getting Started
 It’s easy once you get onto Design Space there are so many options of fun designs to choose from. You can browse through the Cricut Community, find a ready made project or create your own. I am going to share one that was we made during our Cricut Craft In.
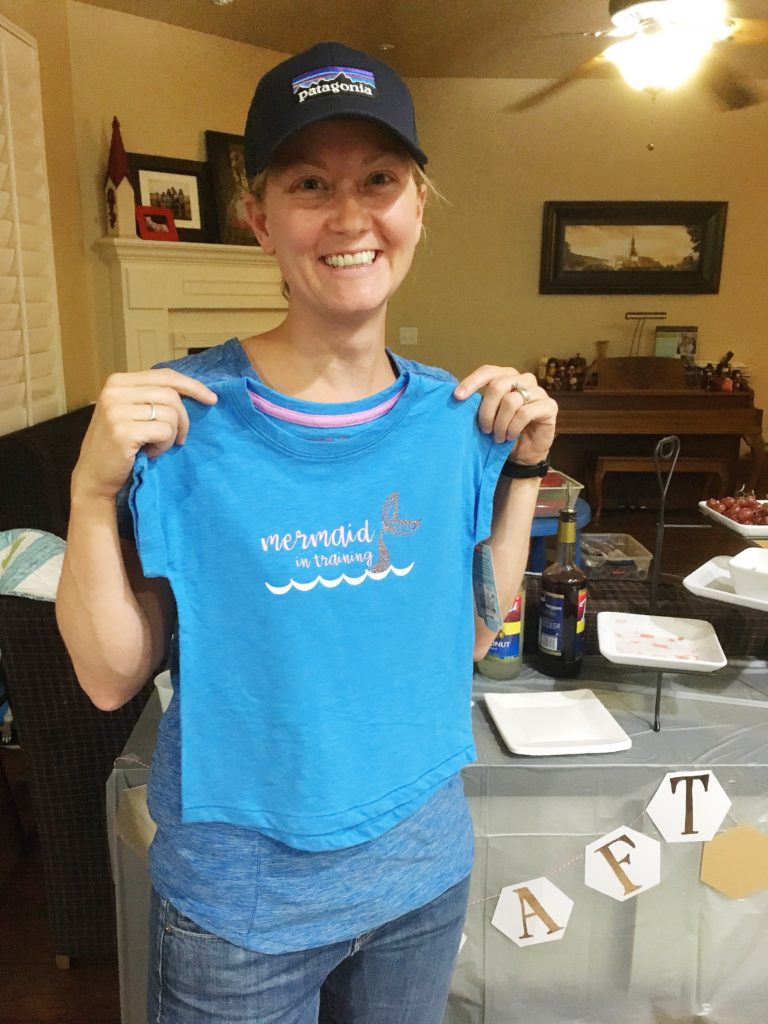
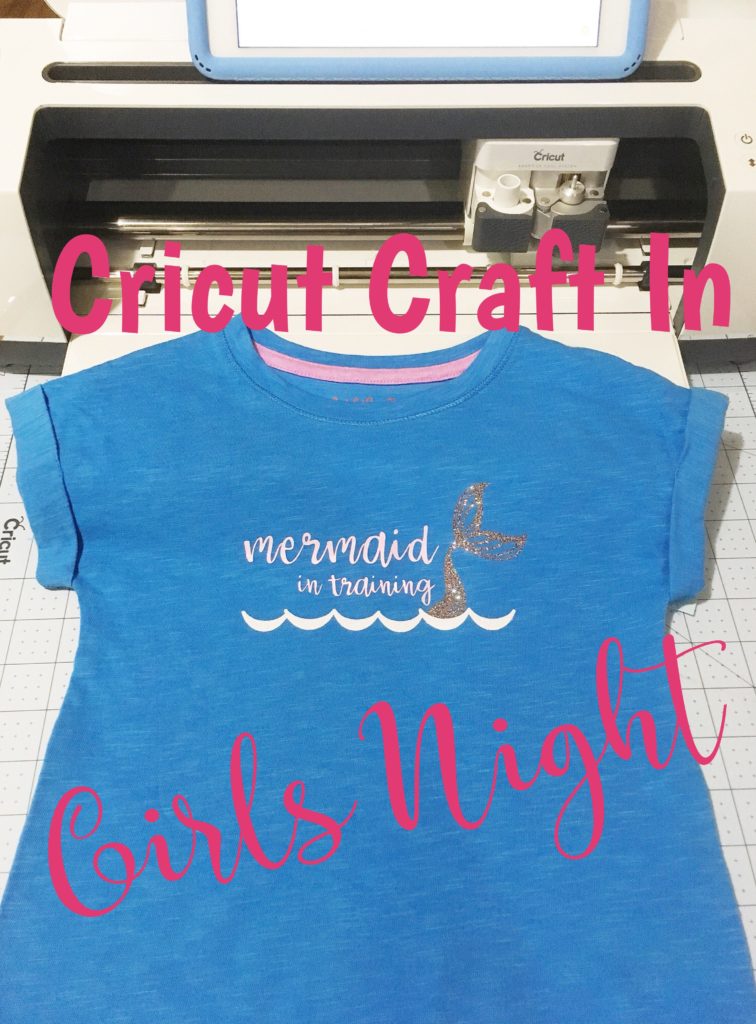
There’s a huge mermaid craze in our house (possibly because I have four girls), what about you? Do your kids love mermaids? My sweet friend Melissa came with an idea for her daughter and drew up a design of what she wanted and then Aimee from Things Small and Simple helped her to finish it up. I love the way it turned out. The multi-glitter vinyl is the perfect fit for her mermaid tail. She loved the iridescent pink for the writing. The Design is available in the Cricut Community if you want to make your own. One thing that I love about Design space – you can change the font, coloring and even placement to your own liking. It make is so easy to really personalize your project.
It’s easy once you get onto Design Space there are so many options of fun designs to choose from. You can browse through the Cricut Community, find a ready made project or create your own. I am going to share one that was we made during our Cricut Craft In.
There’s a huge mermaid craze in our house (possibly because I have four girls), what about you? Do your kids love mermaids? My sweet friend Melissa came with an idea for her daughter and drew up a design of what she wanted and then Aimee from Things Small and Simple helped her to finish it up. I love the way it turned out. The multi-glitter vinyl is the perfect fit for her mermaid tail. She loved the iridescent pink for the writing. The Design is available in the Cricut Community if you want to make your own. One thing that I love about Design space – you can change the font, coloring and even placement to your own liking. It make is so easy to really personalize your project.
 We made a custom design using easy to find items available in Design Space. You can play around with placement or fonts if you don’t like what we made.
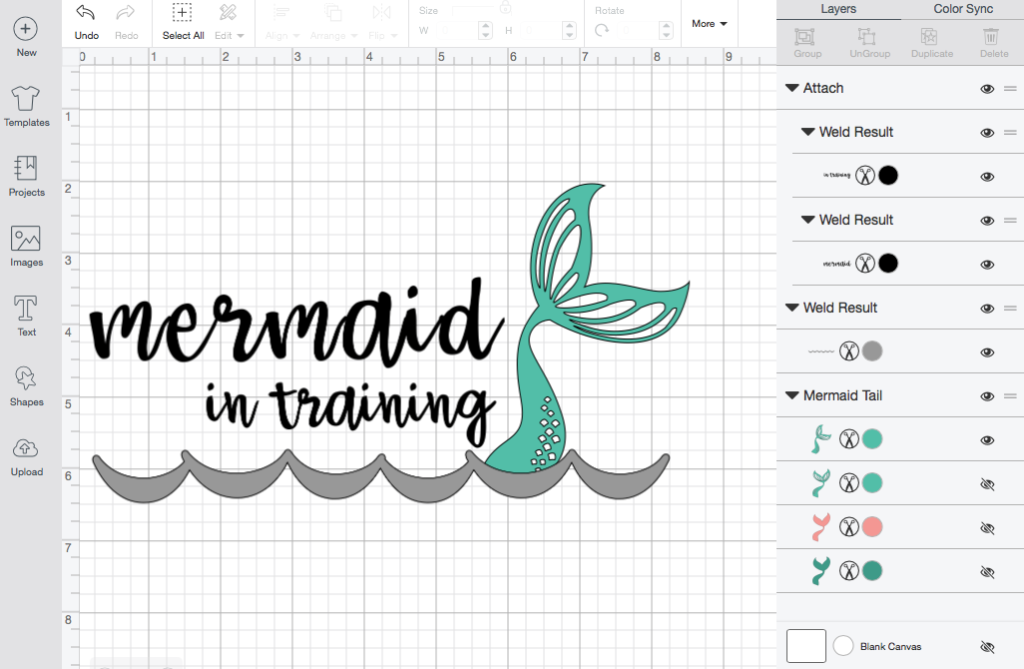 Font: Babette – one of my favorite cursive fonts
Mermaid Tail: #M111122A Mermaid Party
Waves: Borders #M39190 Noah’s ABC Animals
Here’s a link to the t-shirt we made – you an customize it however you’d like.
You can find all the images in Design Space they are free with your Access Subscription. You don’t have to have the monthly subscription if you don’t want to, but it does give you so many images and fonts that it really makes it worthwhile!
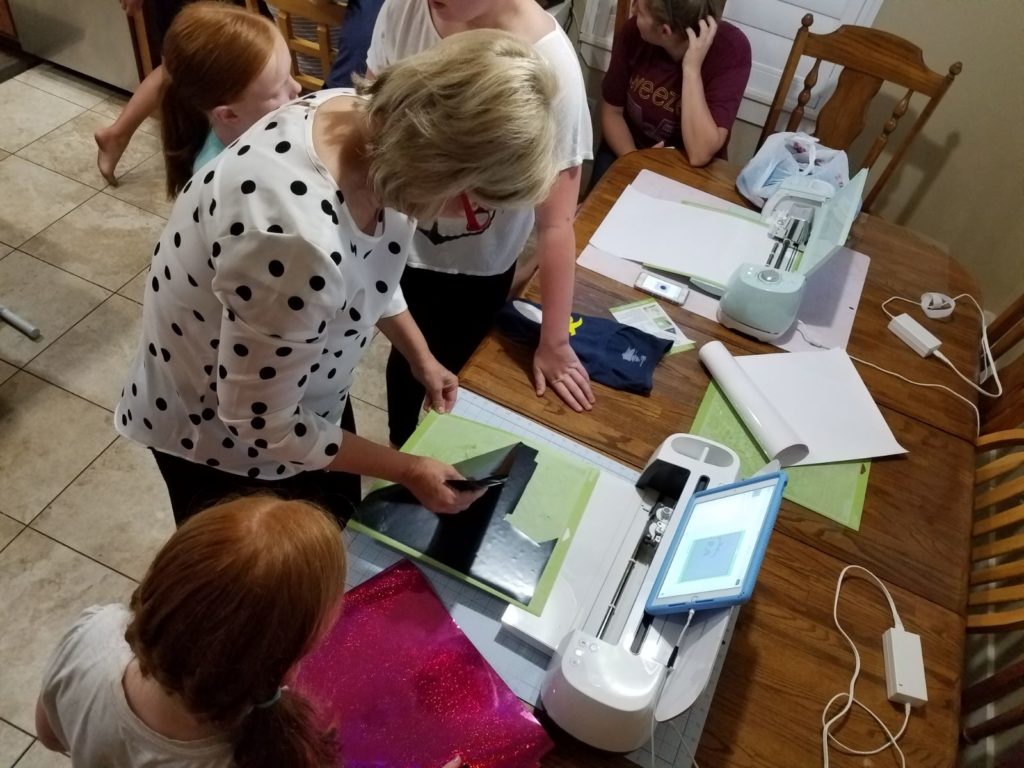
You can change the color of each item so they will automatically cut on a separate mat. We also hid parts of the tail that we didn’t want to cut. It’s so easy to do. From the drop down box on the side you can click the eye and it will hide it for you! Before you cut make sure you MIRROR THE WHOLE PROJECT! Especially the words you will be super sad if you don’t. Trust me…I have done this too many times.
When you are ready make sure to weld your letters or they end up being cut as individual letters. I like the look of them all attached together. If you don’t want to change anything about this project you can search in the Cricut Community to find it ready to go. Then all you need to do it cut each image and iron onto your shirt.
We all loved using the Easy Press – it makes it so much easier and takes the guess work out of ironing on your vinyl. It heats up quickly and has a built in timer. The ladies all chose to use the Easy Press over my iron that I set up.
Font: Babette – one of my favorite cursive fonts
Mermaid Tail: #M111122A Mermaid Party
Waves: Borders #M39190 Noah’s ABC Animals
Here’s a link to the t-shirt we made – you an customize it however you’d like.
You can find all the images in Design Space they are free with your Access Subscription. You don’t have to have the monthly subscription if you don’t want to, but it does give you so many images and fonts that it really makes it worthwhile!
You can change the color of each item so they will automatically cut on a separate mat. We also hid parts of the tail that we didn’t want to cut. It’s so easy to do. From the drop down box on the side you can click the eye and it will hide it for you! Before you cut make sure you MIRROR THE WHOLE PROJECT! Especially the words you will be super sad if you don’t. Trust me…I have done this too many times.
When you are ready make sure to weld your letters or they end up being cut as individual letters. I like the look of them all attached together. If you don’t want to change anything about this project you can search in the Cricut Community to find it ready to go. Then all you need to do it cut each image and iron onto your shirt.
We all loved using the Easy Press – it makes it so much easier and takes the guess work out of ironing on your vinyl. It heats up quickly and has a built in timer. The ladies all chose to use the Easy Press over my iron that I set up.
FINAL THOUGHTS
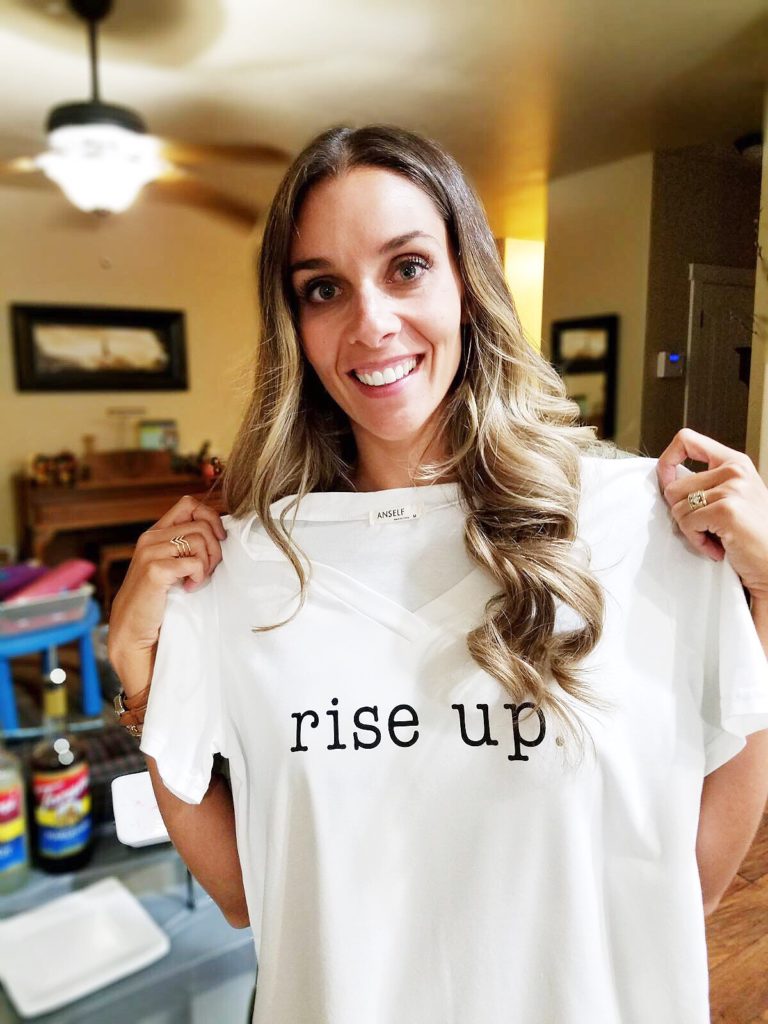
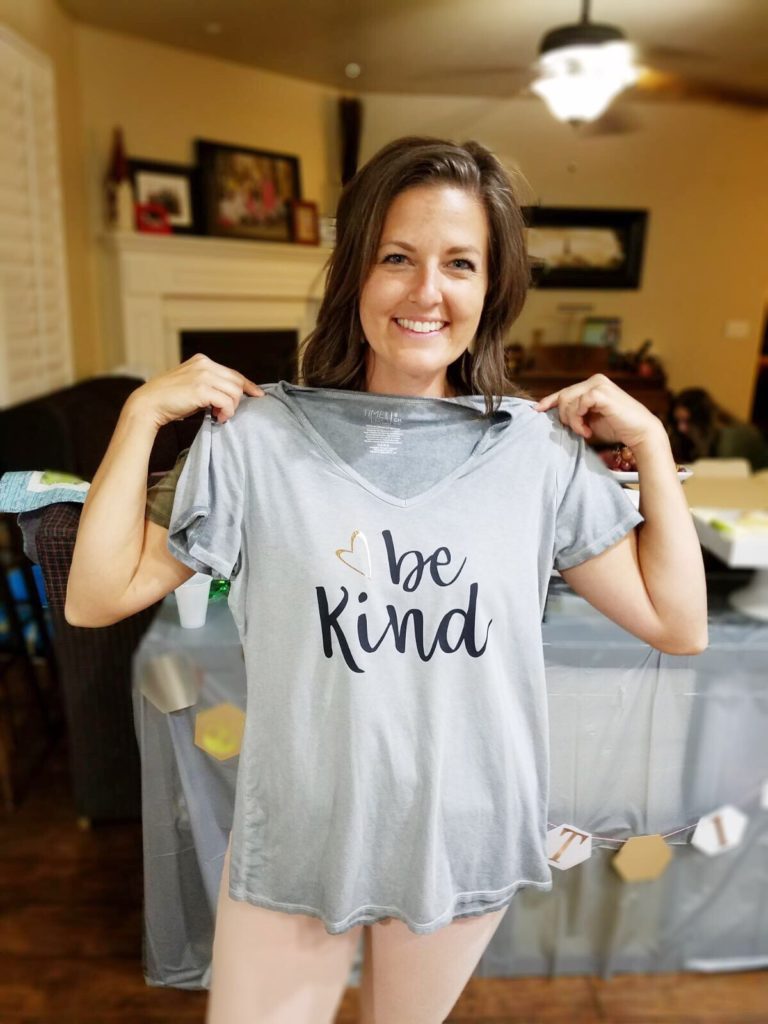
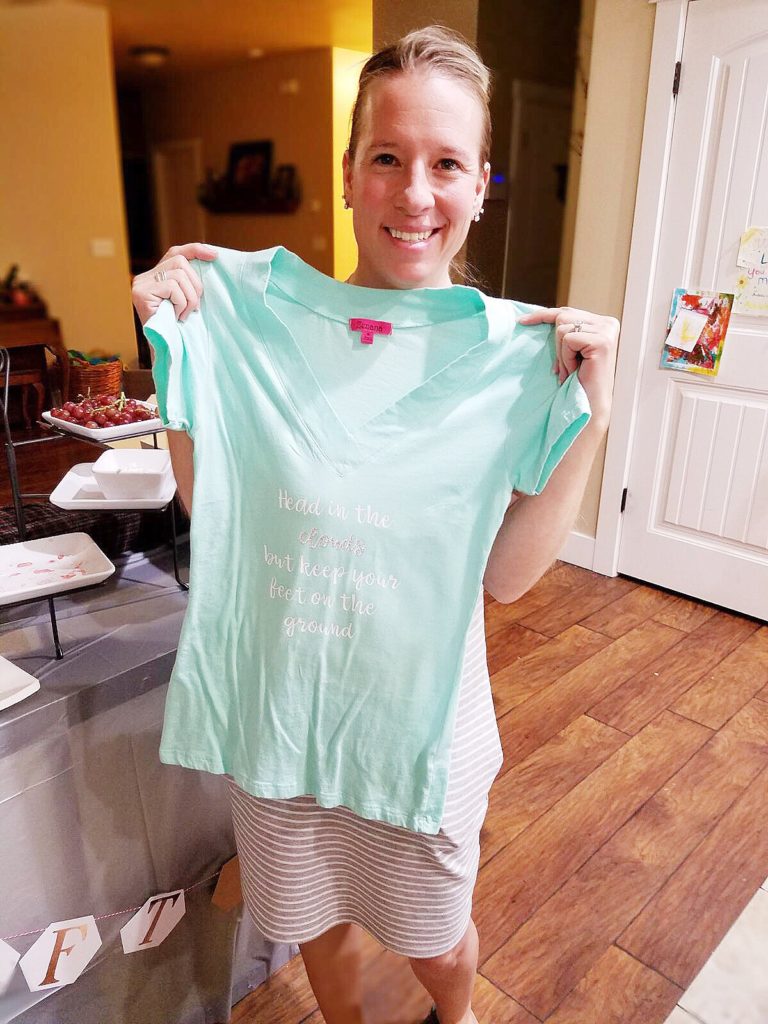
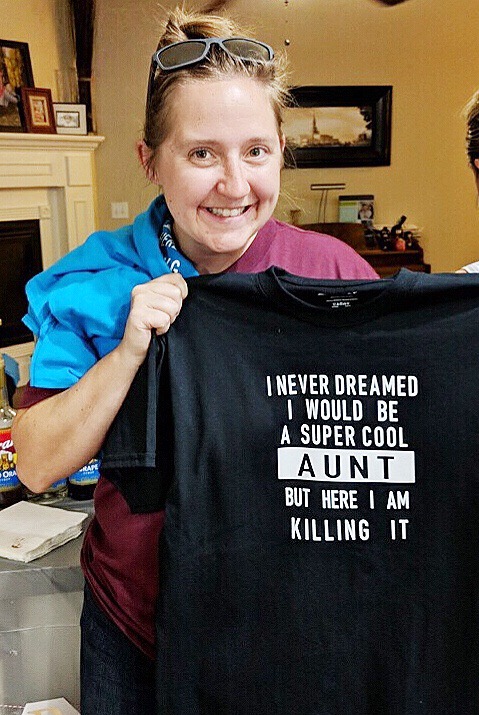
My girlfriends all loved their shirts and were impressed with the Cricut Maker and how easy it was to use. It was a fun night and I feel like my “mom” bucket was replenished. I don’t know about you, I love my kids, but sometimes it’s nice to have some grown-up time with friends! Especially when you get to be crafty together. It just makes me feel good. I hope that you try one of the shirts we made and come back and let me know or post a photo. I would love to see all of your ideas. As always, thanks so much for stopping by! xoxoxo SookEe Designs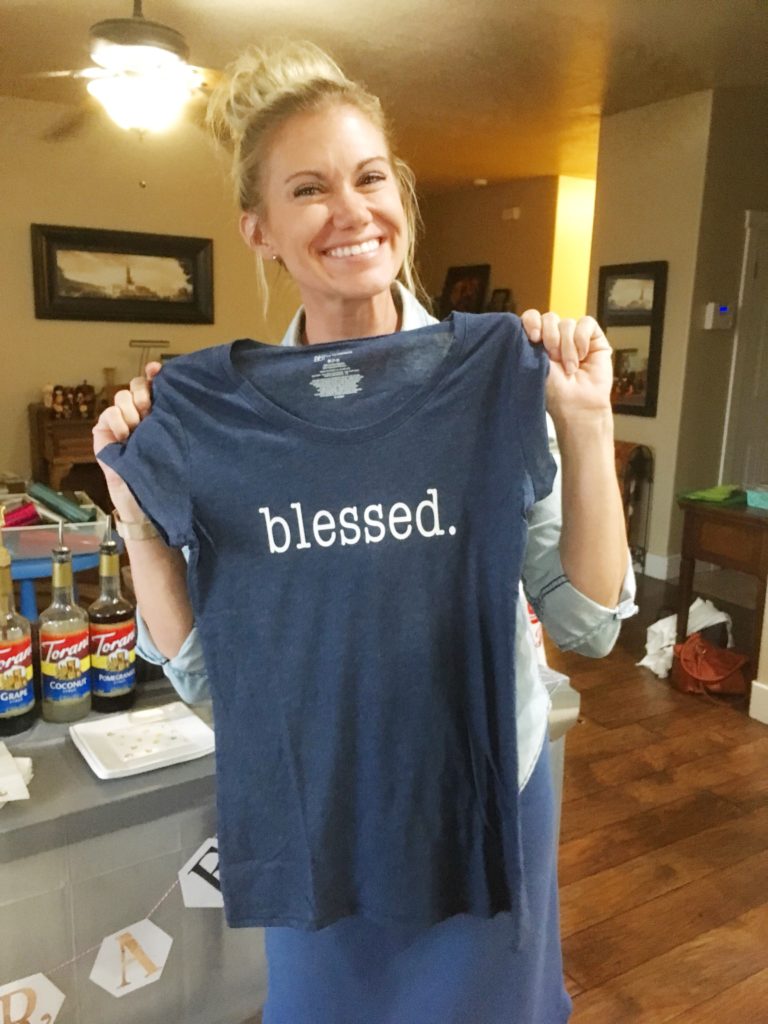
 This is a sponsored conversation written by me on behalf of Cricut. The opinions and text are all mine.
Recent Comments