• Facebook
  • Instagram
  • Pinterest
SookEe Designs
  • About
  • Contact
  • Patterns
  • Shop R+F
  • Tutorials
  • My Favorite Things
May 23, 2018

Cricut Maker + Simplicity Cosmetic Bag Tutorial

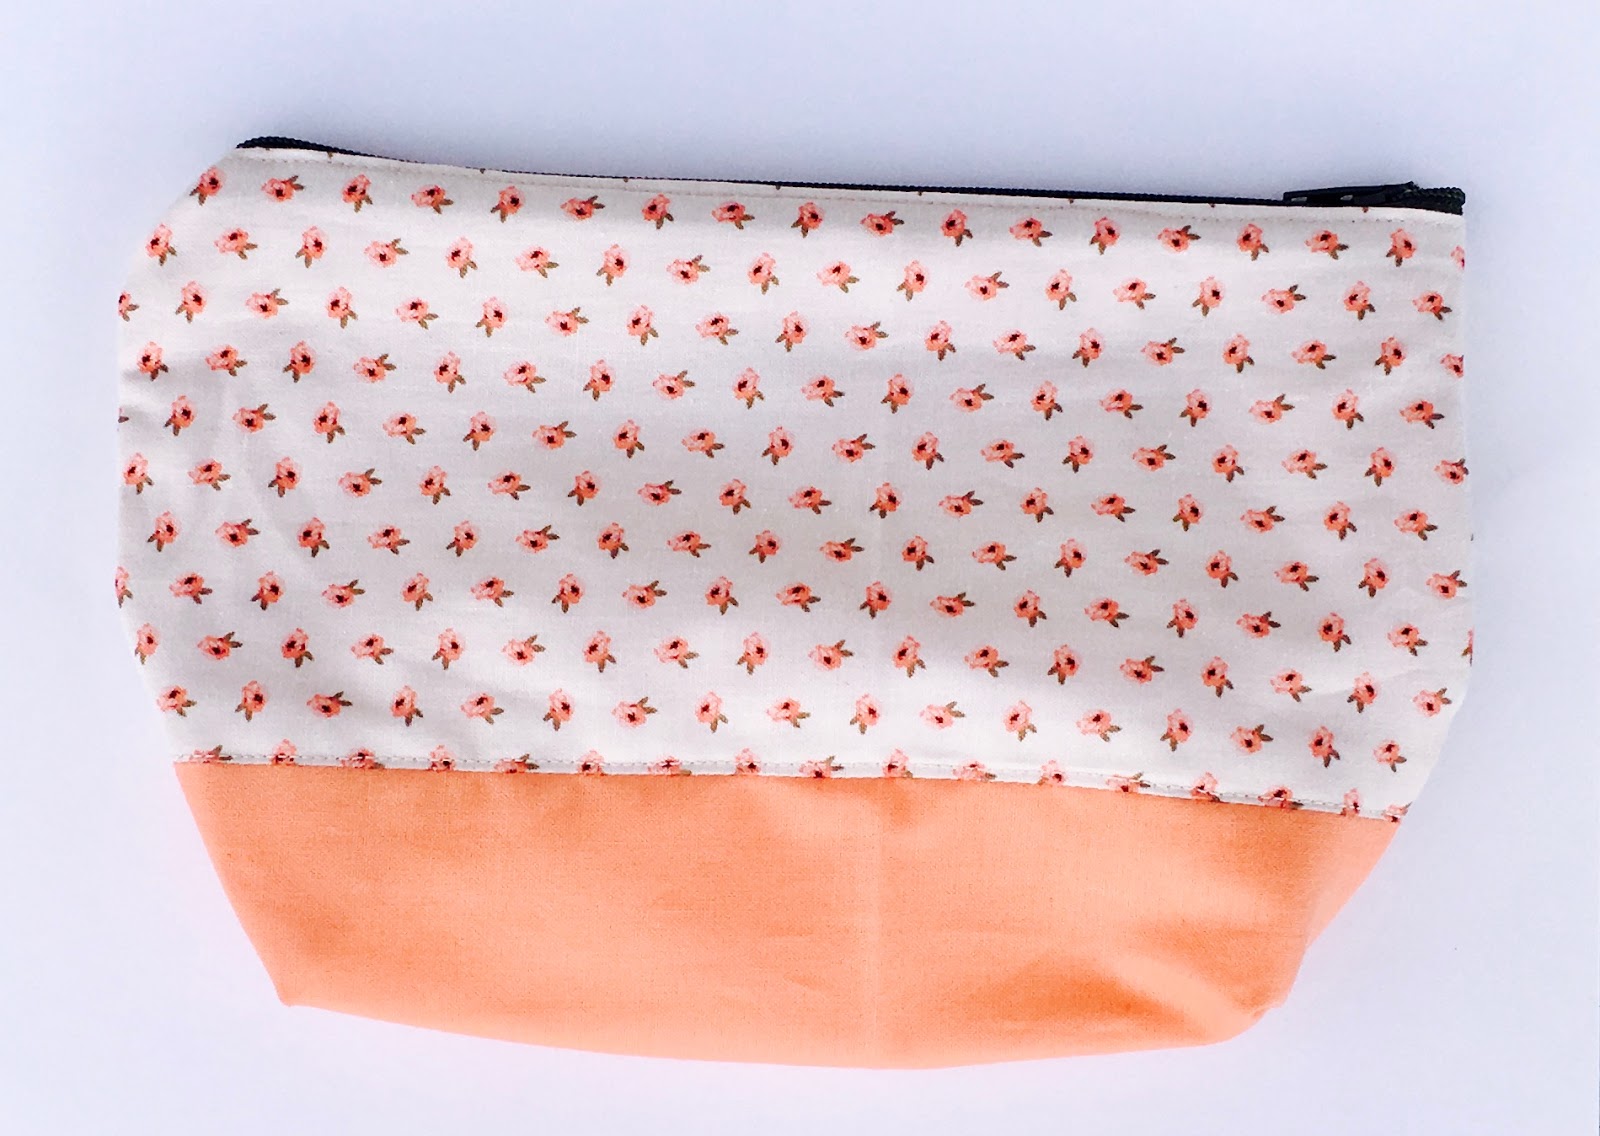
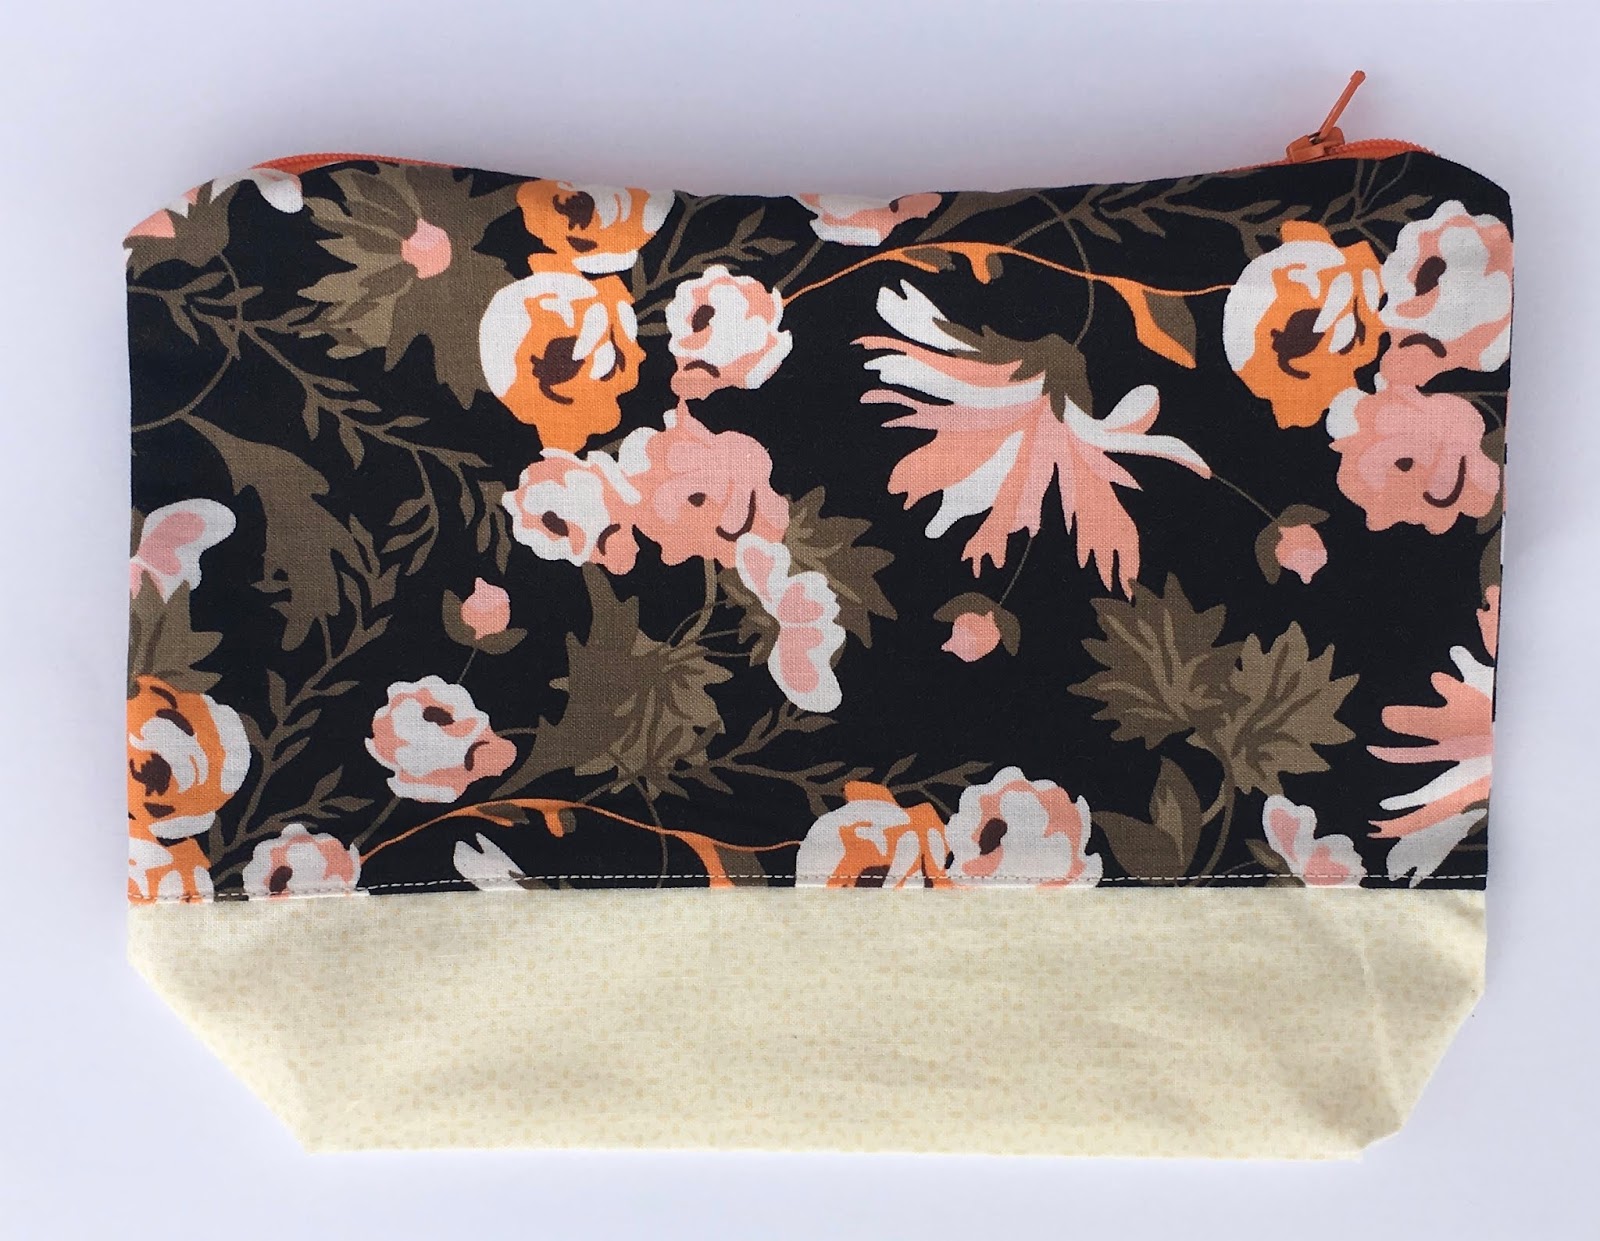
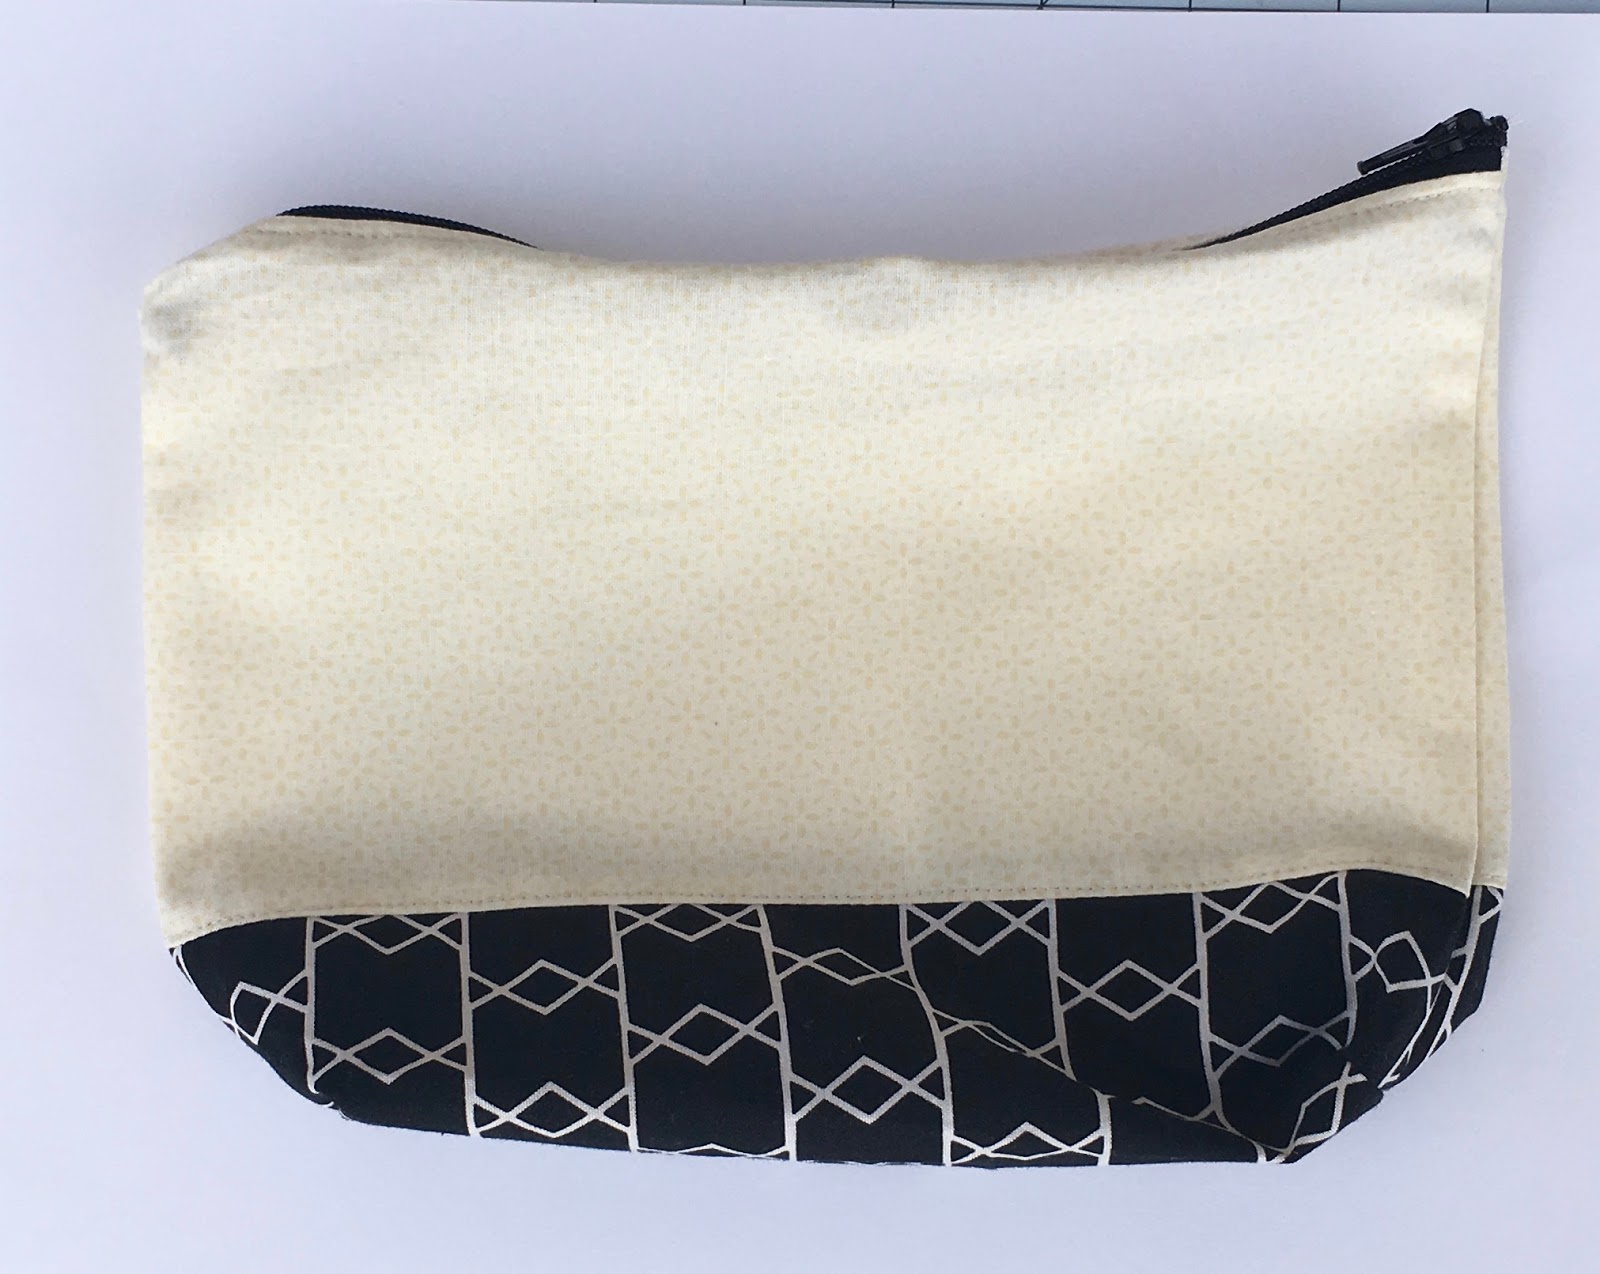
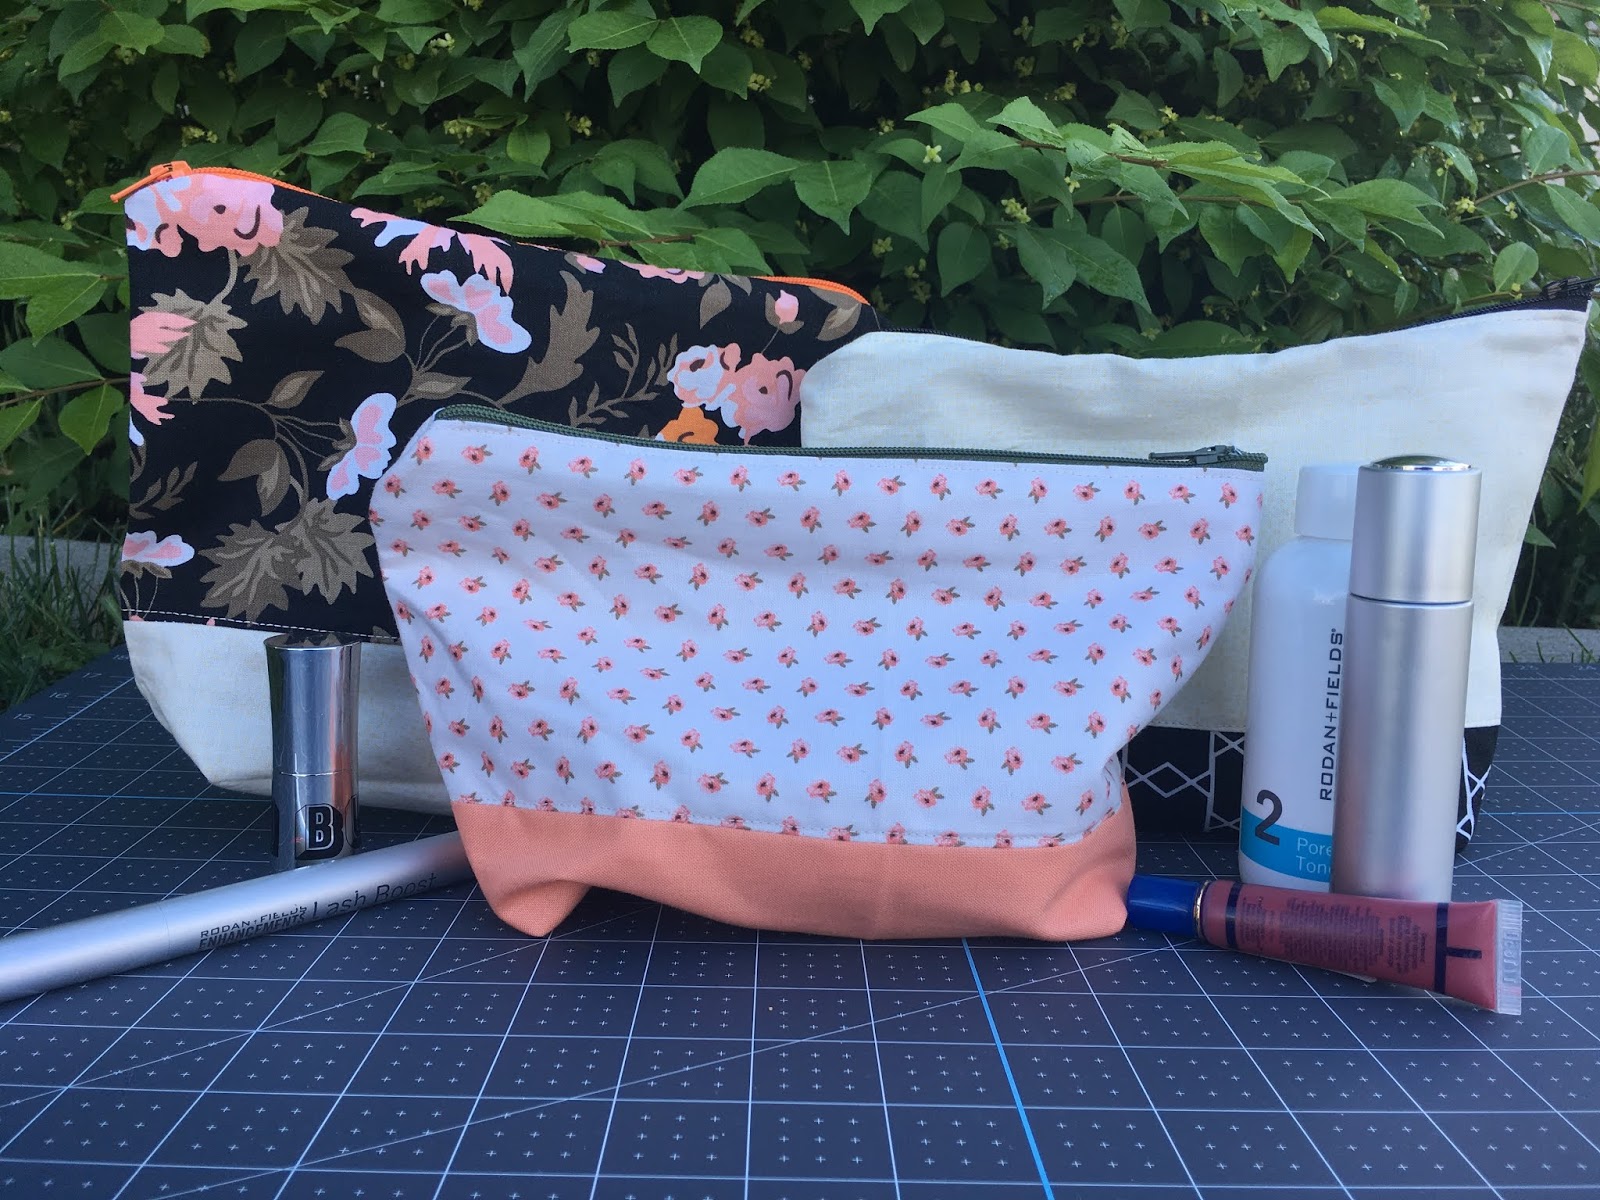
You’ve heard me wax poetic about my Cricut Maker. I love, love this machine. It is changing the way I create and craft. You may have heard that they teamed up with Simplicity Patterns. I had the opportunity to try out a Simplicity cosmetic bag pattern in Cricut Design Space. Not only was this an easy pattern, but it turned out so cute that I quickly made up three of them. I love the possibilities you have with fabric and adding vinyl for a personal touch.

This experience is based strictly on my opinion.  Others may have a different opinion or experience with the product listed above.  I was provided the sample free of charge by the company or PR agency and I have given my honest opinion.


This is a sponsored conversation written by me on behalf of Cricut. The opinions and text are all mine.

Materials Needed:

Cricut Maker
Simplicity Pattern Cosmetic Bag
Design Space
1/4 yd fabric for top of bag
1/4 yd fabric for bottom of bag
12 X 12 Fabric Grip Mat
Cricut Washable Fabric Pen
Contrasting Zipper 9″ or 12″

The Process:

Normally, when you sew you go to the store, buy a pattern, bring it home, cut it out, pin it to the fabric, cut it out and then sew it together. With the Cricut Maker and Simplicity pattern it is so much easier. You get online, download a pattern, load fabric onto your mat and the maker cuts it out and you can choose to mark the sewing lines as well. My kids love to use this machine to make doll clothes, bags and pillows. Even if you don’t have a lot of sewing experience, you can sew like a pro! This cosmetic bag is a great place to start. It’s easy, fast and it’s super cute.


Place your fabric for main body on your pink fabric grip mat.
(place fabric pretty side down)


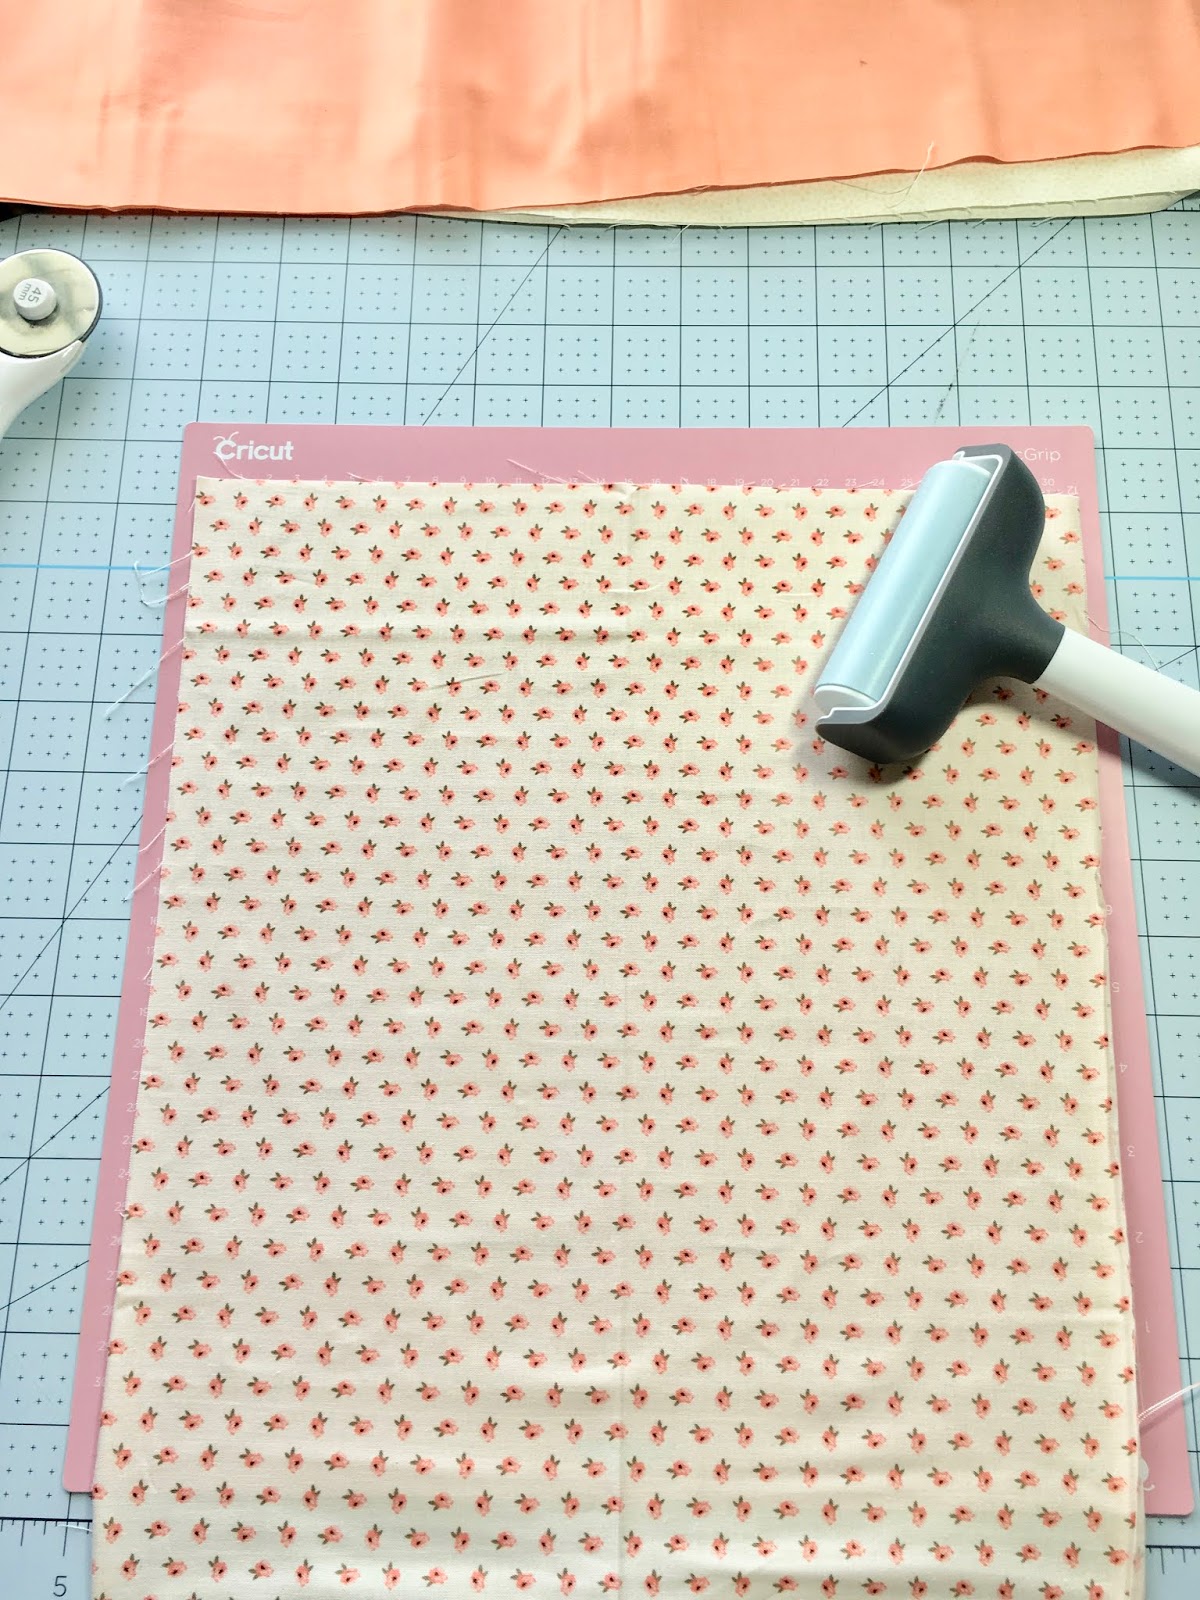
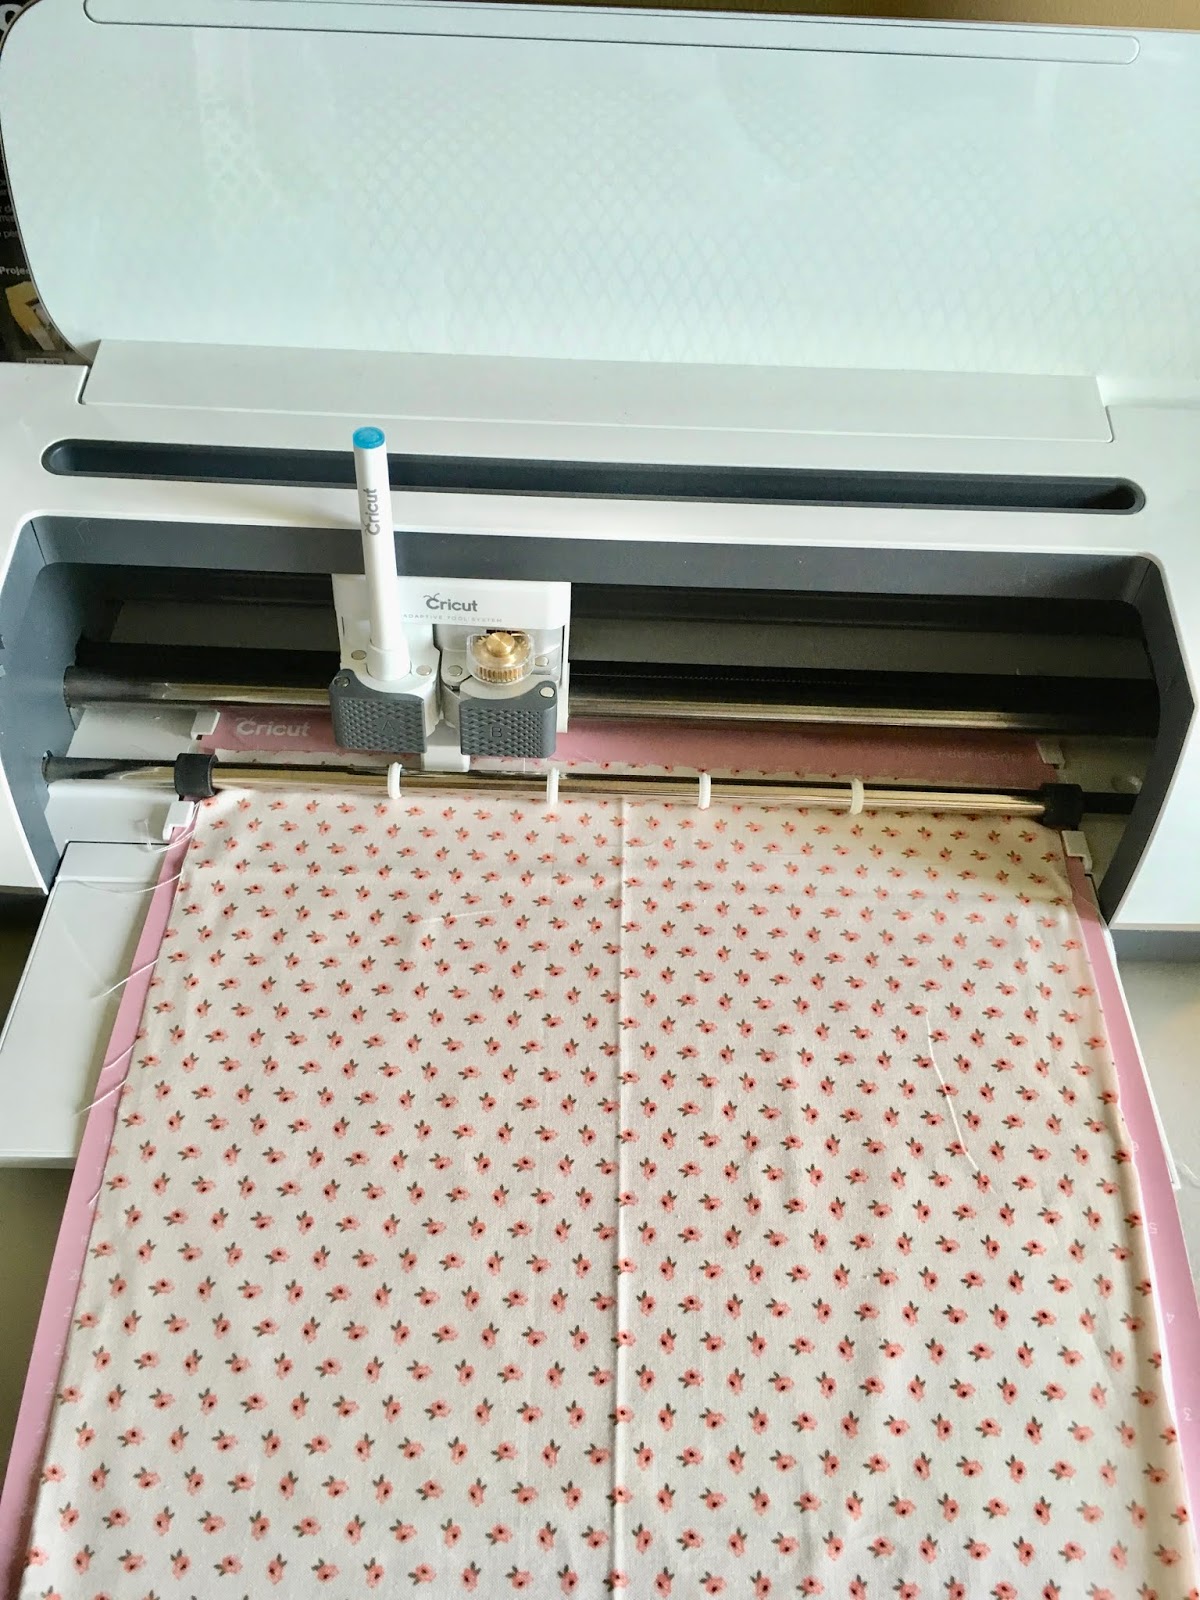
Load in Cricut Maker

All the pieces cut and marked.

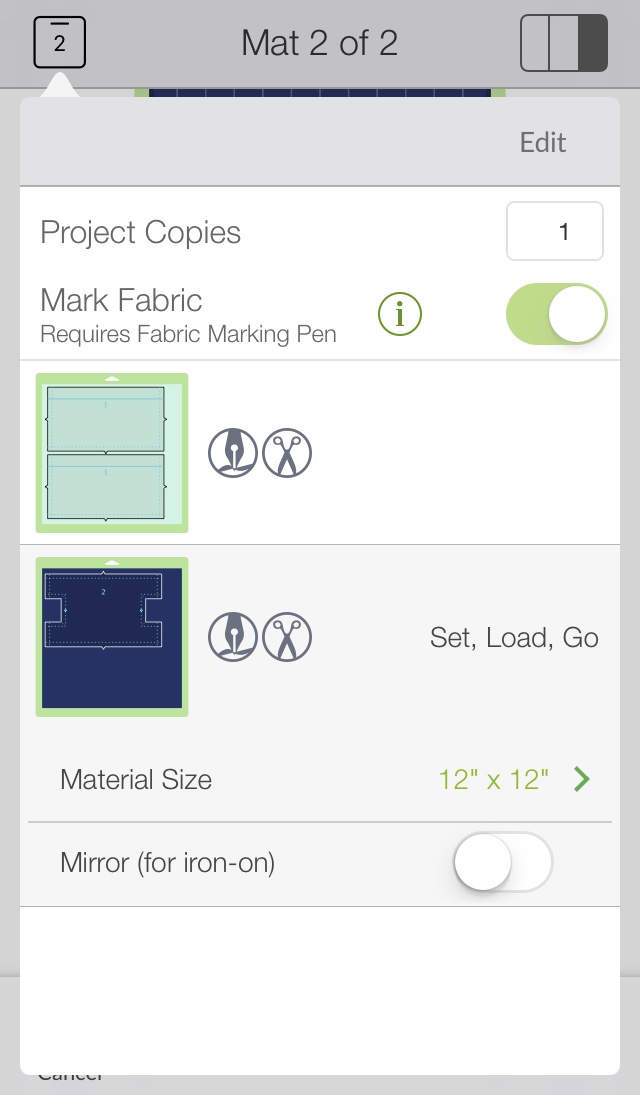
If you don’t want to use the fabric marker to place sewing lines, turn off.


Mark Fabric is turned off.

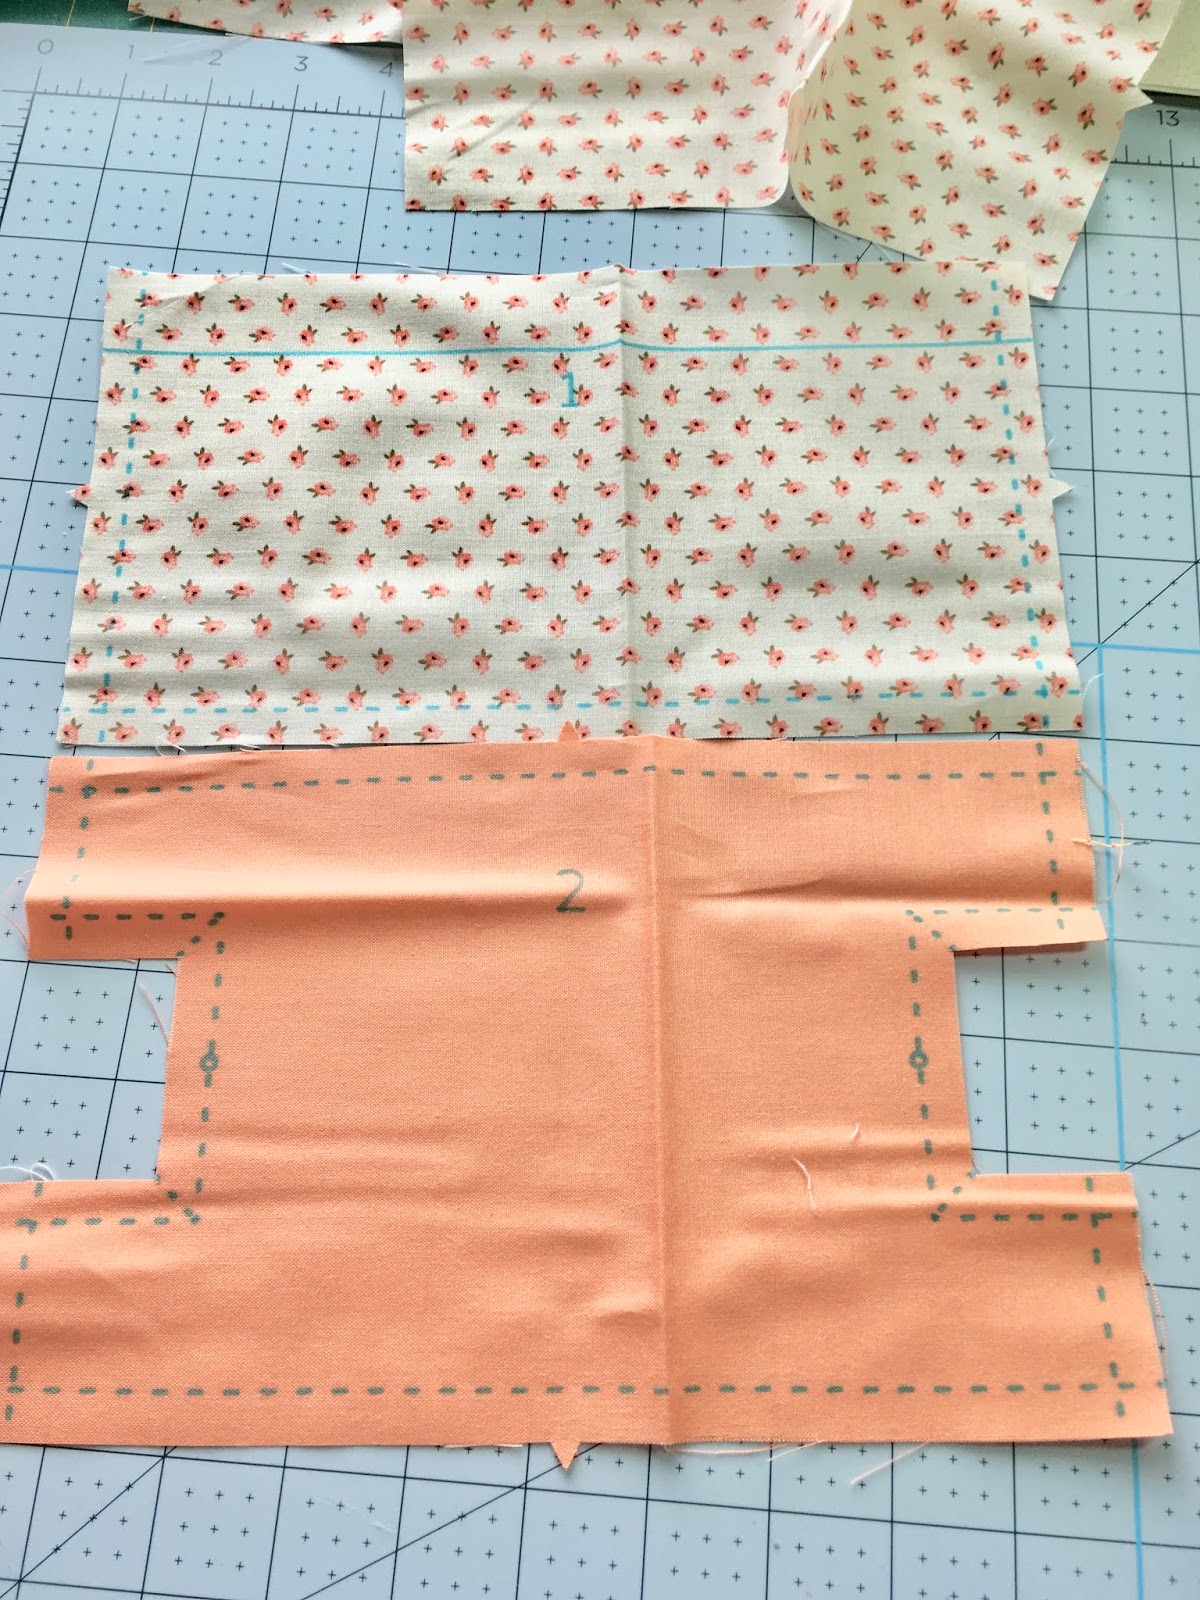
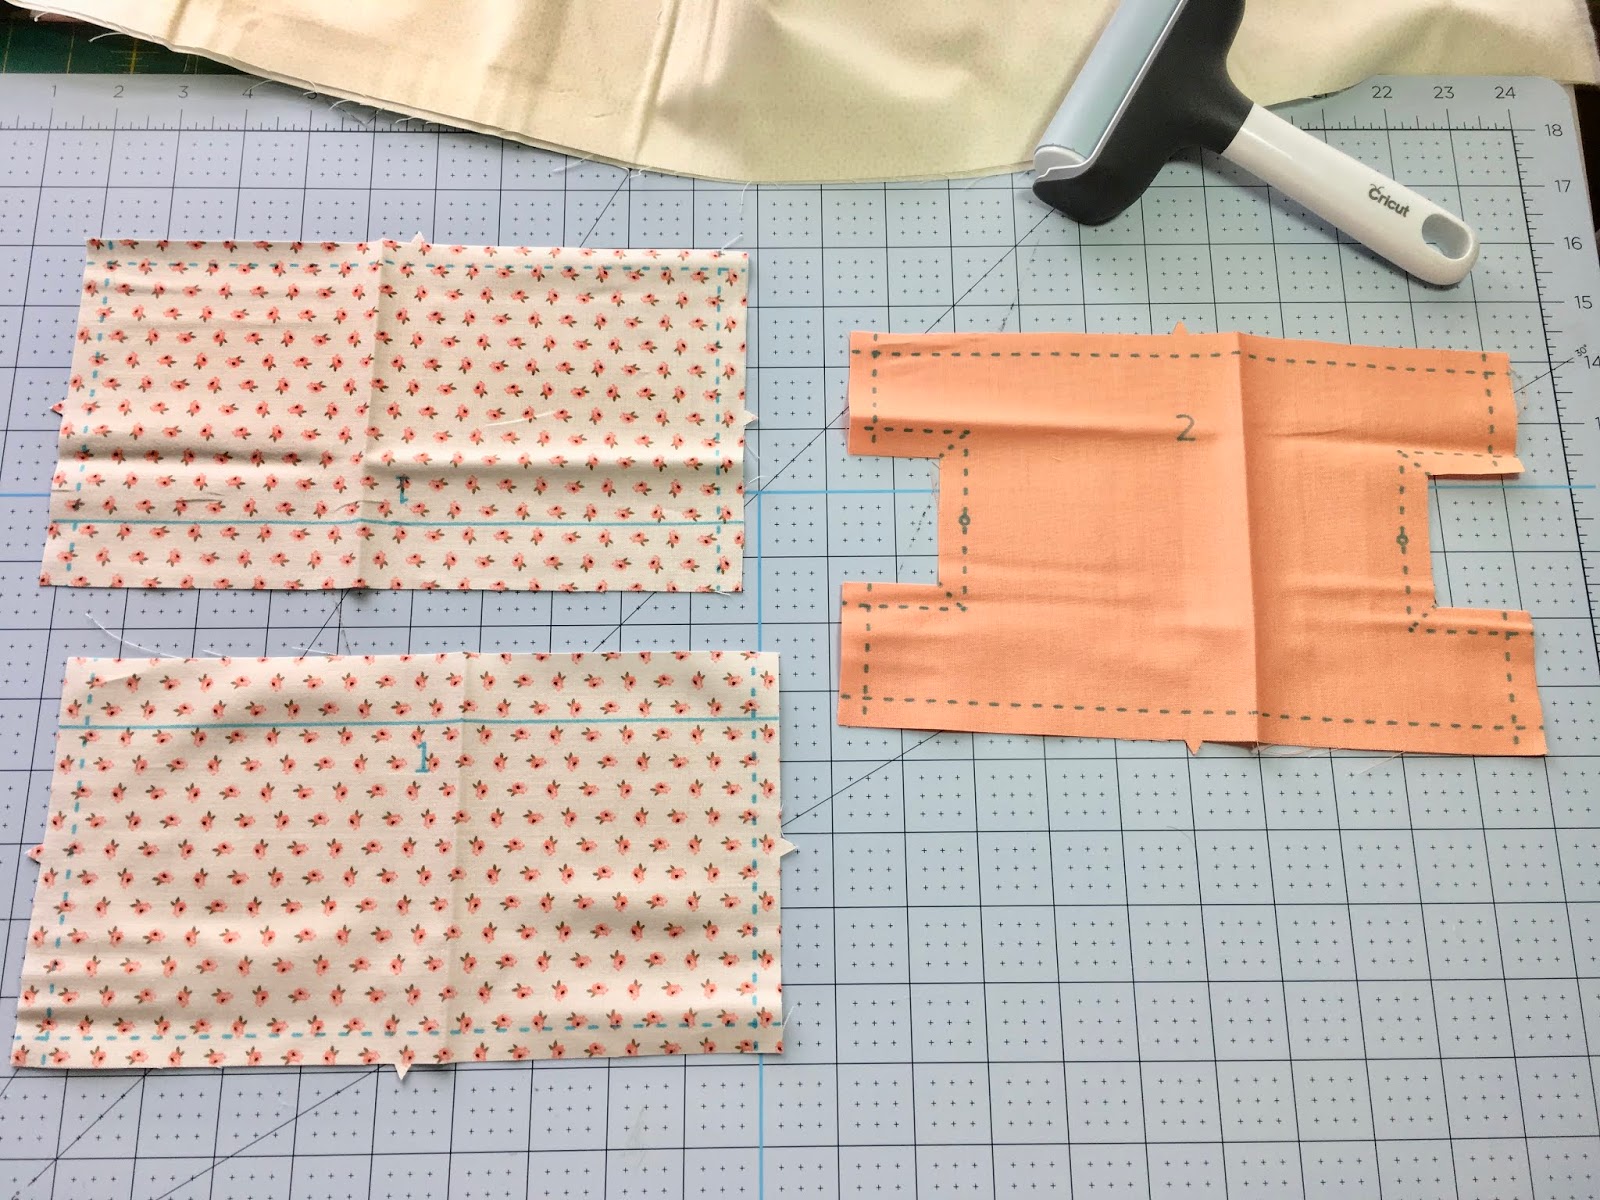
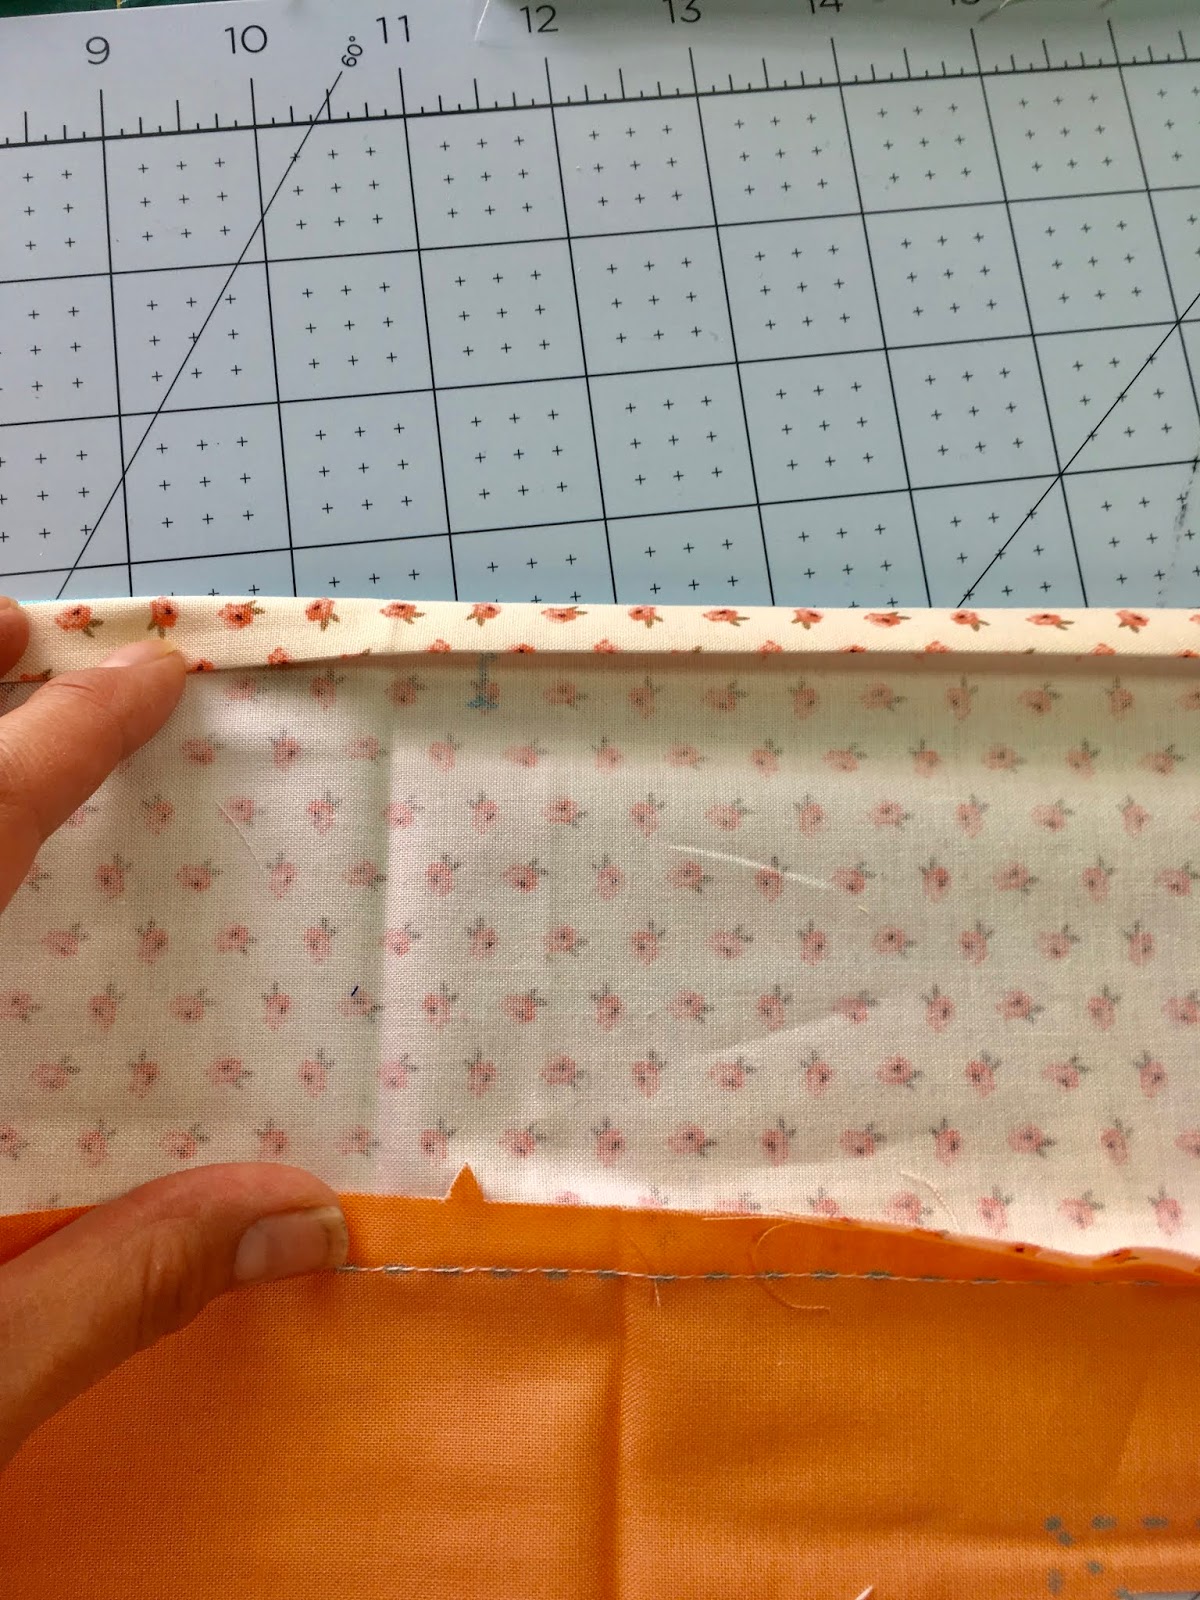
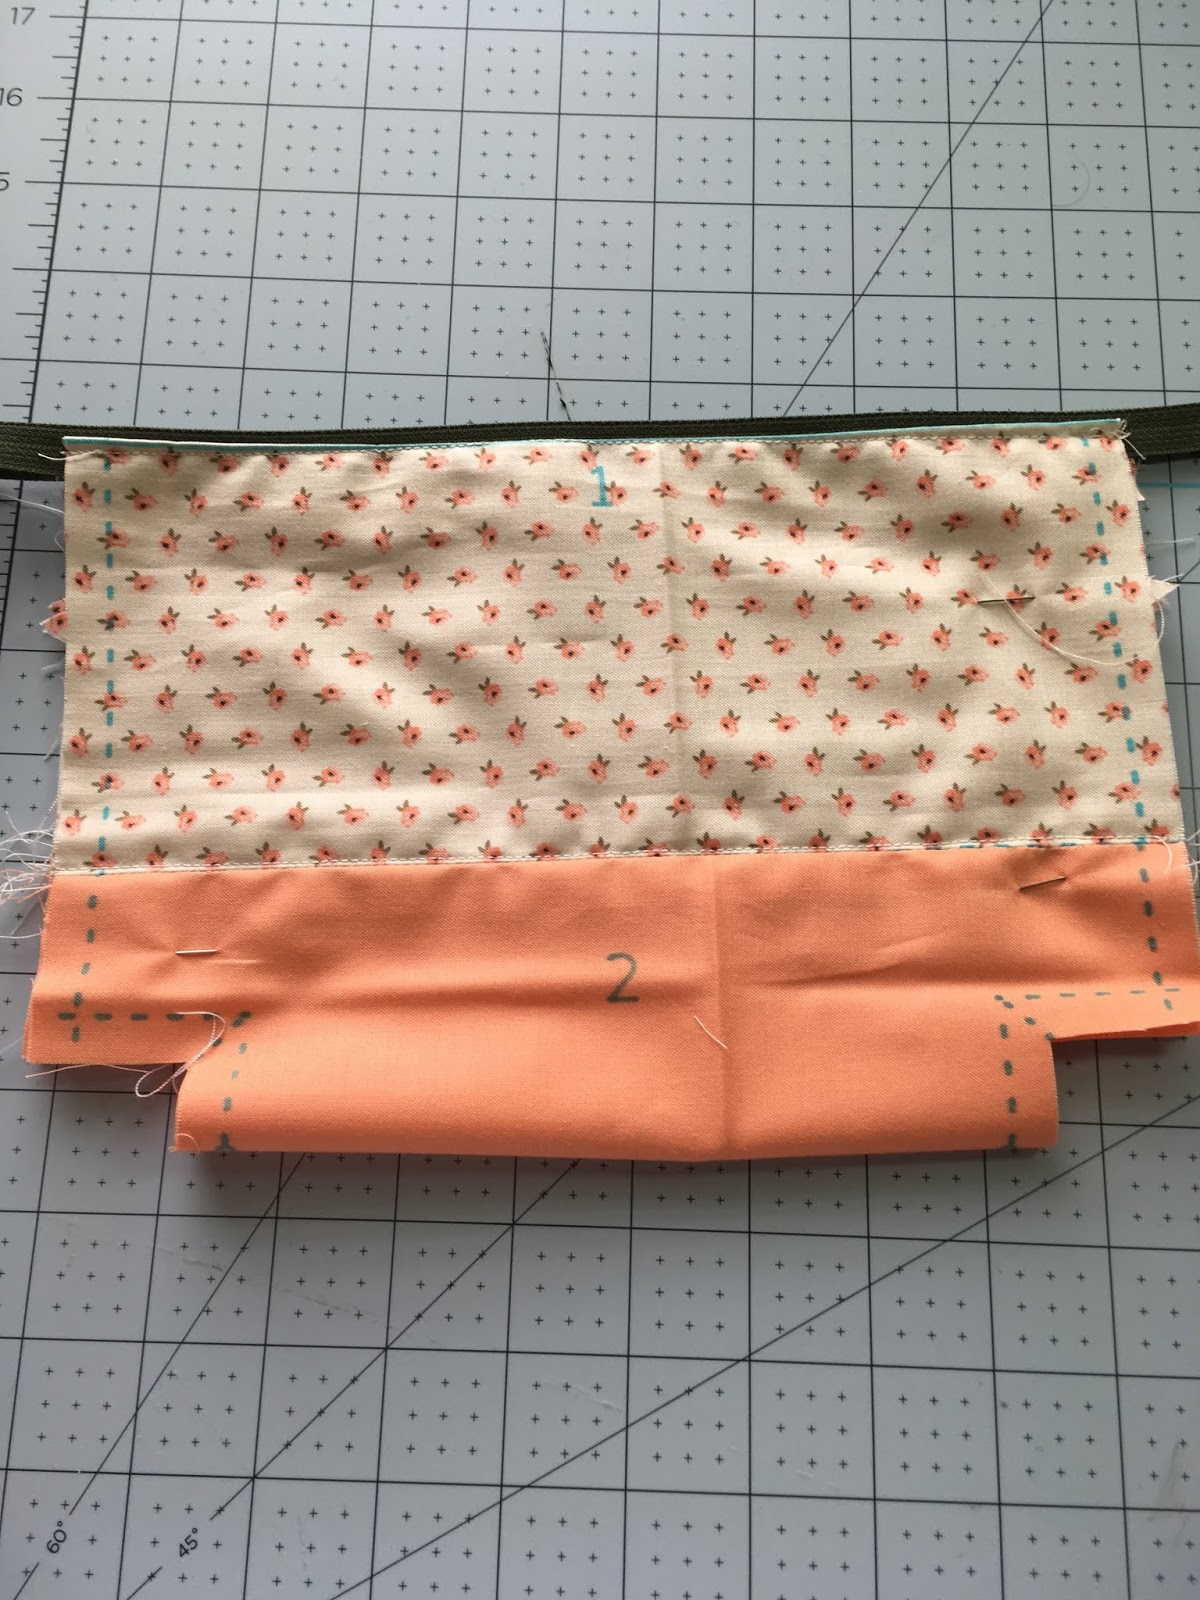
You will sew part 1 to part 2 along the sewing line. Lay them right sides together, match notches and sew along the line. Repeat for other panel.


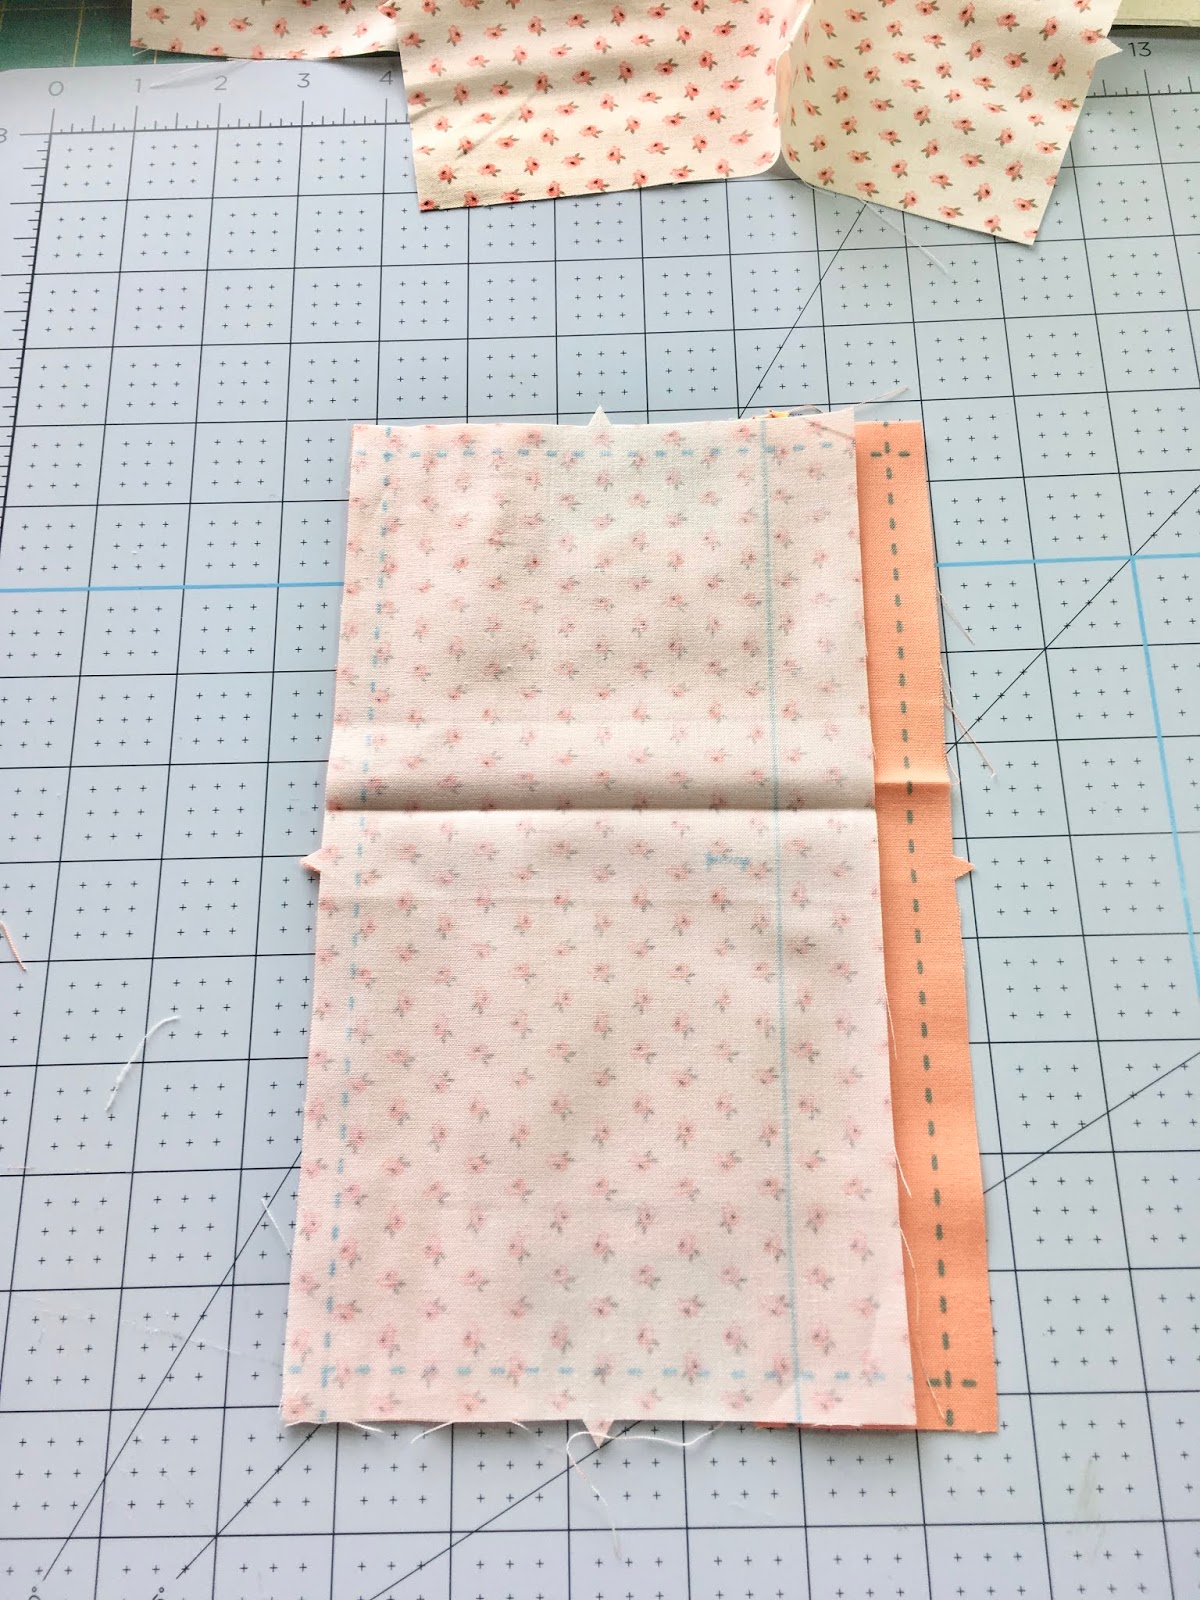
Right sides together prepared to sew.


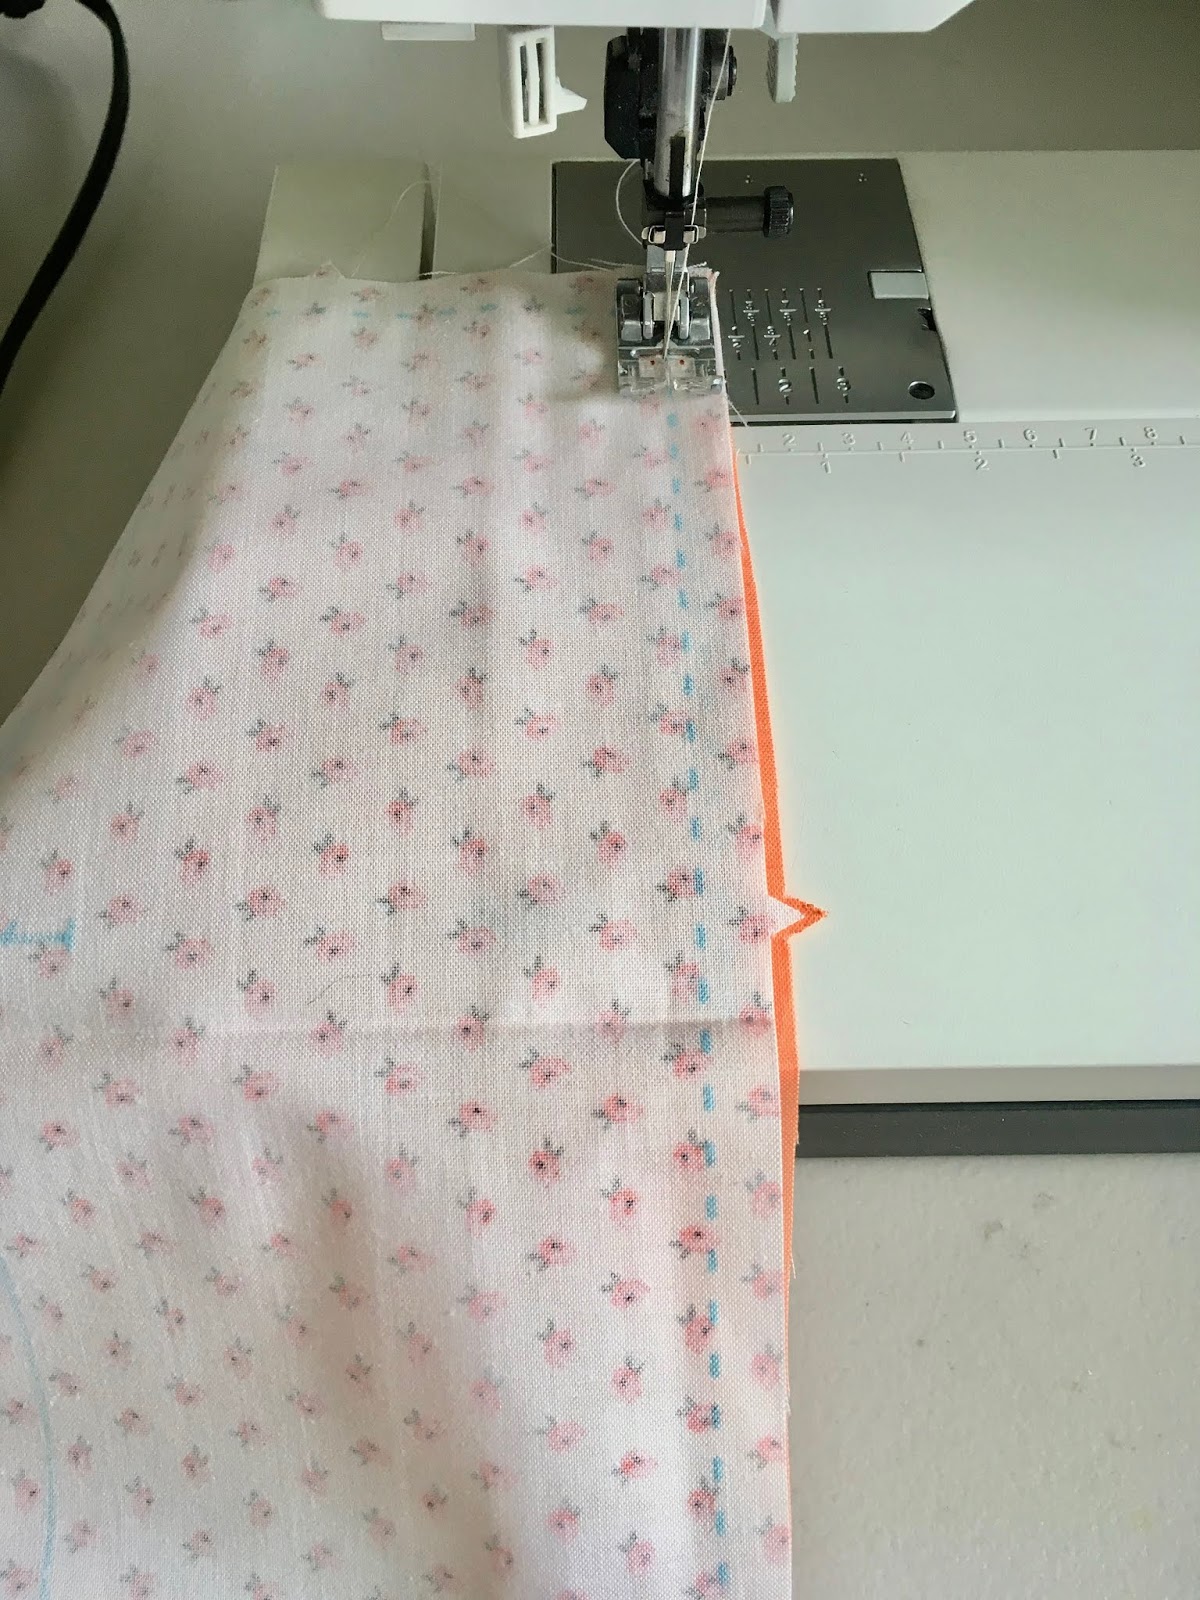
Sew along the dotted line.


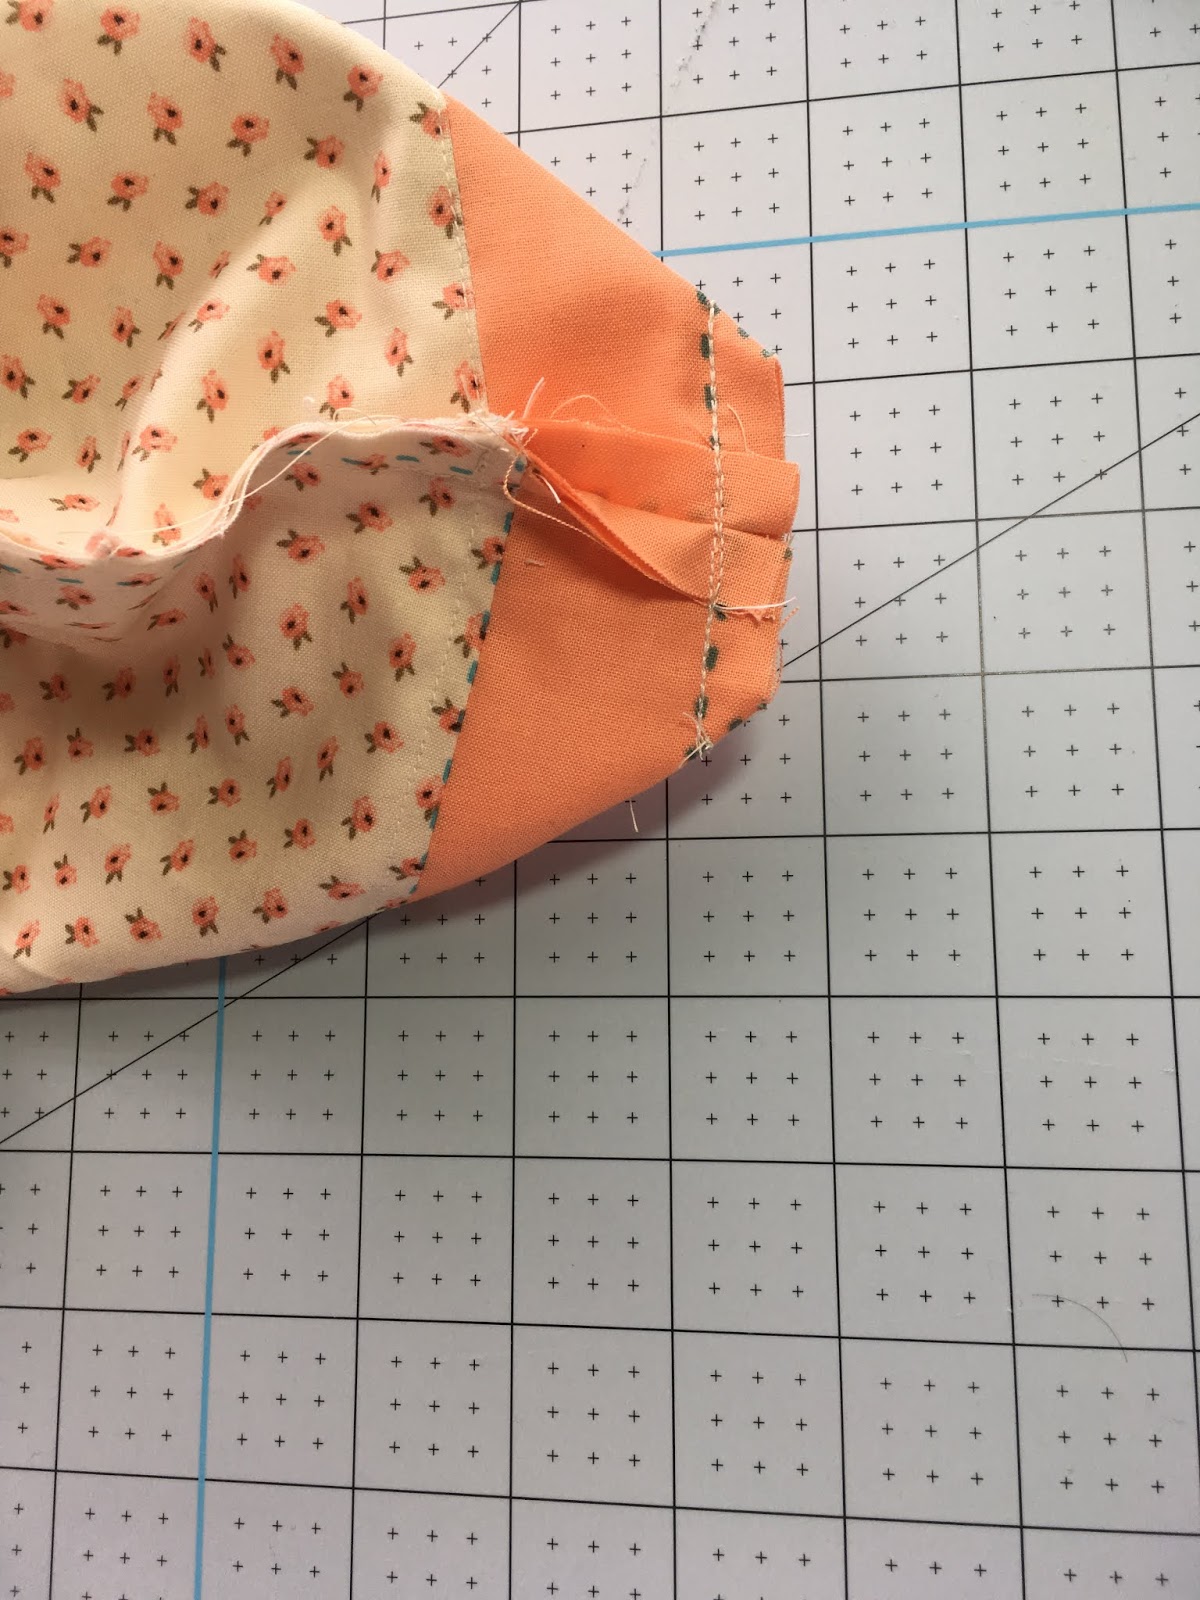
Fold the other end over and then again. Sew down.

Folded over the second time.


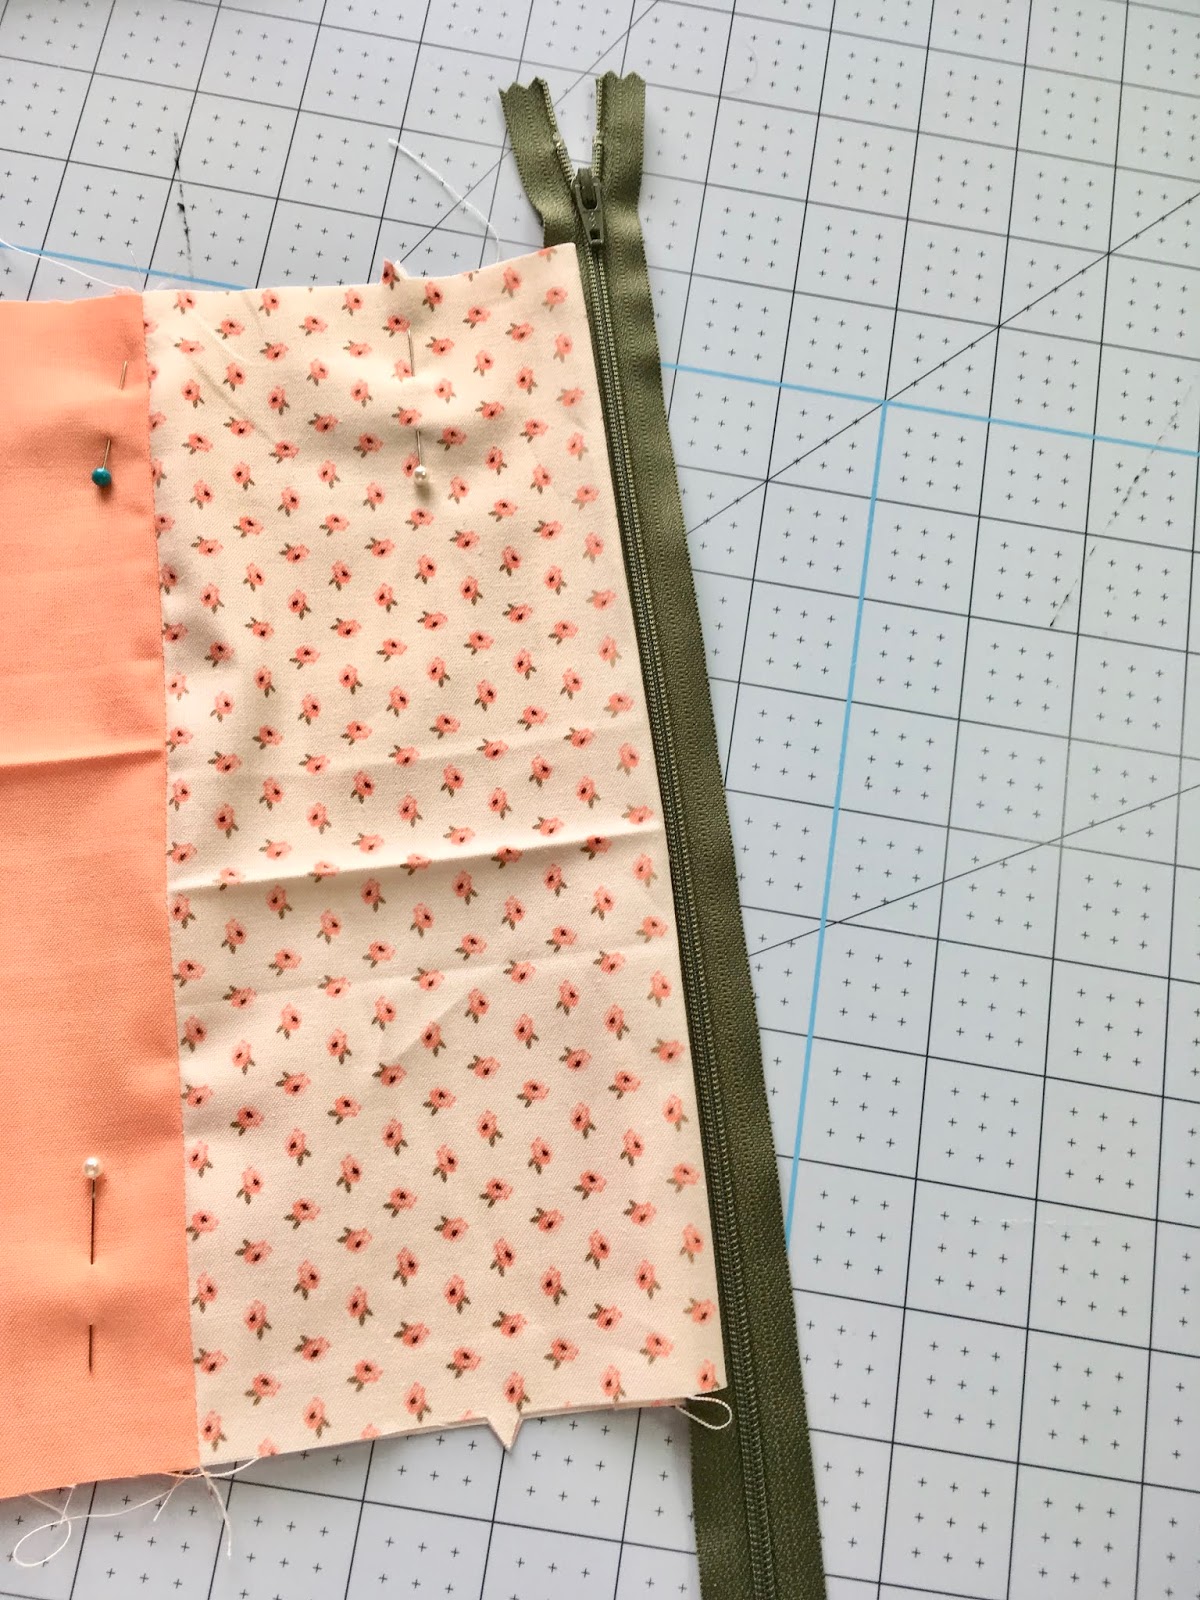
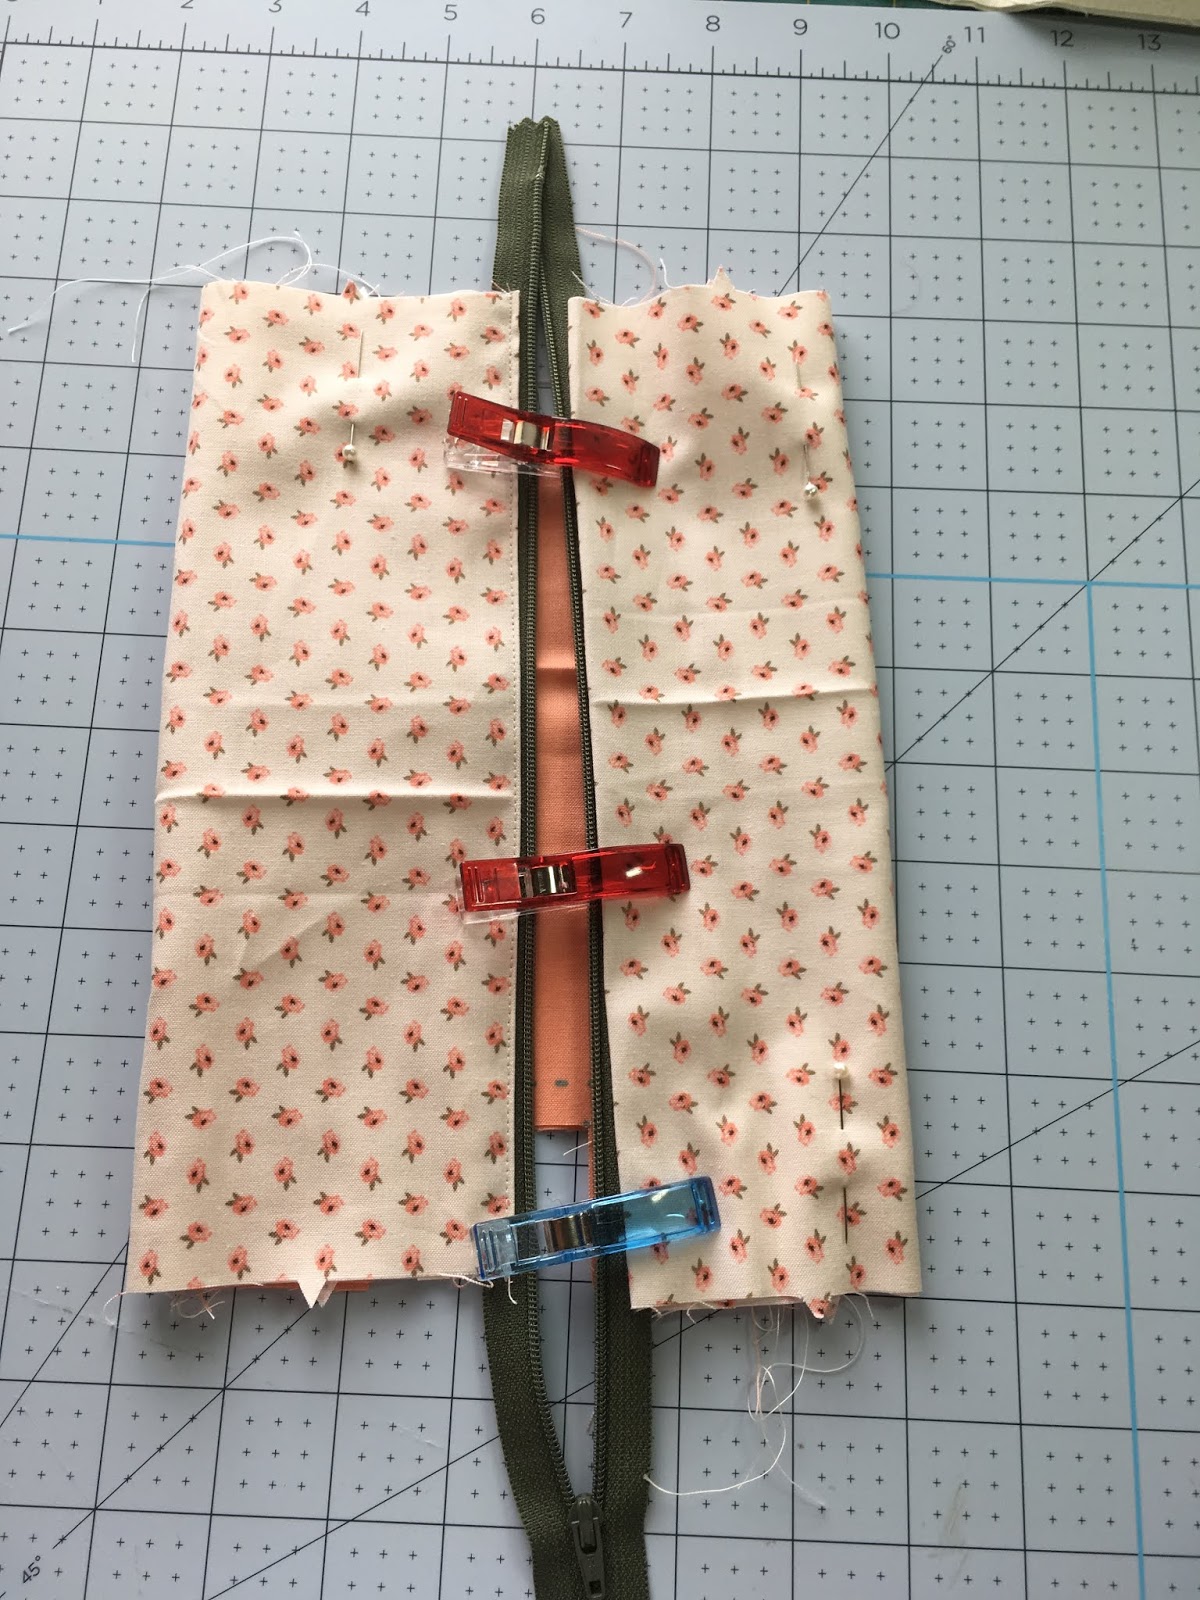
Place zipper along the edge and sew in place. My zipper was longer than the bag. I like to sew in on then cut to correct size.

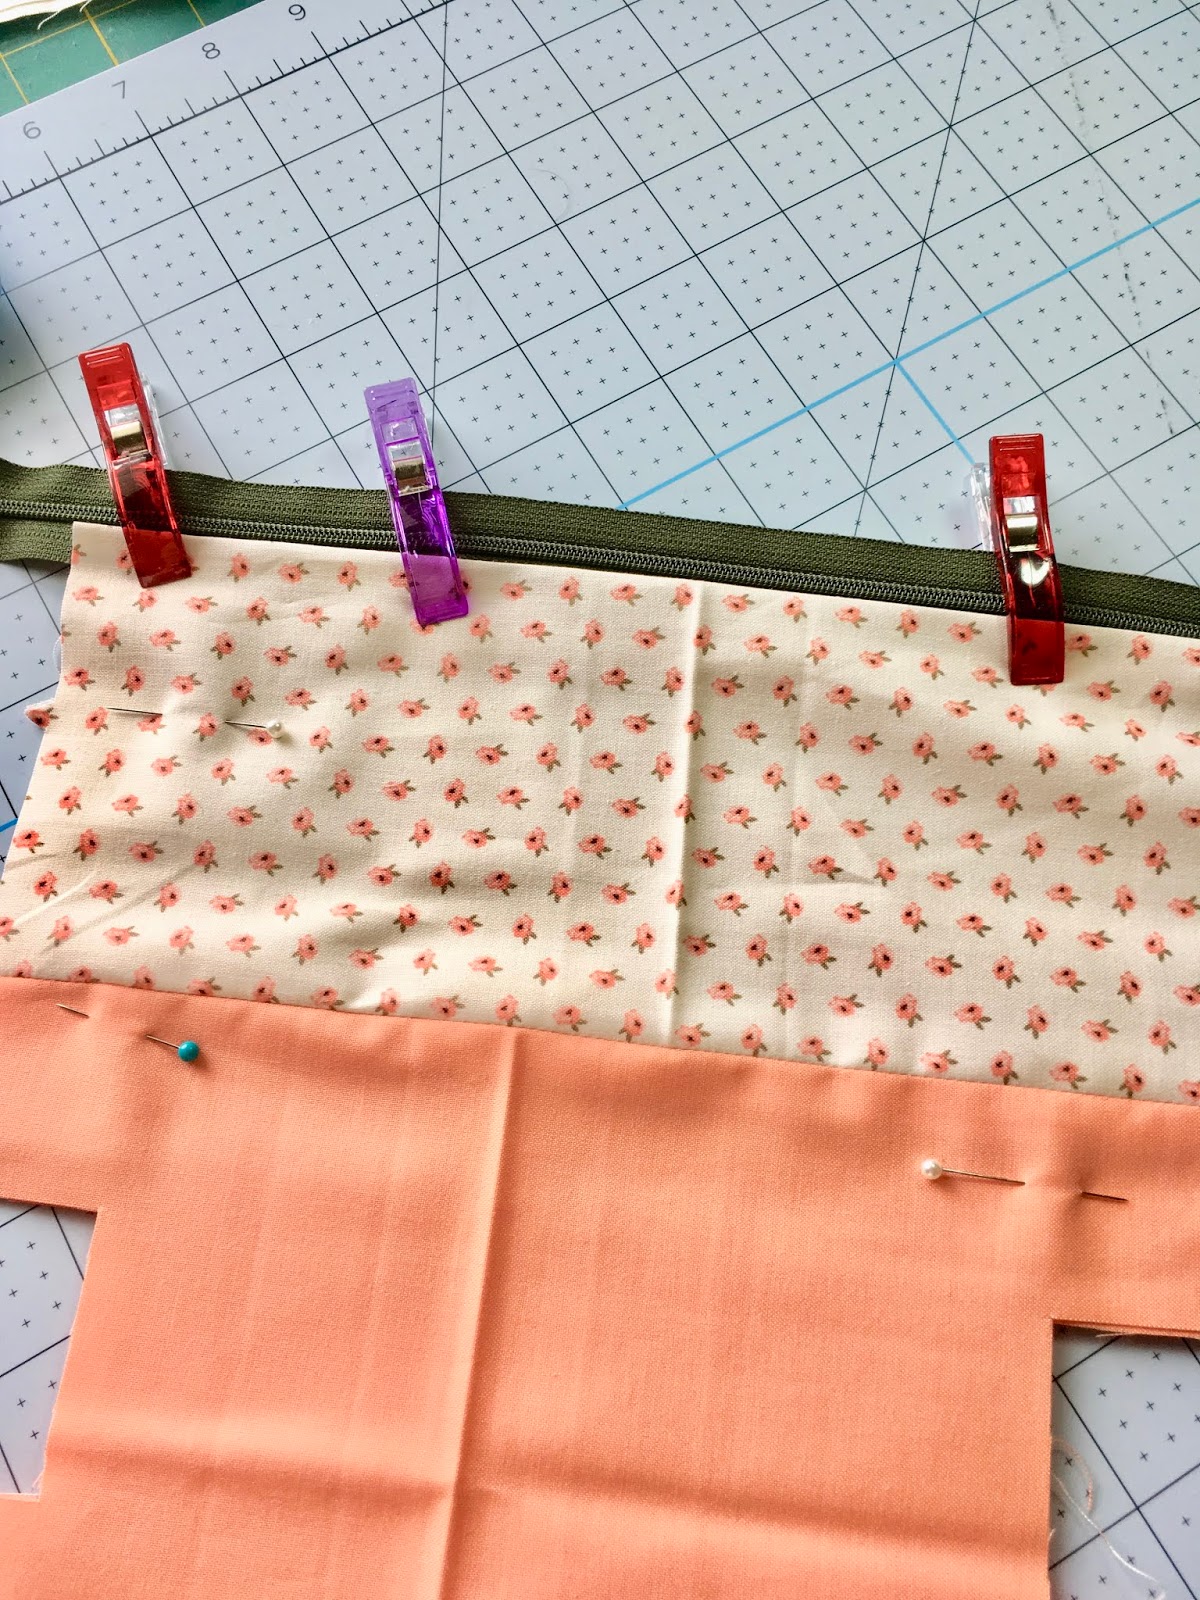
I like to use binder clips to hold in place. Use a Zipper foot to sew together.


Repeat with other side


Place the right sides together and sew along the sides from zipper to the end.


Place the corners together. Sew.


Done!


I love the possibilities with this bag. You can line it or keep it simple. You could add some iron on vinyl and personalize your bag or even add ribbon to the zipper pull.
I hope you will give it a try and come back and show me what you’ve done.
 
This is a sponsored conversation written by me on behalf of Cricut. The opinions and text are all mine.


Post navigation

Self Care with Cricut // Bow Pencil Case
A Tween Beach Party

Recent Posts

  • The Santa Box Movie Review
  • Personalizing your Back to School with Cricut
  • Easy Bleach Dyed Shirts
  • Easy Sewing Projects for Kids
  • Easy Easter Activities for Kids

Recent Comments

  • Linky Thursday | StacySews on Easy Sewing Projects for Kids
  • Lisa - Cucicucicoo Eco Sewing & Crafting on Easy Sewing Projects for Kids
  • Monica on Holiday Apron Tutorial
  • Monica on Holiday Apron Tutorial
  • Monica on Holiday Apron Tutorial

Recent Comments

  • Linky Thursday | StacySews on Easy Sewing Projects for Kids
  • Lisa - Cucicucicoo Eco Sewing & Crafting on Easy Sewing Projects for Kids
  • Monica on Holiday Apron Tutorial
  • Monica on Holiday Apron Tutorial
  • Monica on Holiday Apron Tutorial
  • Facebook
  • Instagram
  • Pinterest

Sign In

  • Log in
  • Entries feed
  • Comments feed
  • WordPress.org
  • Elara by LyraThemes
  • Made by LyraThemes.com