• Facebook
  • Instagram
  • Pinterest
SookEe Designs
  • About
  • Contact
  • Patterns
  • Shop R+F
  • Tutorials
  • My Favorite Things
May 7, 2014

DIY: Baby Leggins

I’m not sure if I mentioned it, but I had a baby almost a year ago. She is so sweet and has tons of hair, which is a first for me. We have all loved having her in our home. I have been having so much fun making things for her. It’s so nice to start a project and finish it all in the same day.

Another thing about me…I am so clumsy and often spill on myself and splatter on my shirt while cooking dinner. I have ruined too many shirts in the past few months. I decided to see if I could re-purpose them. There are so many options, but I love little leggins for babies the best. I know there are so many tutorials out there, so if you can handle one more, here it is.

Items you need:

Grab an old T-shirt or tank top.
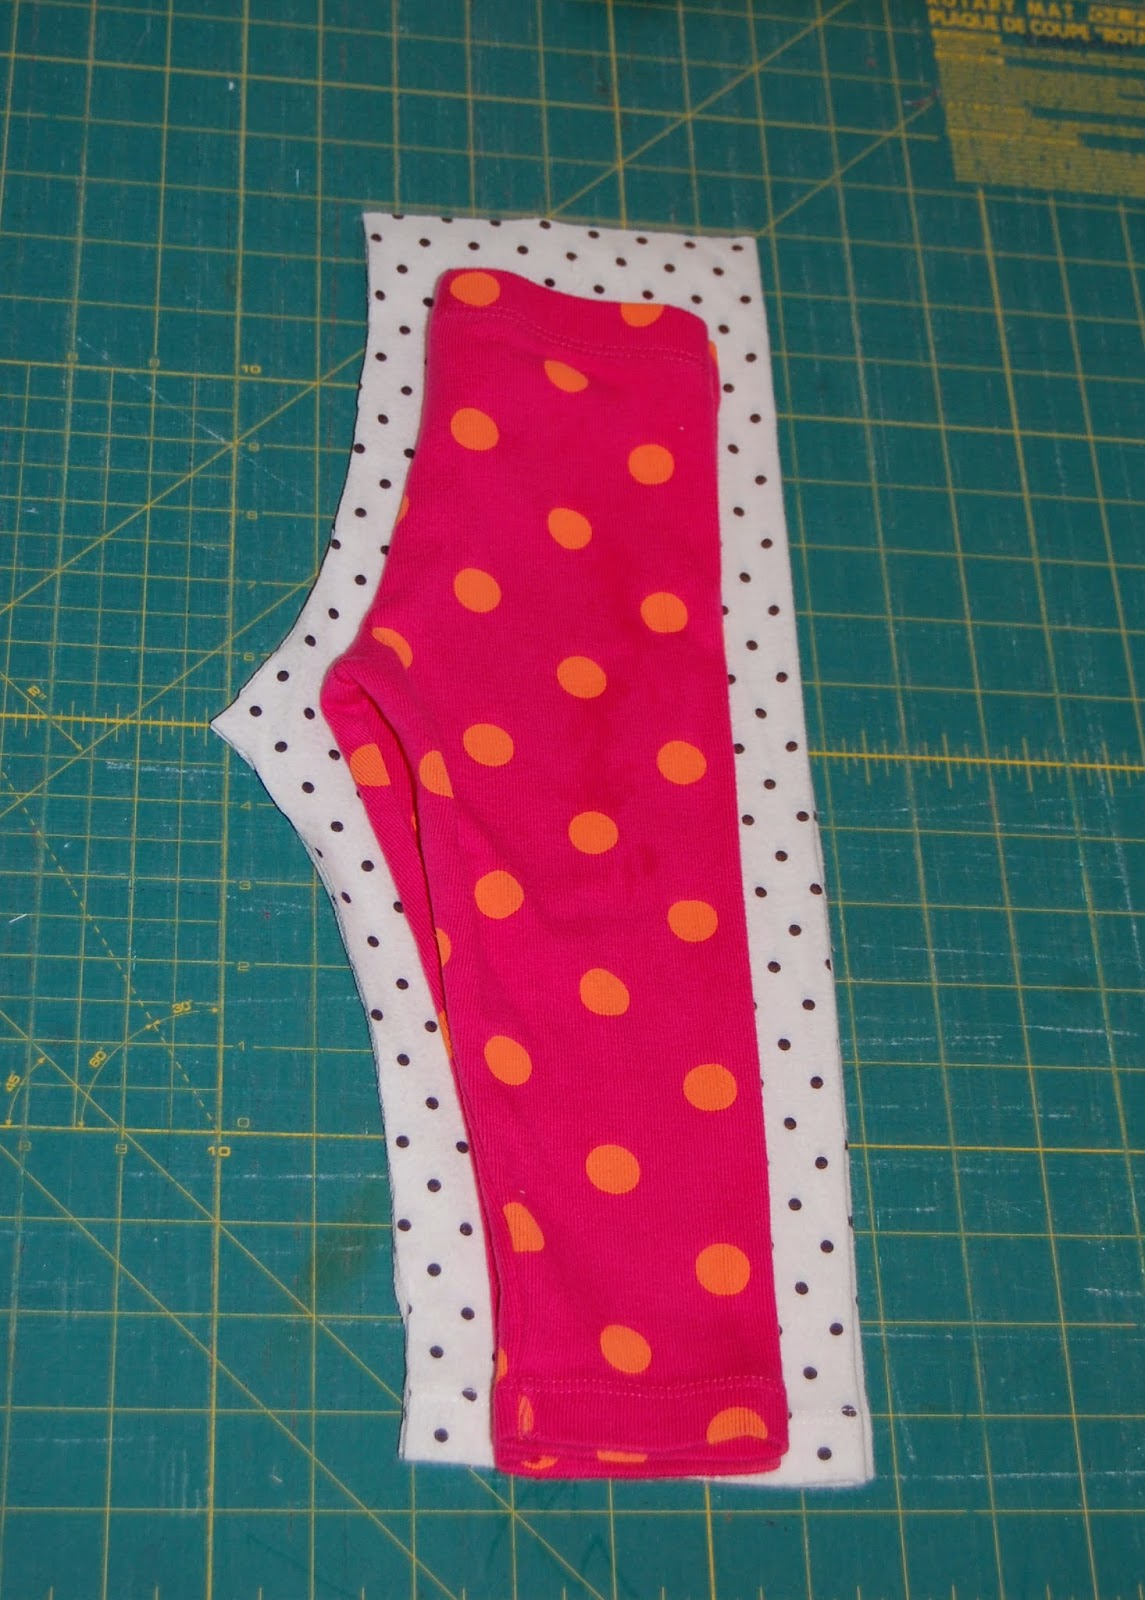
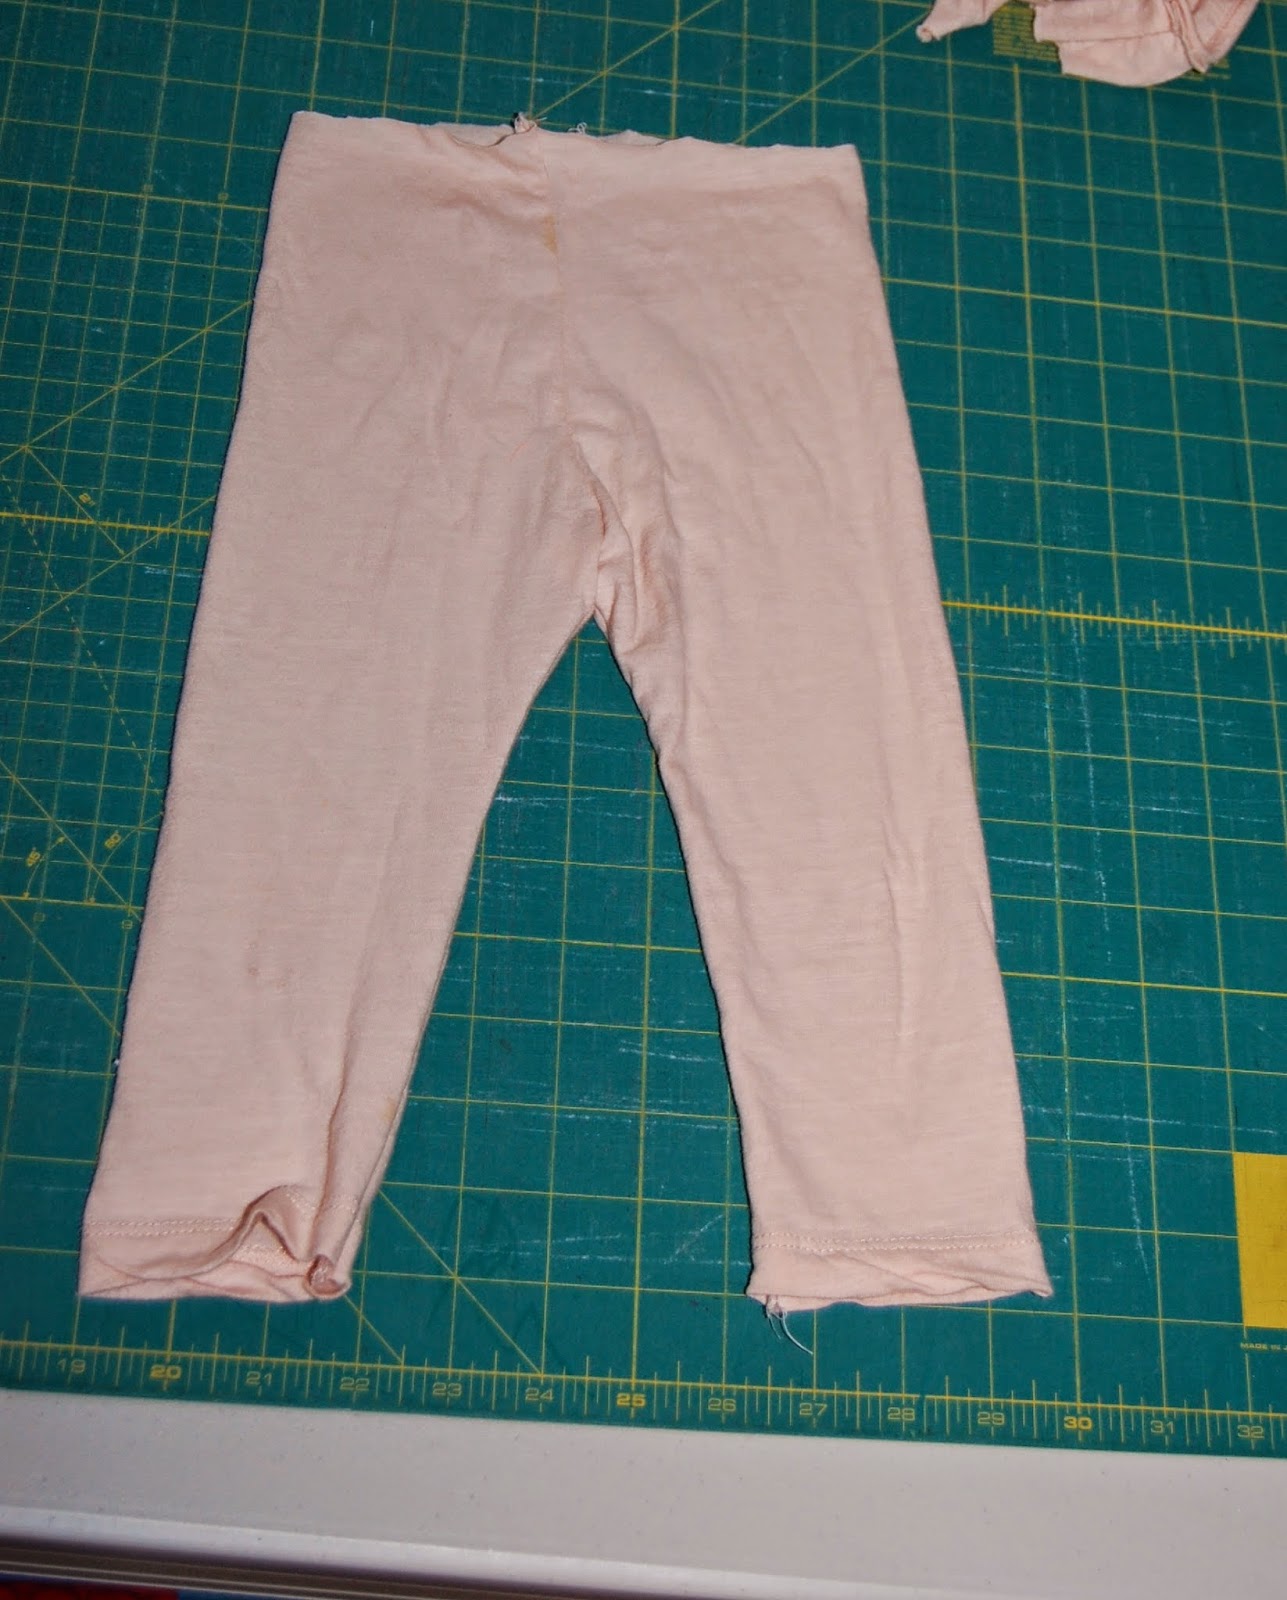
A pair of leggins that fit your baby or the size you want to make.
1″ elastic (I like the woven kind)

 Step One: Lay out tank top


 Step Two: Cut up both sides of tank and across the straps to make two separate pieces (front and back)
 Step Three: Fold both pieces in half

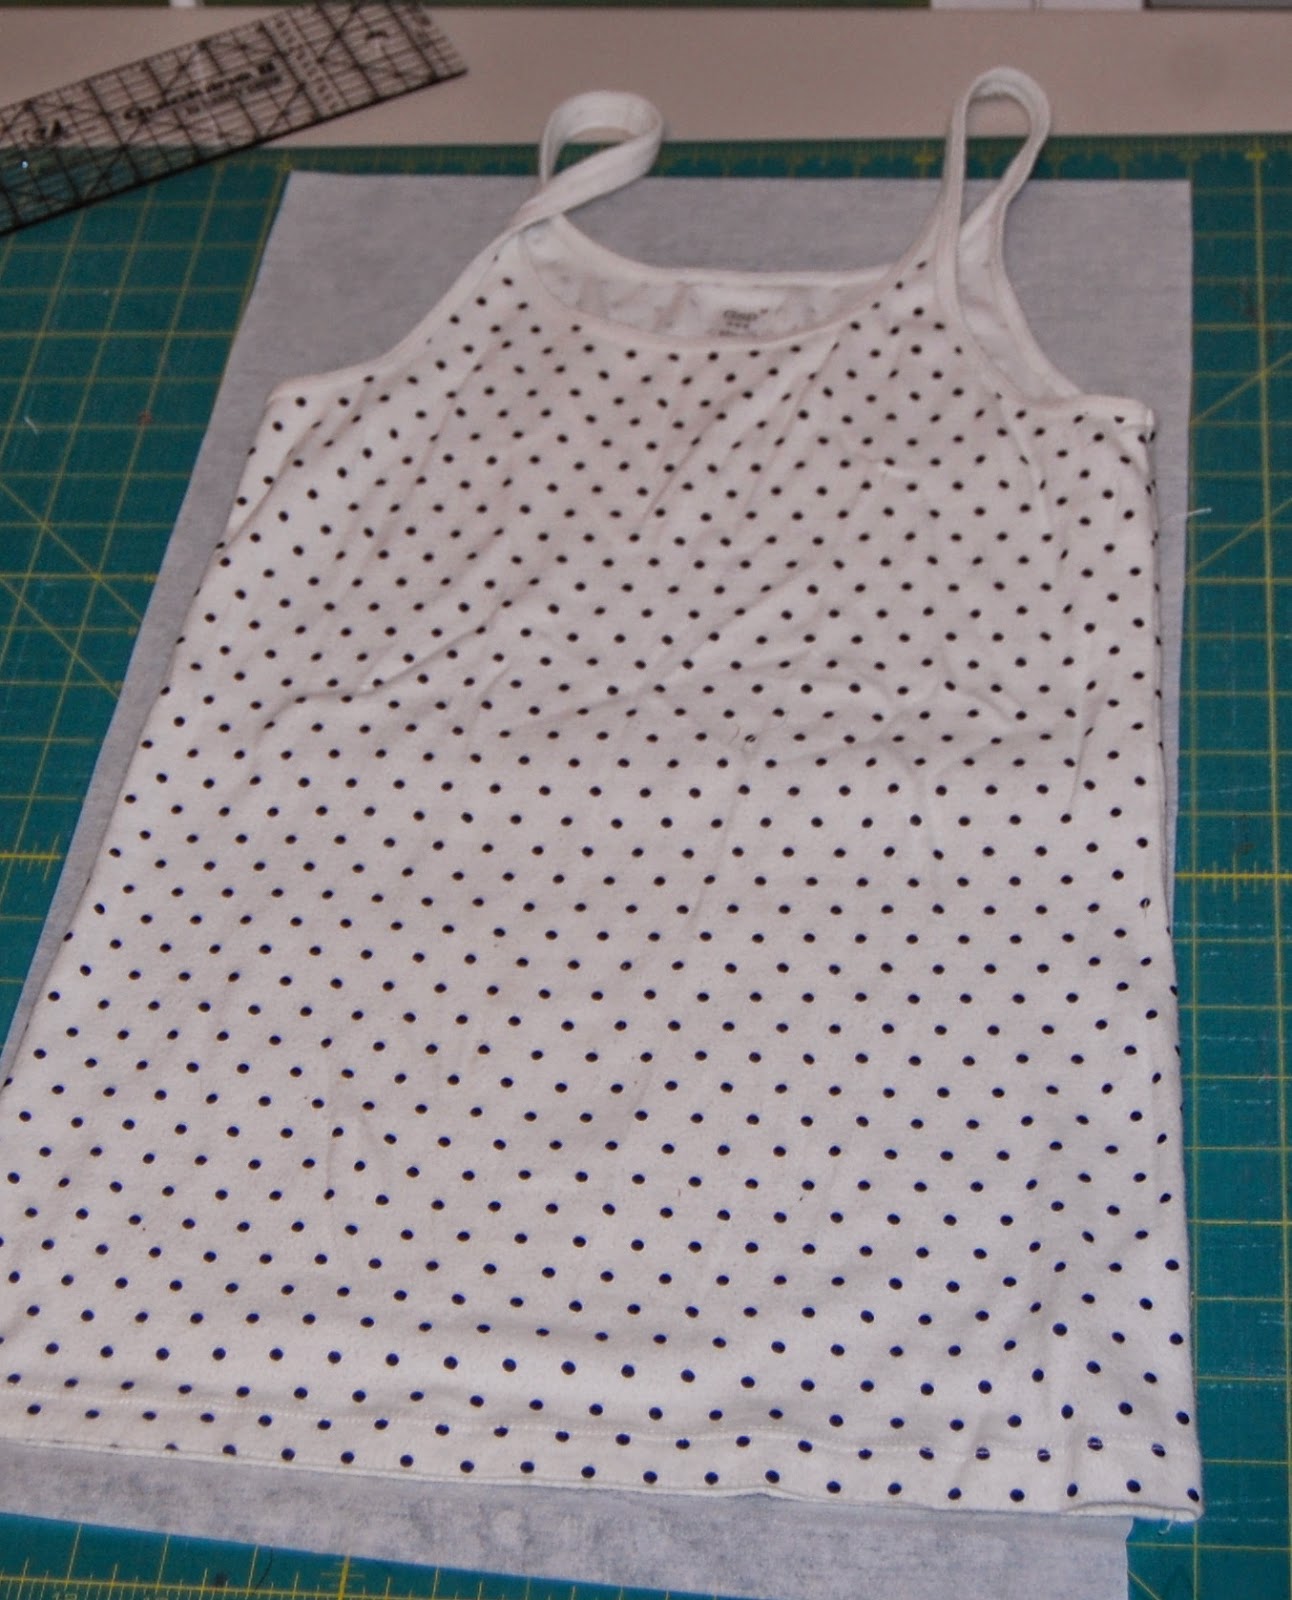
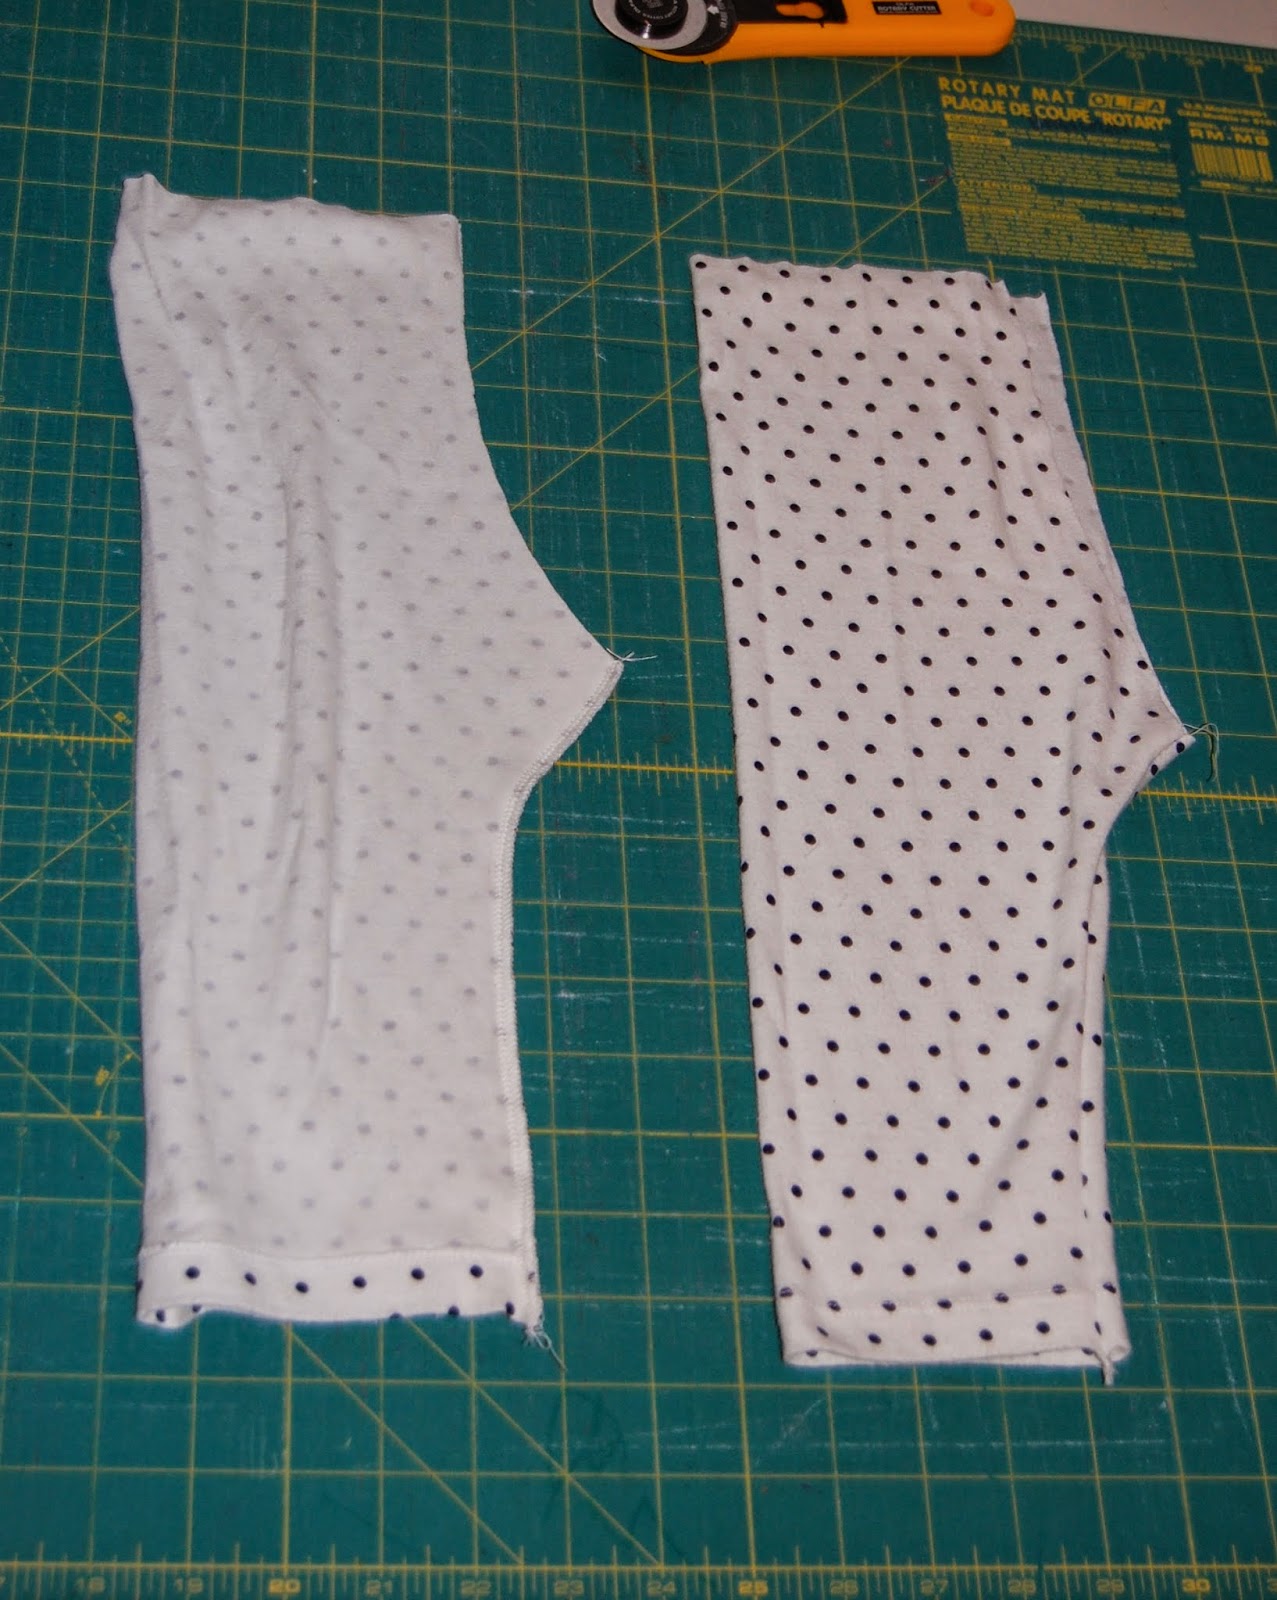
Step Four: Lay the two pieces of fabric on top of each other. Be sure to have the folded end on the same side for both pieces. (Mine are on the right side, left side is the open end of fabric). Lay the leggins with the bum side to open end on top of the fabric. I have a 1/2″ of fabric all the way around to allow for seam allowance and to make them bigger. Make sure the bottom of the tank top (the hemmed edge) is at the bottom of the pants. Then you don’t have to hem your leggins. Yay for short cuts.


Step Five: Cut out shape of pants. Make sure you leave a 1″ edge above the fabric at the top so you have enough to fold over for elastic waistband.


Step Six: Fold the fabric with the right sides touching and sew from bottom of bum to the end of leg. Repeat for other leg.


Step Seven: Turn one leg right side out stuff inside the other leg. Be sure to line up the inside seams.


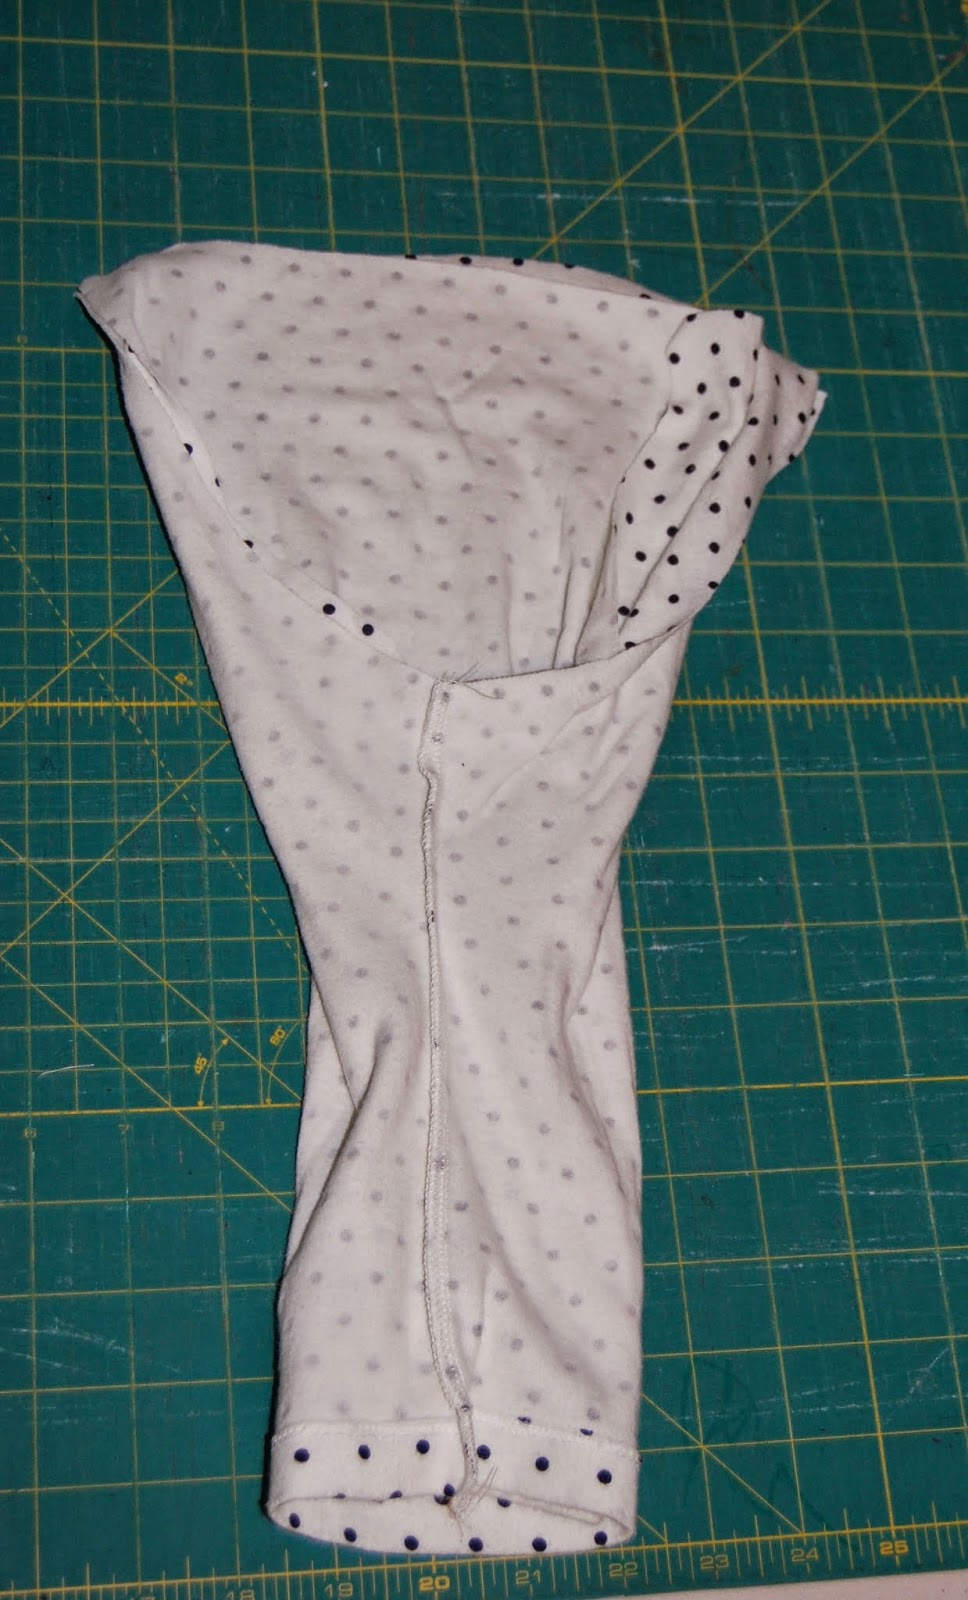
Step Seven continued: It should look like this! Right sides are touching. Sew along the smile line at the top. Be sure that the seams stay lined up.


 Step Eight: Turn right side out – sew waistband, add elastic and you are done!


Here is another tank top that I loved too…


And the sweet leggins it created. I took the flowers off the top to make a headband for my baby as well.
I love this project because it is fast, easy and turns out so cute. It’s also great to re-purpose something…in this case the shirt I wore to the hospital the day my baby was born. I hope you give this a try – I’d love to see your projects too! Contact me with any questions, I’m happy to help.

Post navigation

Owl Post: A Magical, Wizard Party
Our Sweet Baby!

Recent Posts

  • The Santa Box Movie Review
  • Personalizing your Back to School with Cricut
  • Easy Bleach Dyed Shirts
  • Easy Sewing Projects for Kids
  • Easy Easter Activities for Kids

Recent Comments

  • Linky Thursday | StacySews on Easy Sewing Projects for Kids
  • Lisa - Cucicucicoo Eco Sewing & Crafting on Easy Sewing Projects for Kids
  • Monica on Holiday Apron Tutorial
  • Monica on Holiday Apron Tutorial
  • Monica on Holiday Apron Tutorial

Recent Comments

  • Linky Thursday | StacySews on Easy Sewing Projects for Kids
  • Lisa - Cucicucicoo Eco Sewing & Crafting on Easy Sewing Projects for Kids
  • Monica on Holiday Apron Tutorial
  • Monica on Holiday Apron Tutorial
  • Monica on Holiday Apron Tutorial
  • Facebook
  • Instagram
  • Pinterest

Sign In

  • Log in
  • Entries feed
  • Comments feed
  • WordPress.org
  • Elara by LyraThemes
  • Made by LyraThemes.com